
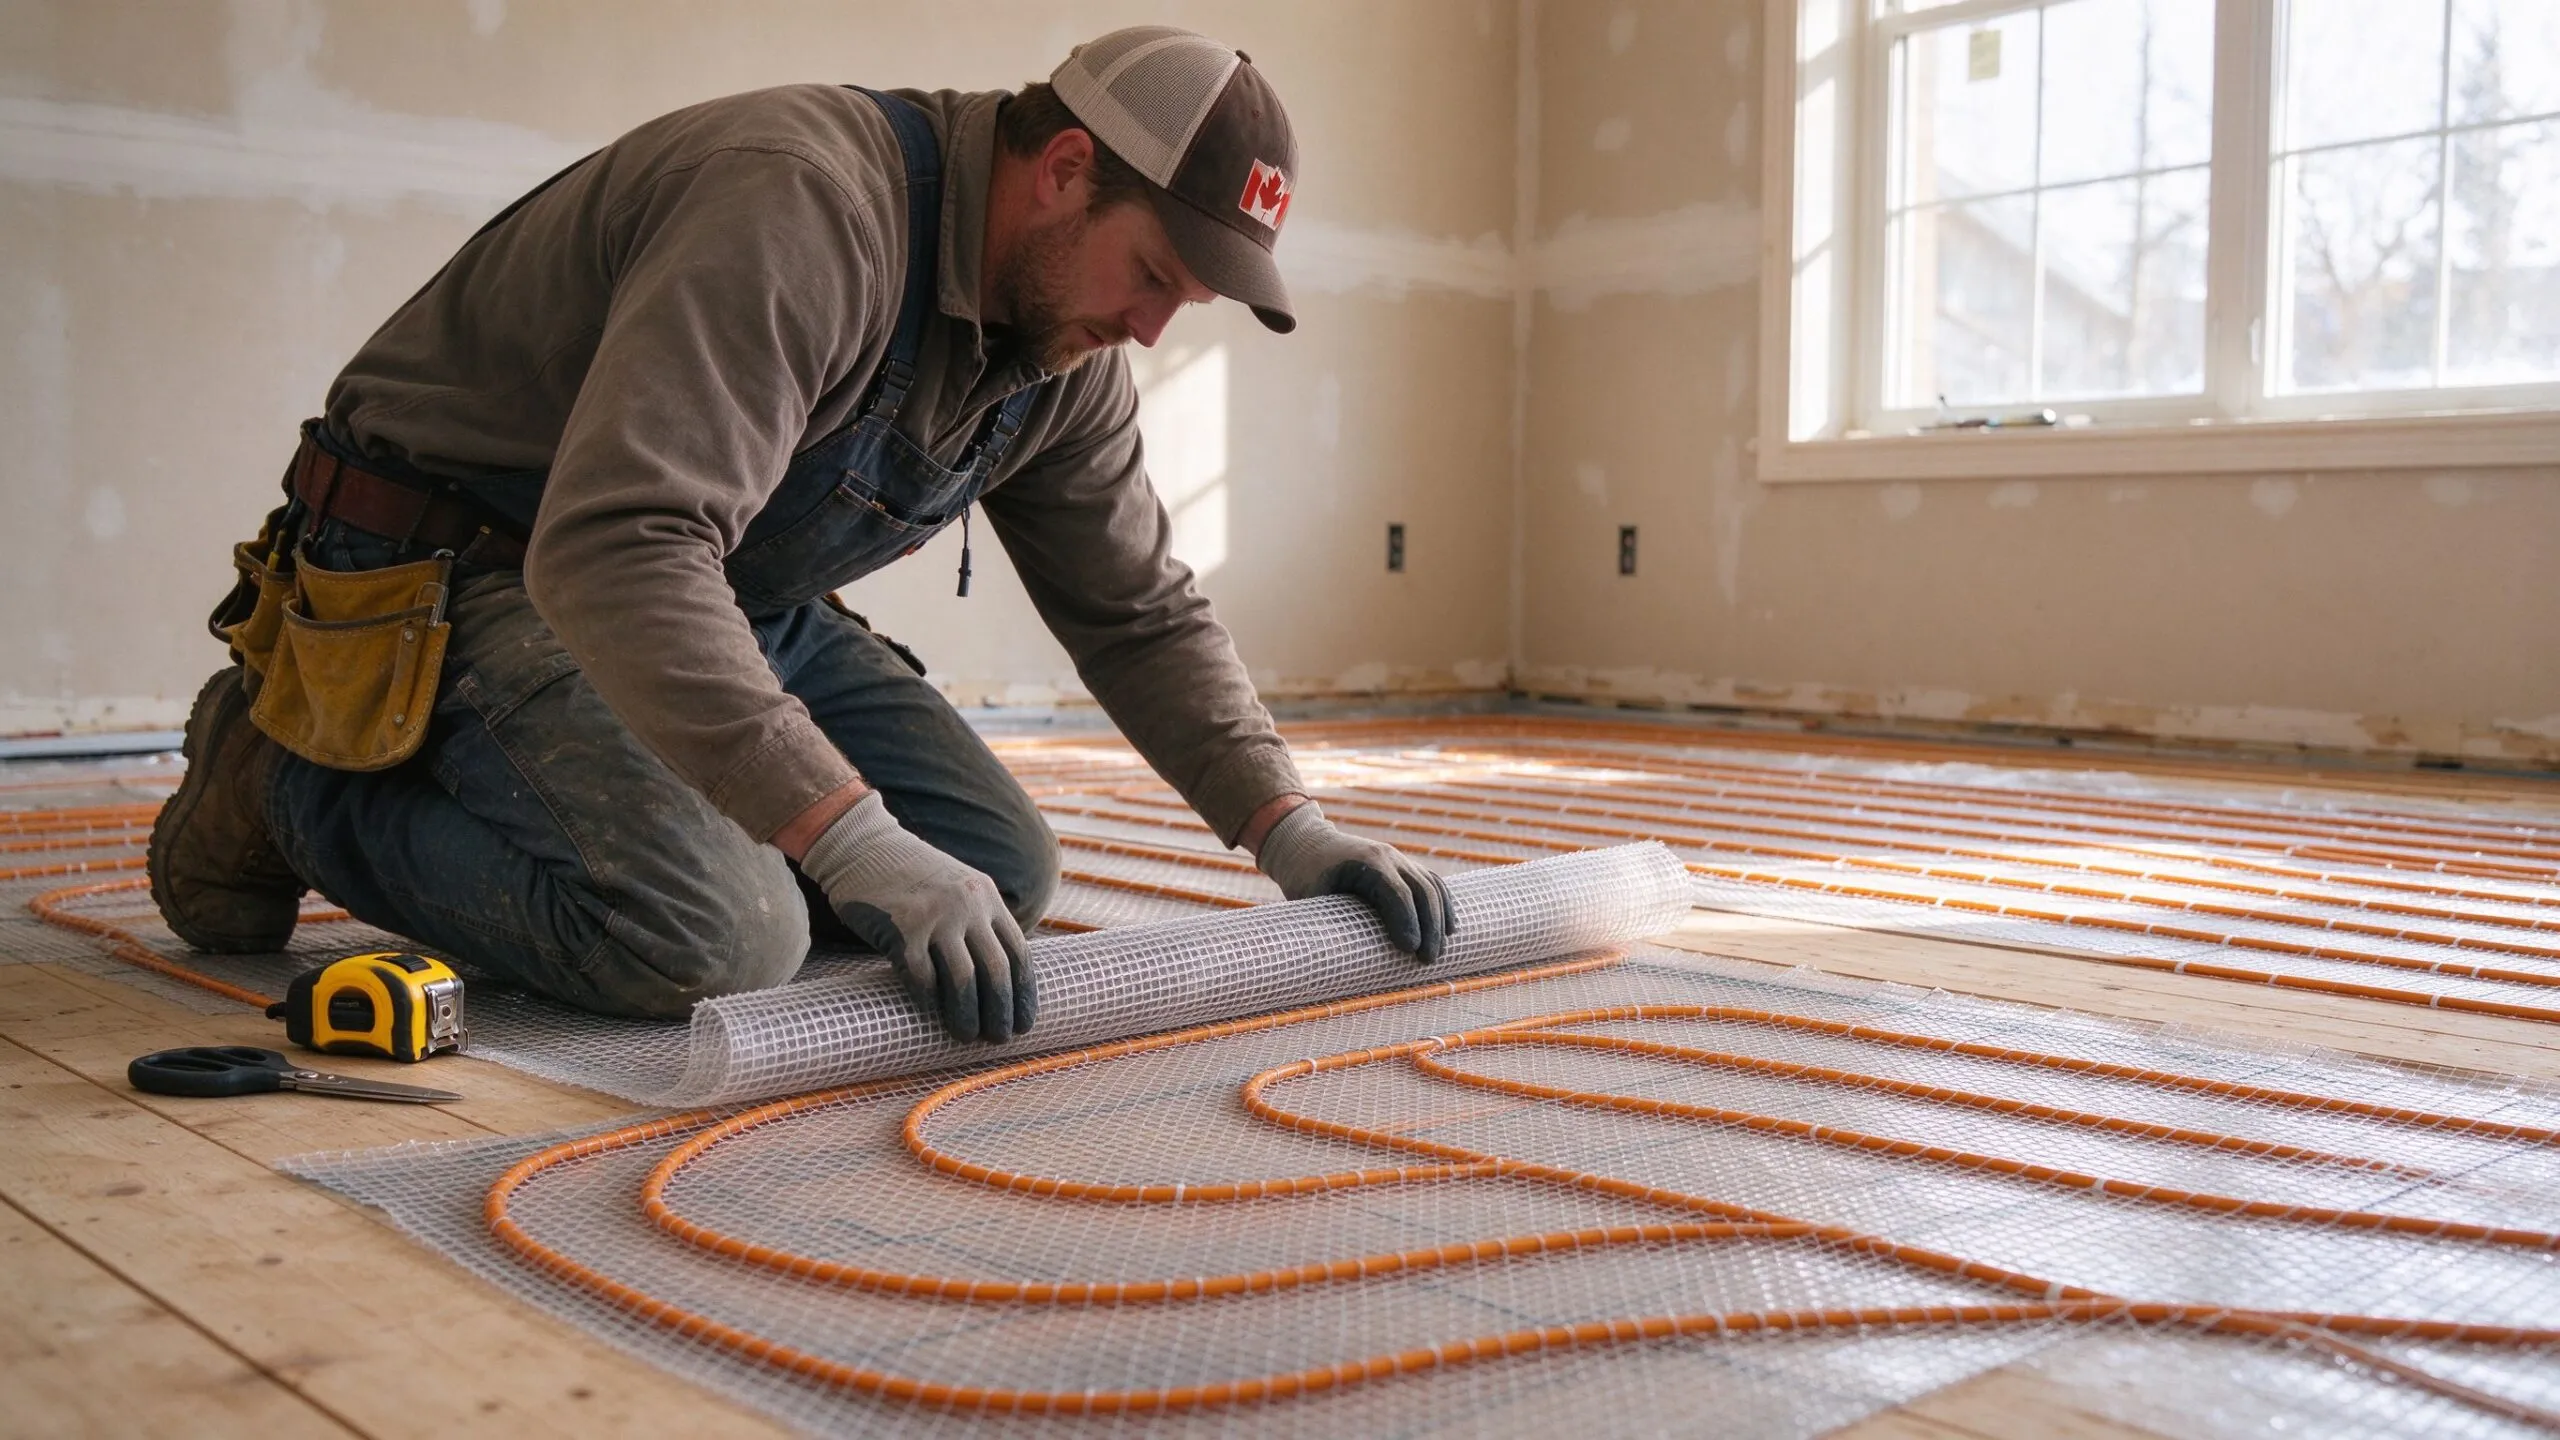
Canadian winter makes floor heating a comfort question first and an efficiency question second. This project profile documents a detached-home renovation where electric heating mat was chosen over a full system replacement — read how the floor plan shaped the zones, why mat won over cable and film, and how the product, thermostat and commissioning support were matched to the project. Written by Ethan Sun, Founder & CEO, SunAura Thermal.
Project at a Glance
| Location | Canada — detached single-family home renovation |
| Project type | Residential heating retrofit over existing structure |
| Product used | SunAura electric heating mat (mesh mat, orange heating cable on fibreglass mesh) |
| Heated zones | Main living level: kitchen, dining area, family room; utility zones: laundry and mud room (as shown on the project floor plan) |
| Controls | Programmable floor thermostat with floor sensor per zone |
| Supply & support | Product supply, layout guidance and commissioning support from SunAura engineering, Qingdao |
Why This Homeowner Chose Electric Heating Mat
The house is a five-bedroom detached home with a three-car garage — a typical North American footprint with a generous main floor. The renovation brief was simple: replace the old heating arrangements in the living areas with electric floor heating without ripping out the structure or re-running the whole system. That constraint eliminated several options before the comparison even started.
- Versus heating cable: loose cable needs careful spacing and fixing before pouring or tiling. On a renovation timeline, every hour on the knees matters; mat arrives pre-spaced and rolls out fast.
- Versus heating film: film is excellent under laminate and floating floors, but the project wanted the option of tiled and stone finishes in the kitchen and mud room. Mat embeds cleanly in a thin levelling layer and works under tile, stone and wood alike.
- Versus a wet system: a hydronic loop means boilers, pumps and manifolds — heavy engineering for a room-level retrofit. Mat runs directly on mains power with per-room control, which matched the renovation’s room-by-room scope.
For a heating mat for home renovation, the deciding factors were installation speed, fixed spacing and finish flexibility — exactly the three properties the mesh construction provides. The same reasoning is why distributors stock mat as the default recommendation for residential retrofits in North American and European markets.
Reading the Project Off the Floor Plan
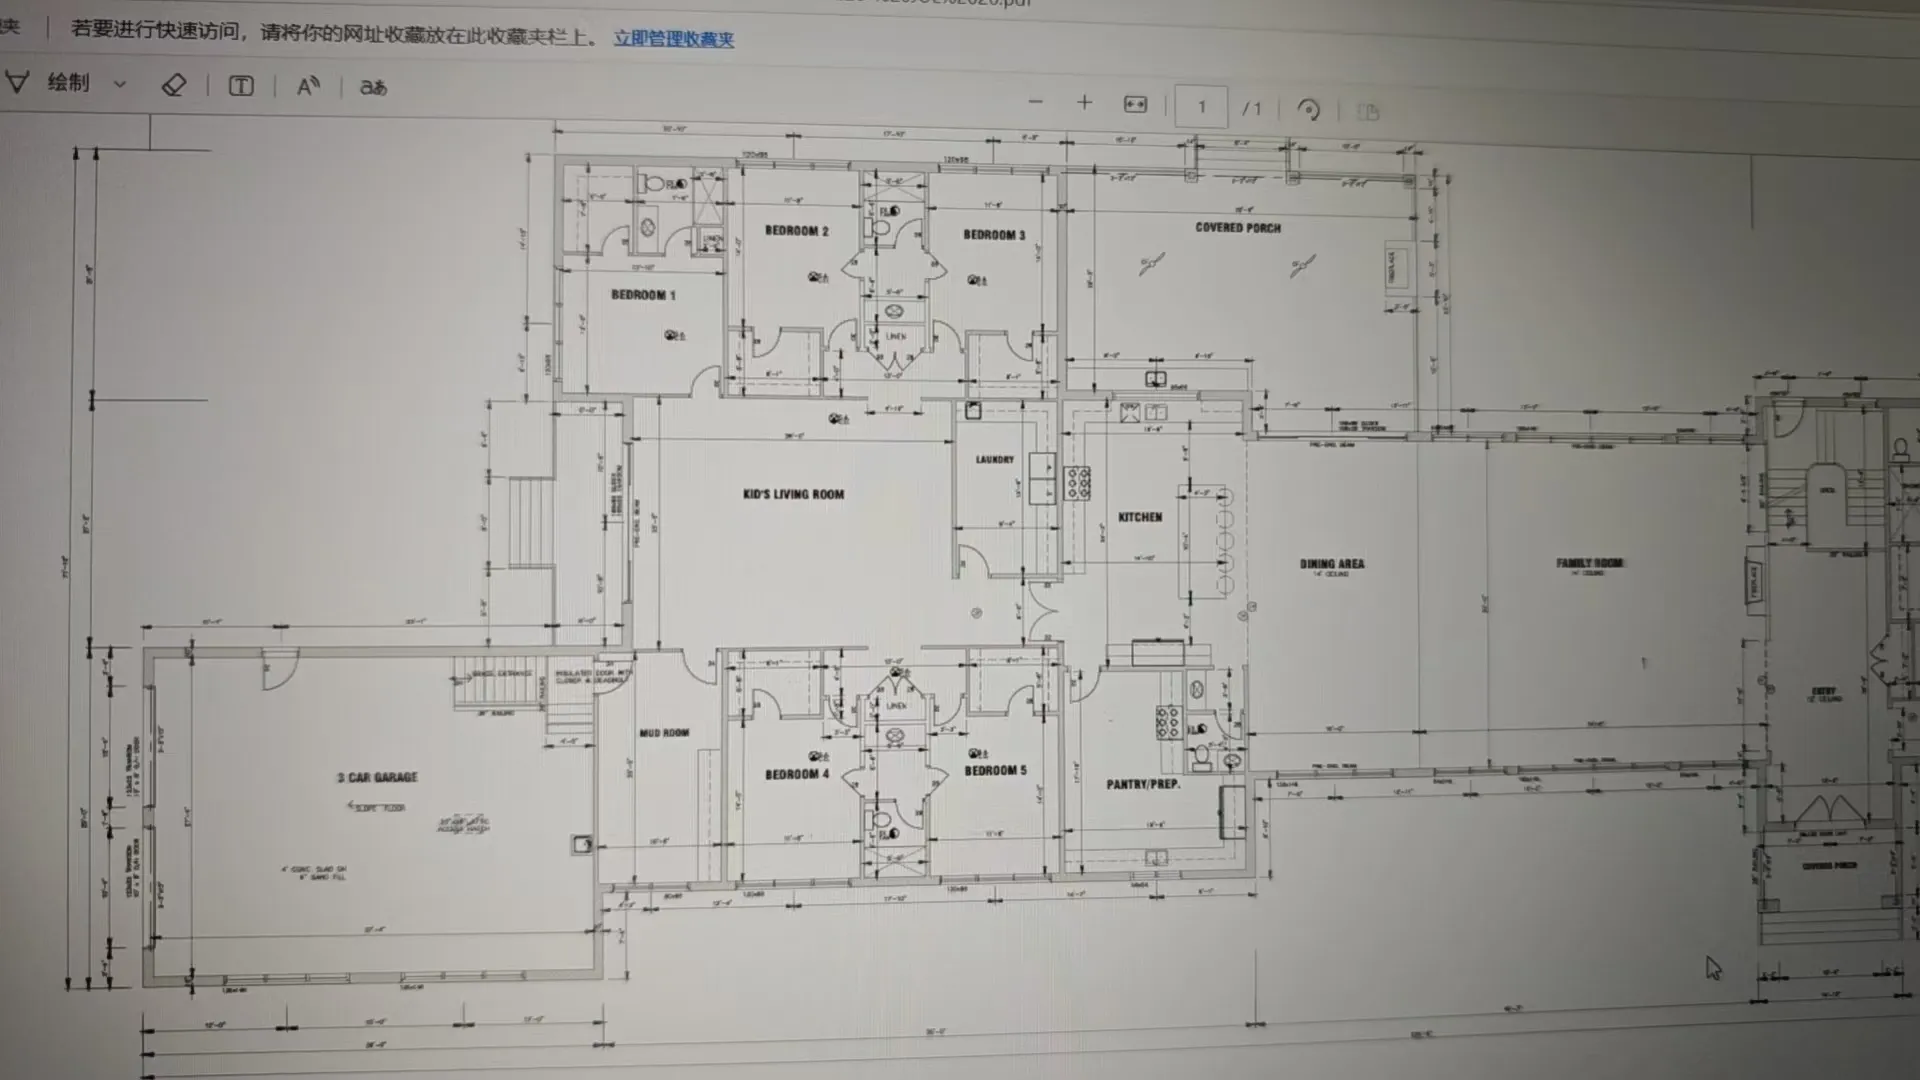
The plan shows a classic detached-home layout: a main floor holding kitchen, dining area, family room, laundry and mud room, with five bedrooms and a three-car garage completing the footprint. For the heating layout, every room was zoned by function, not by size:
- Kitchen and dining area — warm tile underfoot in bare-foot hours of the day; mat sized to the open floor area excluding cabinets and fixed appliances.
- Family room — the long-occupancy zone; a comfortable surface temperature with the thermostat set to hold a steady room temperature during waking hours.
- Laundry and mud room — the winter workhorses. Drying floors, wet boots and tracked-in snow make these the rooms where floor heating pays for itself in comfort alone; mat under tile keeps them dry and warm.
- Not heated — bedrooms stayed on the existing system, which kept the electrical load and the budget within the renovation’s scope. Zone-by-zone control means the homeowner can extend the heated area later without touching the installed zones.
This function-based zoning is exactly how our engineers approach every electric floor heating mat retrofit: measure the net floor area per zone, subtract fixed obstructions, then match mat width and total wattage to the zone’s supply circuit. The layout drawings we provide with a mat order mark every mat run, every floor sensor position and every thermostat location, so the installer works from a document rather than improvisation.
Installation: the Steps That Made It a Two-Weekend Job
O retrofit was carried out over the existing wooden subfloor, which is the standard renovation path with mat. The sequence followed the same method we publish in the installation guide and service manual:
- Subfloor preparation — the old floor covering was removed, the subfloor was cleaned, and any loose boards were screwed down. A flat, stable base is the one non-negotiable condition for a mat installation.
- Insulation under the mat (recommended) — a thin rigid insulation board was laid over the subfloor where height allowed. This directs the heat upward into the room instead of into the floor void, which is the single biggest efficiency lever in a retrofit.
- Mat rollout — the mat was rolled out in runs, mesh side down, with the heating cable facing up. The fibreglass mesh keeps the 6 cm spacing fixed by construction, so there is no measuring and no loose-cable creep. The mesh is cut at the marked points only — never through the cable.
- Floor sensor placement — one floor sensor per zone was run in a protective conduit between two cable runs, positioned mid-zone where it reads the true floor temperature rather than a warm or cold spot.
- Electrical connection — the cold leads terminated in a junction box on the wall; the circuit was protected per local code and connected to the thermostat. Every connection was photographed before the floor was closed — the photo record is what makes later service fast.
- Levelling and finish — a thin self-levelling screed was poured over the mat (2–3 cm typical), then tile was laid on the cured screed. In the family room the same screed base accepted engineered wood where the finish plan called for it.
- Commissioning — the thermostat was set with the floor sensor reading, the heating test ran for a full cycle, and the baseline resistance readings were recorded on the commissioning sheet.
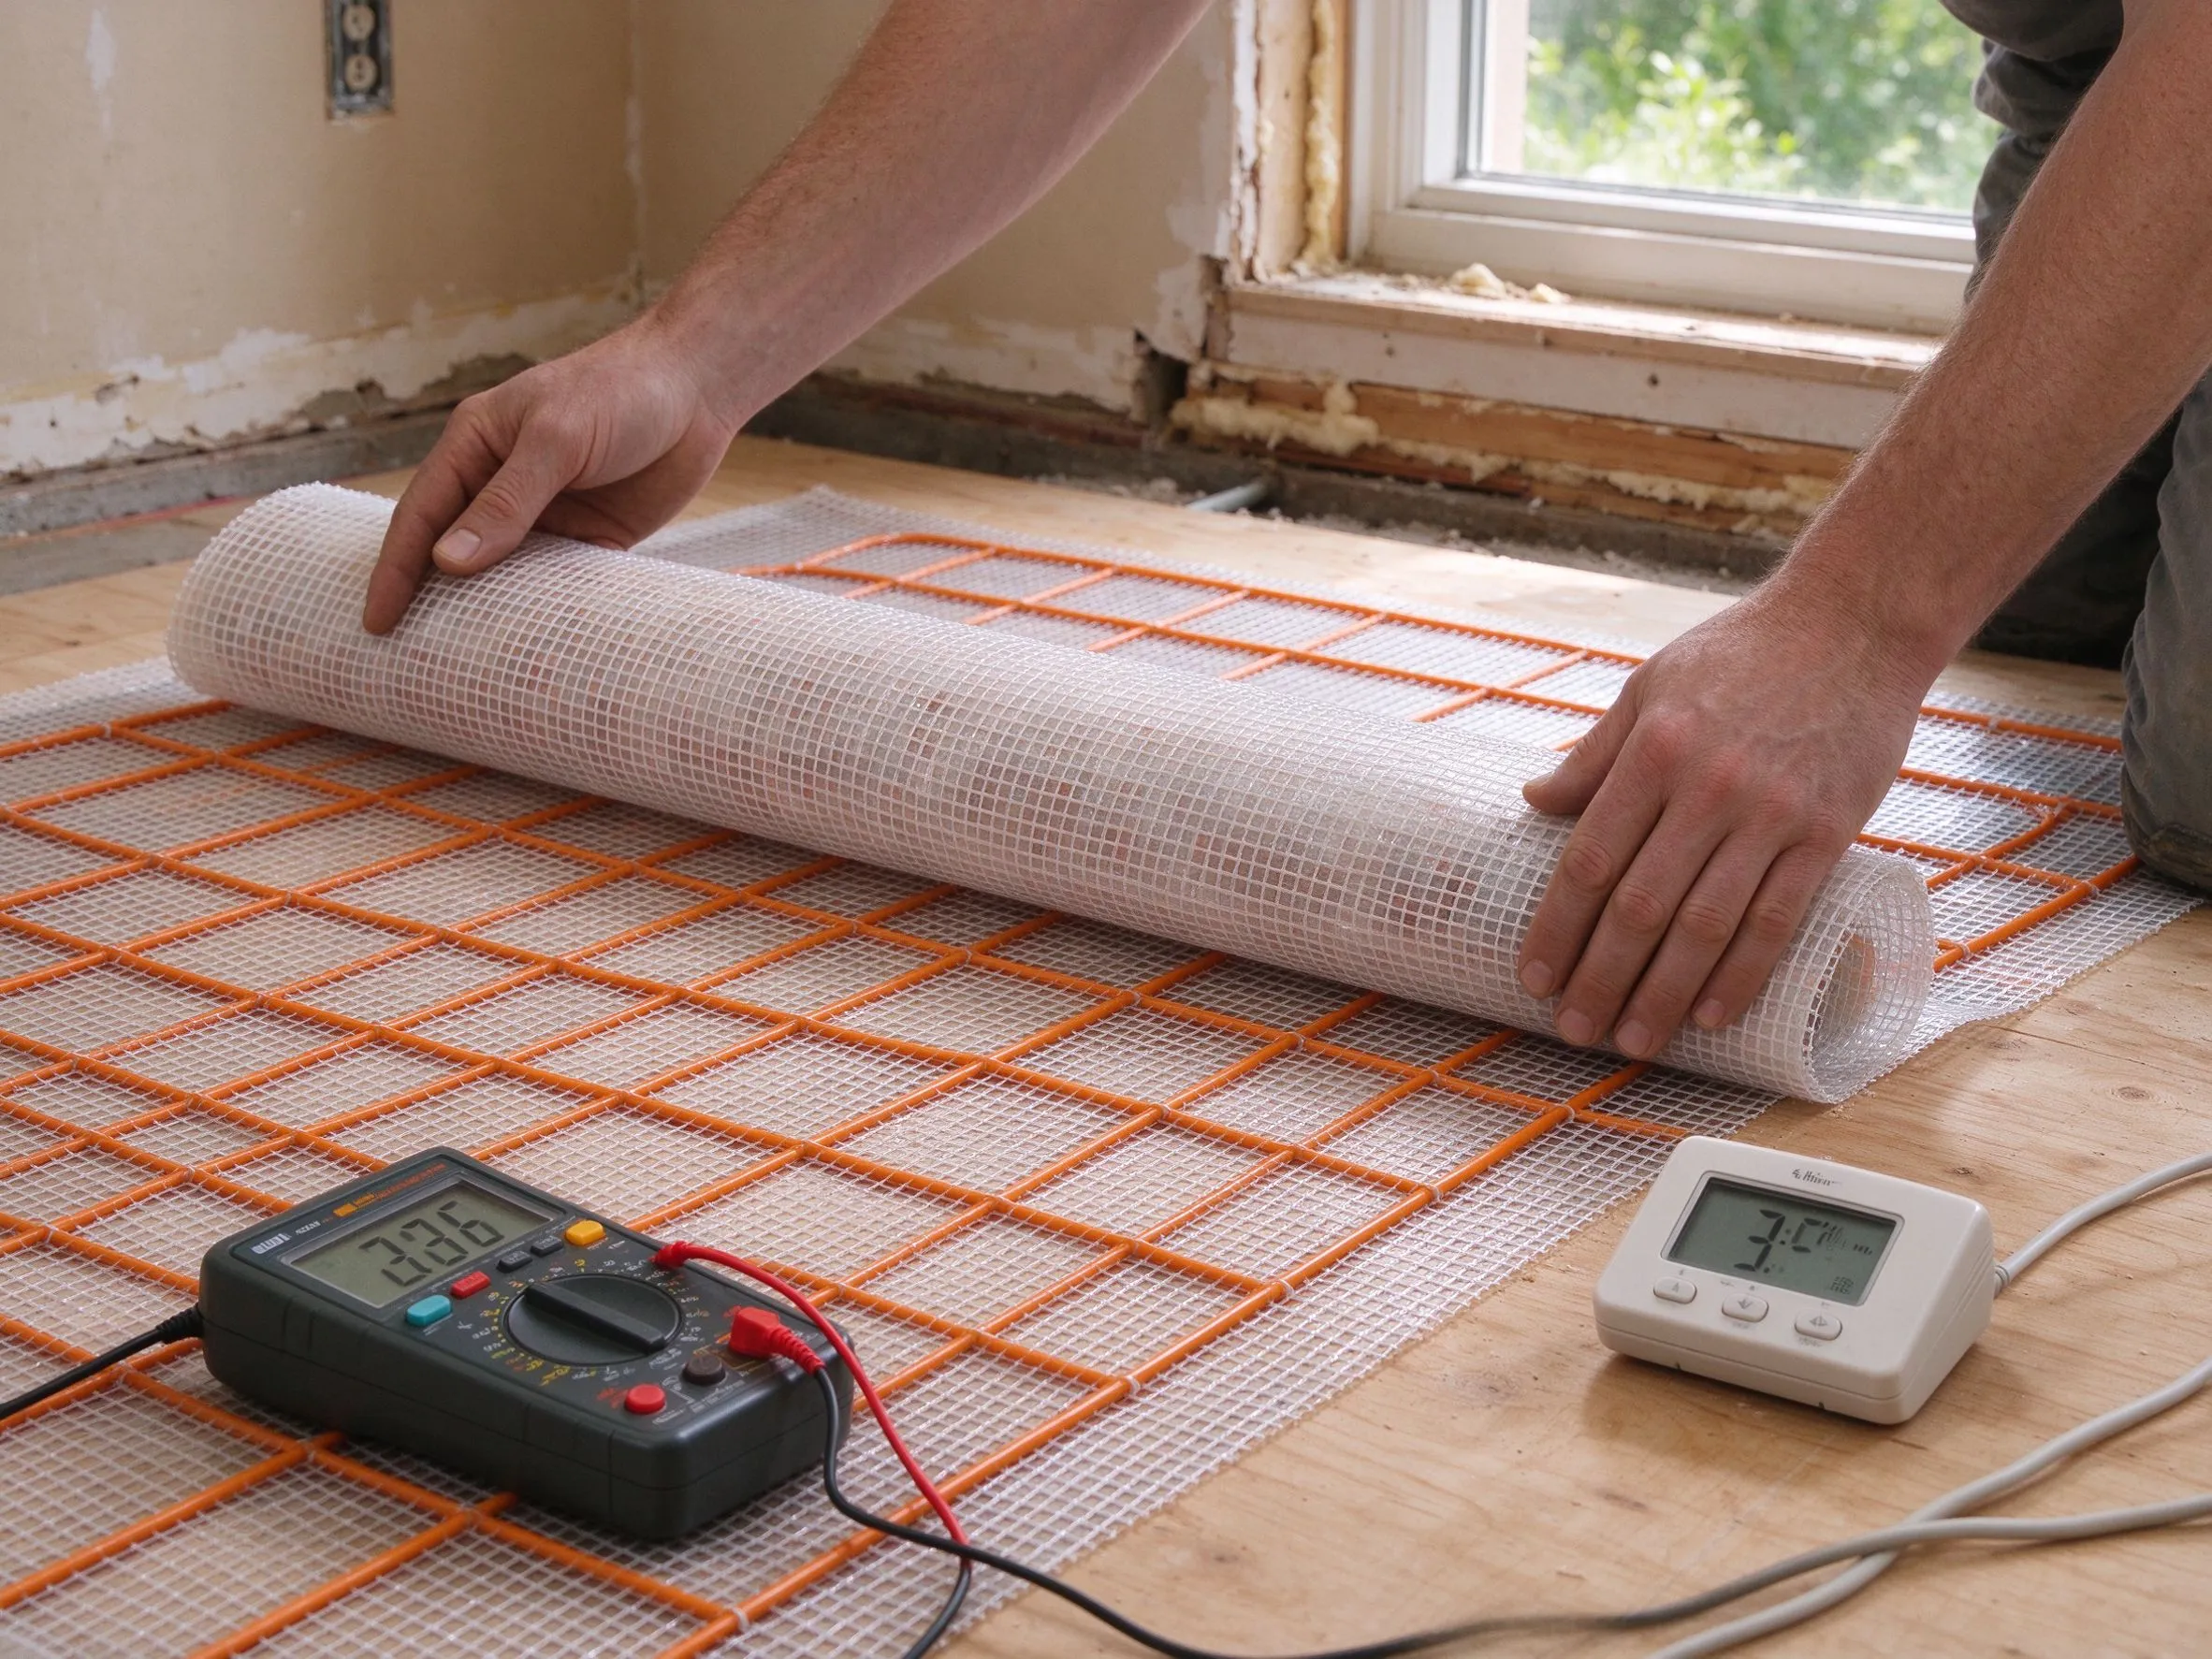
The complete sequence — subfloor to working floor — fitted into two weekends per floor level. That is the practical promise of mat in renovation: electric floor heating for home renovation that does not rewrite the building’s heating architecture.
Controls and Running Behaviour
Each heated zone runs on its own programmable thermostat, so the kitchen tile can sit warm in the early morning while the family room holds a steady evening temperature. The floor sensor, not the air temperature, drives the control — the system heats the surface people stand on, which is the definition of efficient electric floor heating. Away-from-home setback, frost protection and a manual override are configured per zone, and the same thermostat family is used across our heating film, mat and cable ranges, so a distributor carries one control platform for every product line.
Data and Evidence
This case study is written from the project floor plan and the product specification used on site (per SunAura factory records). Supporting facts about the manufacturer:
- 17 years of continuous heating manufacturing since 2008, based in Qingdao’s Huangdao district (per SunAura factory records).
- ISO 9001 quality management, ISO 14001 environmental management and ISO 45001 occupational health & safety certification covering the product range.
- CE, RoHS, LVD and EMC compliance for EU-bound orders; documentation provided with every shipment.
- Products exported to 50+ countries across Europe, North America, Latin America, the Middle East and Southeast Asia.
- Every mat is tested before packing; resistance and insulation checks are recorded per unit (per SunAura factory records).
No third-party certifications, logos or claim numbers are referenced beyond those listed above.
Frequently Asked Questions
Can heating mat be installed over an existing wooden subfloor?
Yes — that is the standard retrofit path. The subfloor must be flat and stable, and a thin insulation board below the mat is strongly recommended to push heat upward. For heating mat wholesale projects we provide the underlay recommendation with the layout drawing.
What finishes work over electric heating mat?
Tile, stone and engineered wood all work over mat once a thin levelling screed is cured. Floating floors (laminate, LVT) are usually paired with film instead, because no screed is needed — the product choice follows the finish.
How is the wattage per zone decided?
By net floor area and application: around 150 W/m² is typical for primary living spaces in cold climates, with adjustments for floor construction and insulation. The engineering file for each order records the assumed heat loss so the installer can verify it against the building.
Does mat need a dedicated circuit?
Each zone should have a circuit sized to its load, with RCD/GFCI protection as required by local code. Our quotation always states the load per zone so the electrical design is done before the installer arrives.
Start Yours
If you are planning a home renovation with electric floor heating — or stocking mat for your market — send the floor plan and the room functions to our engineering team. You will receive the zone layout, the mat selection, the load summary and the thermostat recommendation within 24 hours, and the same team stays with you through installation and commissioning. Email [email protected] for quotations, or message the export team on WhatsApp for specifications.