
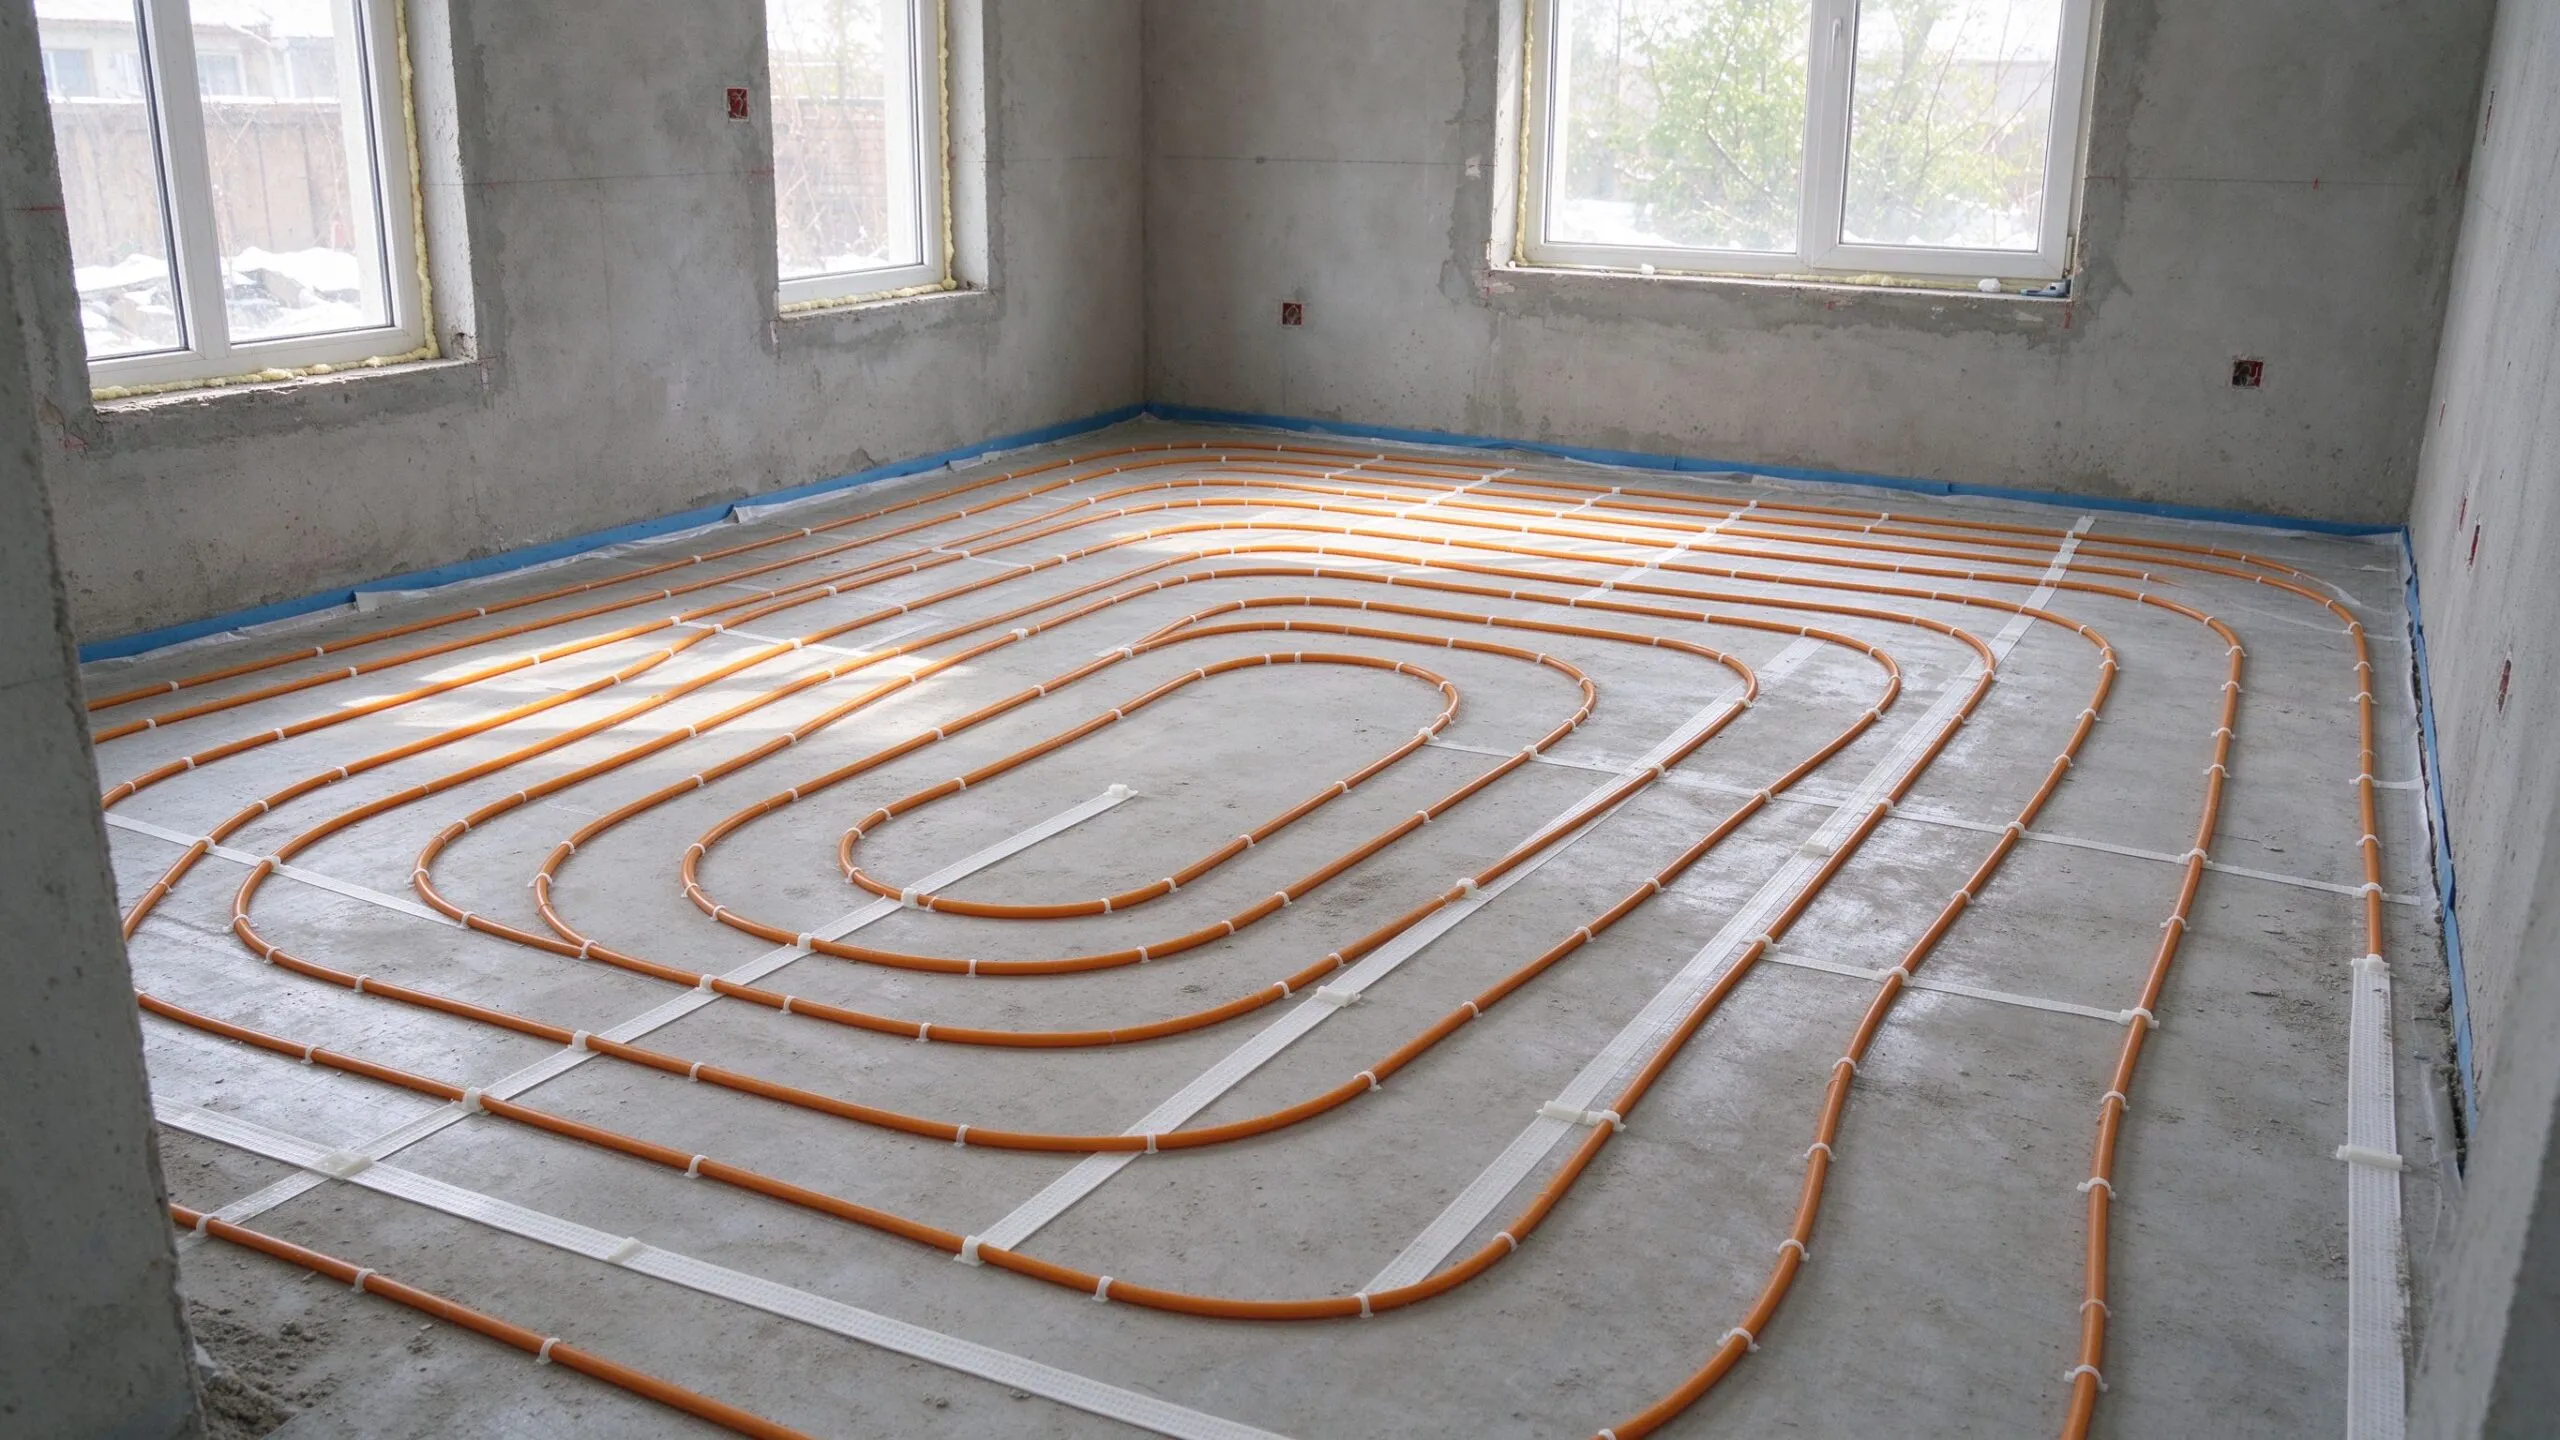
Embedded underfloor heating lives or dies in one phase of construction: the day the heating cable goes into the floor. Done correctly, an electric heating cable installation under screed disappears beneath a cement or anhydrite floor for 20-plus years of silent, even warmth. Done carelessly — wrong spacing, no fixing, no pre-pour test — it surfaces later as a cold zone, a dead loop, or a floor that has to be chased up to repair a cable. This guide walks through the complete process: preparation, heating cable spacing under screed, how to secure the fixing heating cable to screed floor substrates, the screed underfloor heating drying time before first heat, and the quality checks that separate a professional job from a DIY regret. Whether you are a contractor specifying a heating cable wholesale supplier program or a homeowner planning a renovation, the details below are the ones that matter.
Why Screed-Embedded Electric Heating Still Matters
Thin-profile heating mats under tile get most of the attention in renovation projects, but for new builds, extensions and deep renovations, loose heating cable laid into a fresh screed remains the professional standard. The cable is cheaper per square meter than pre-assembled mats, fits around awkward room shapes and doorways without waste, and — when embedded in a 50–70 mm screed — becomes a thermal mass that stores warmth and releases it gently. That radiant mass effect is also exactly what makes the system pair well with heat pumps, as we discuss in our article on underfloor heating with heat pump compatibility.
The trade-off is that the installation is irreversible. Once the screed is poured, the cable is never accessible again. Every step before that pour therefore has to be treated as a permanent decision — which is why this guide emphasizes testing, fixing and documentation at every stage.
Preparation: The Subfloor Before the Cable Touches It
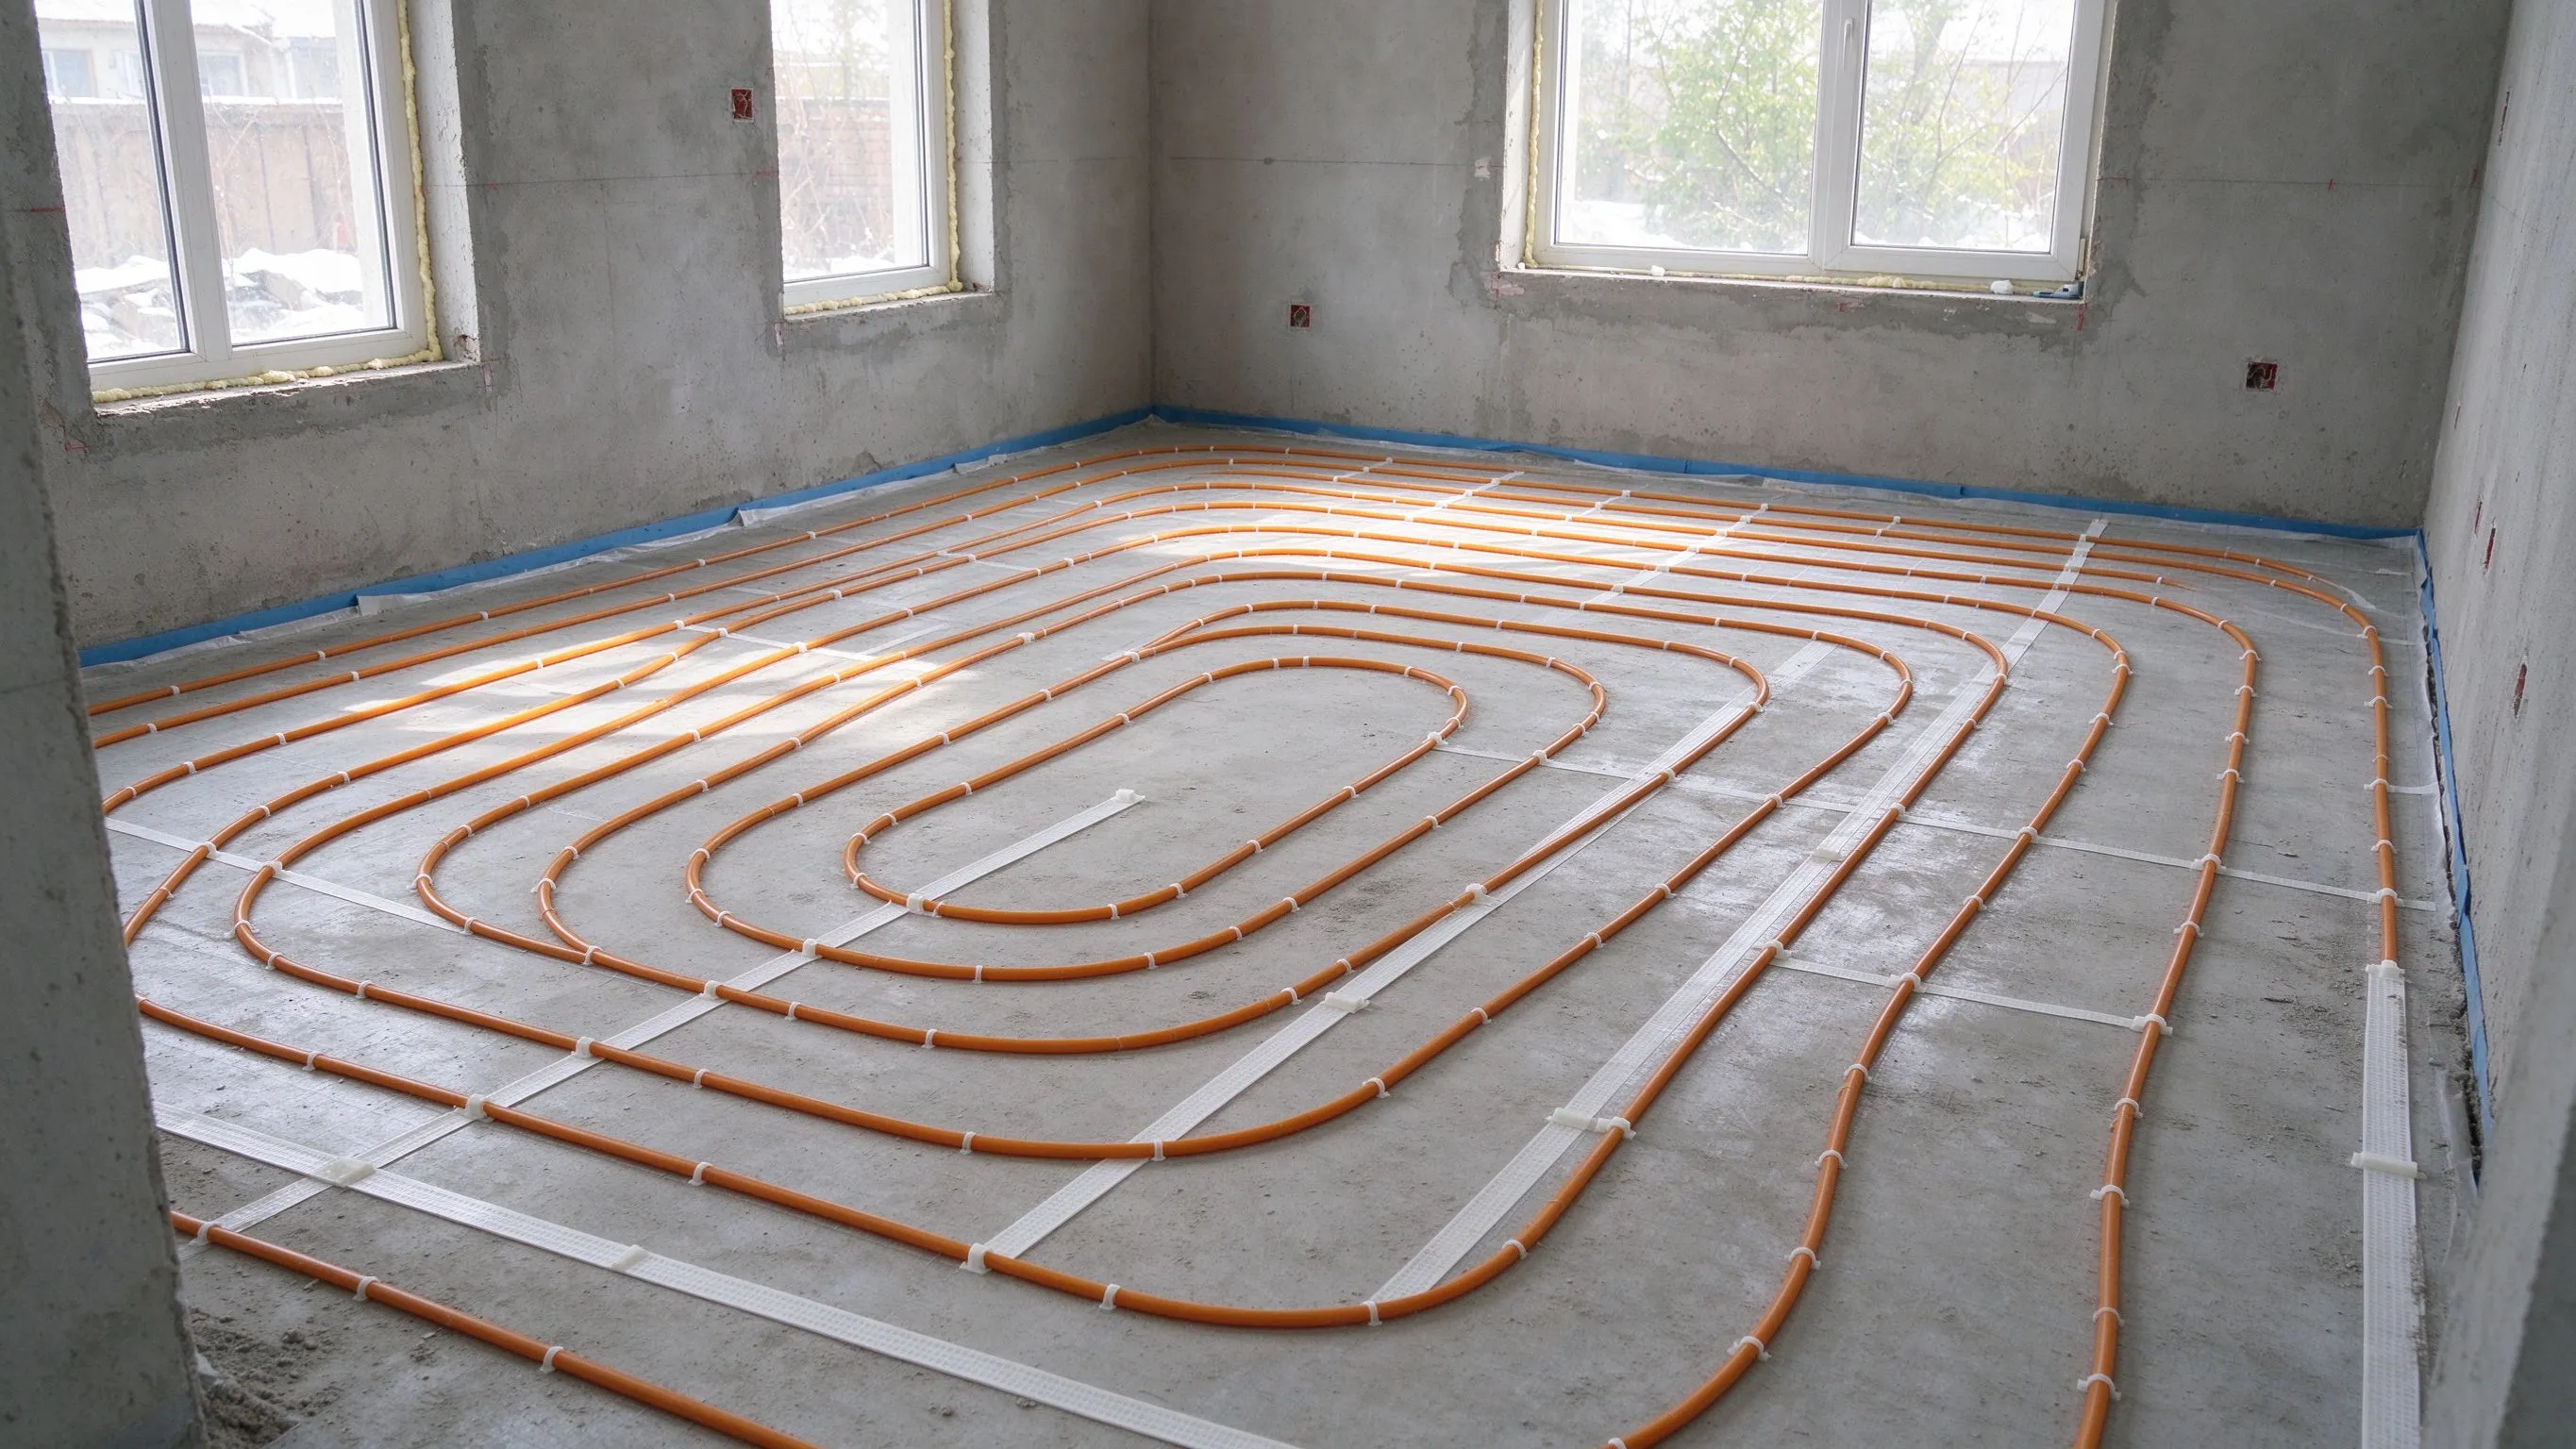
A screed-embedded system starts not with the cable, but with the layers beneath it. The correct build-up from structural slab upward is:
- Structural subfloor — clean, level, free of debris and protruding nails.
- Damper membrane — a polyethylene sheet laid over the slab to stop the screed drying too fast and to dampen ground moisture.
- Edge insulation strip — fitted around every wall, pipe penetration and column. This critical gap prevents the screed from bonding to the wall and stops thermal bridging into the structure.
- Insulation board — rigid foam insulation laid across the whole floor area. This is the single most important efficiency component: without it, half the heat from the cable drops into the slab below instead of rising into the room.
- Fixing layer — either a mounting rail/strip system or a heavy-duty fixing mesh, onto which the cable is clipped.
Get the insulation right and the floor heats from above; skip it and you are heating the building’s foundation. Our own technical guidance for partners consistently flags missing insulation as the root cause of “my underfloor heating never gets warm” complaints.
Heating Cable Spacing Under Screed: How Close Is Right
Spacing determines output. Heating cable output is rated in watts per meter of cable; spread over a floor, the watts per square meter depends entirely on how tightly the loops are laid. Typical practice for screed-embedded electric underfloor heating:
| Room type / insulation level | Typical loop spacing | Approx. target output |
|---|---|---|
| Well-insulated living area, main heating | 100–150 mm | ~150–200 W/m² |
| Bathroom / higher heat demand | 75–100 mm | ~200–250 W/m² |
| Perimeter strips near external walls | Closer than room center | Compensates higher heat loss |
| Light-duty / supplement heating | 150–200 mm | ~100–140 W/m² |
Two rules of thumb. First, never run the cable closer than 50 mm to walls, furniture zones or wall base areas, and never loop the cable within 100 mm of where fixed cabinetry will sit — the trapped heat has nowhere to go. Second, adjust spacing, not cable power: a room plan usually calls for constant spacing across the open floor, tightened near glazing and external walls to offset the cold draft there. Design output against a proper room heat-loss calculation rather than copying a neighbor’s spacing.
Fixing Heating Cable to Screed Floor Substrates
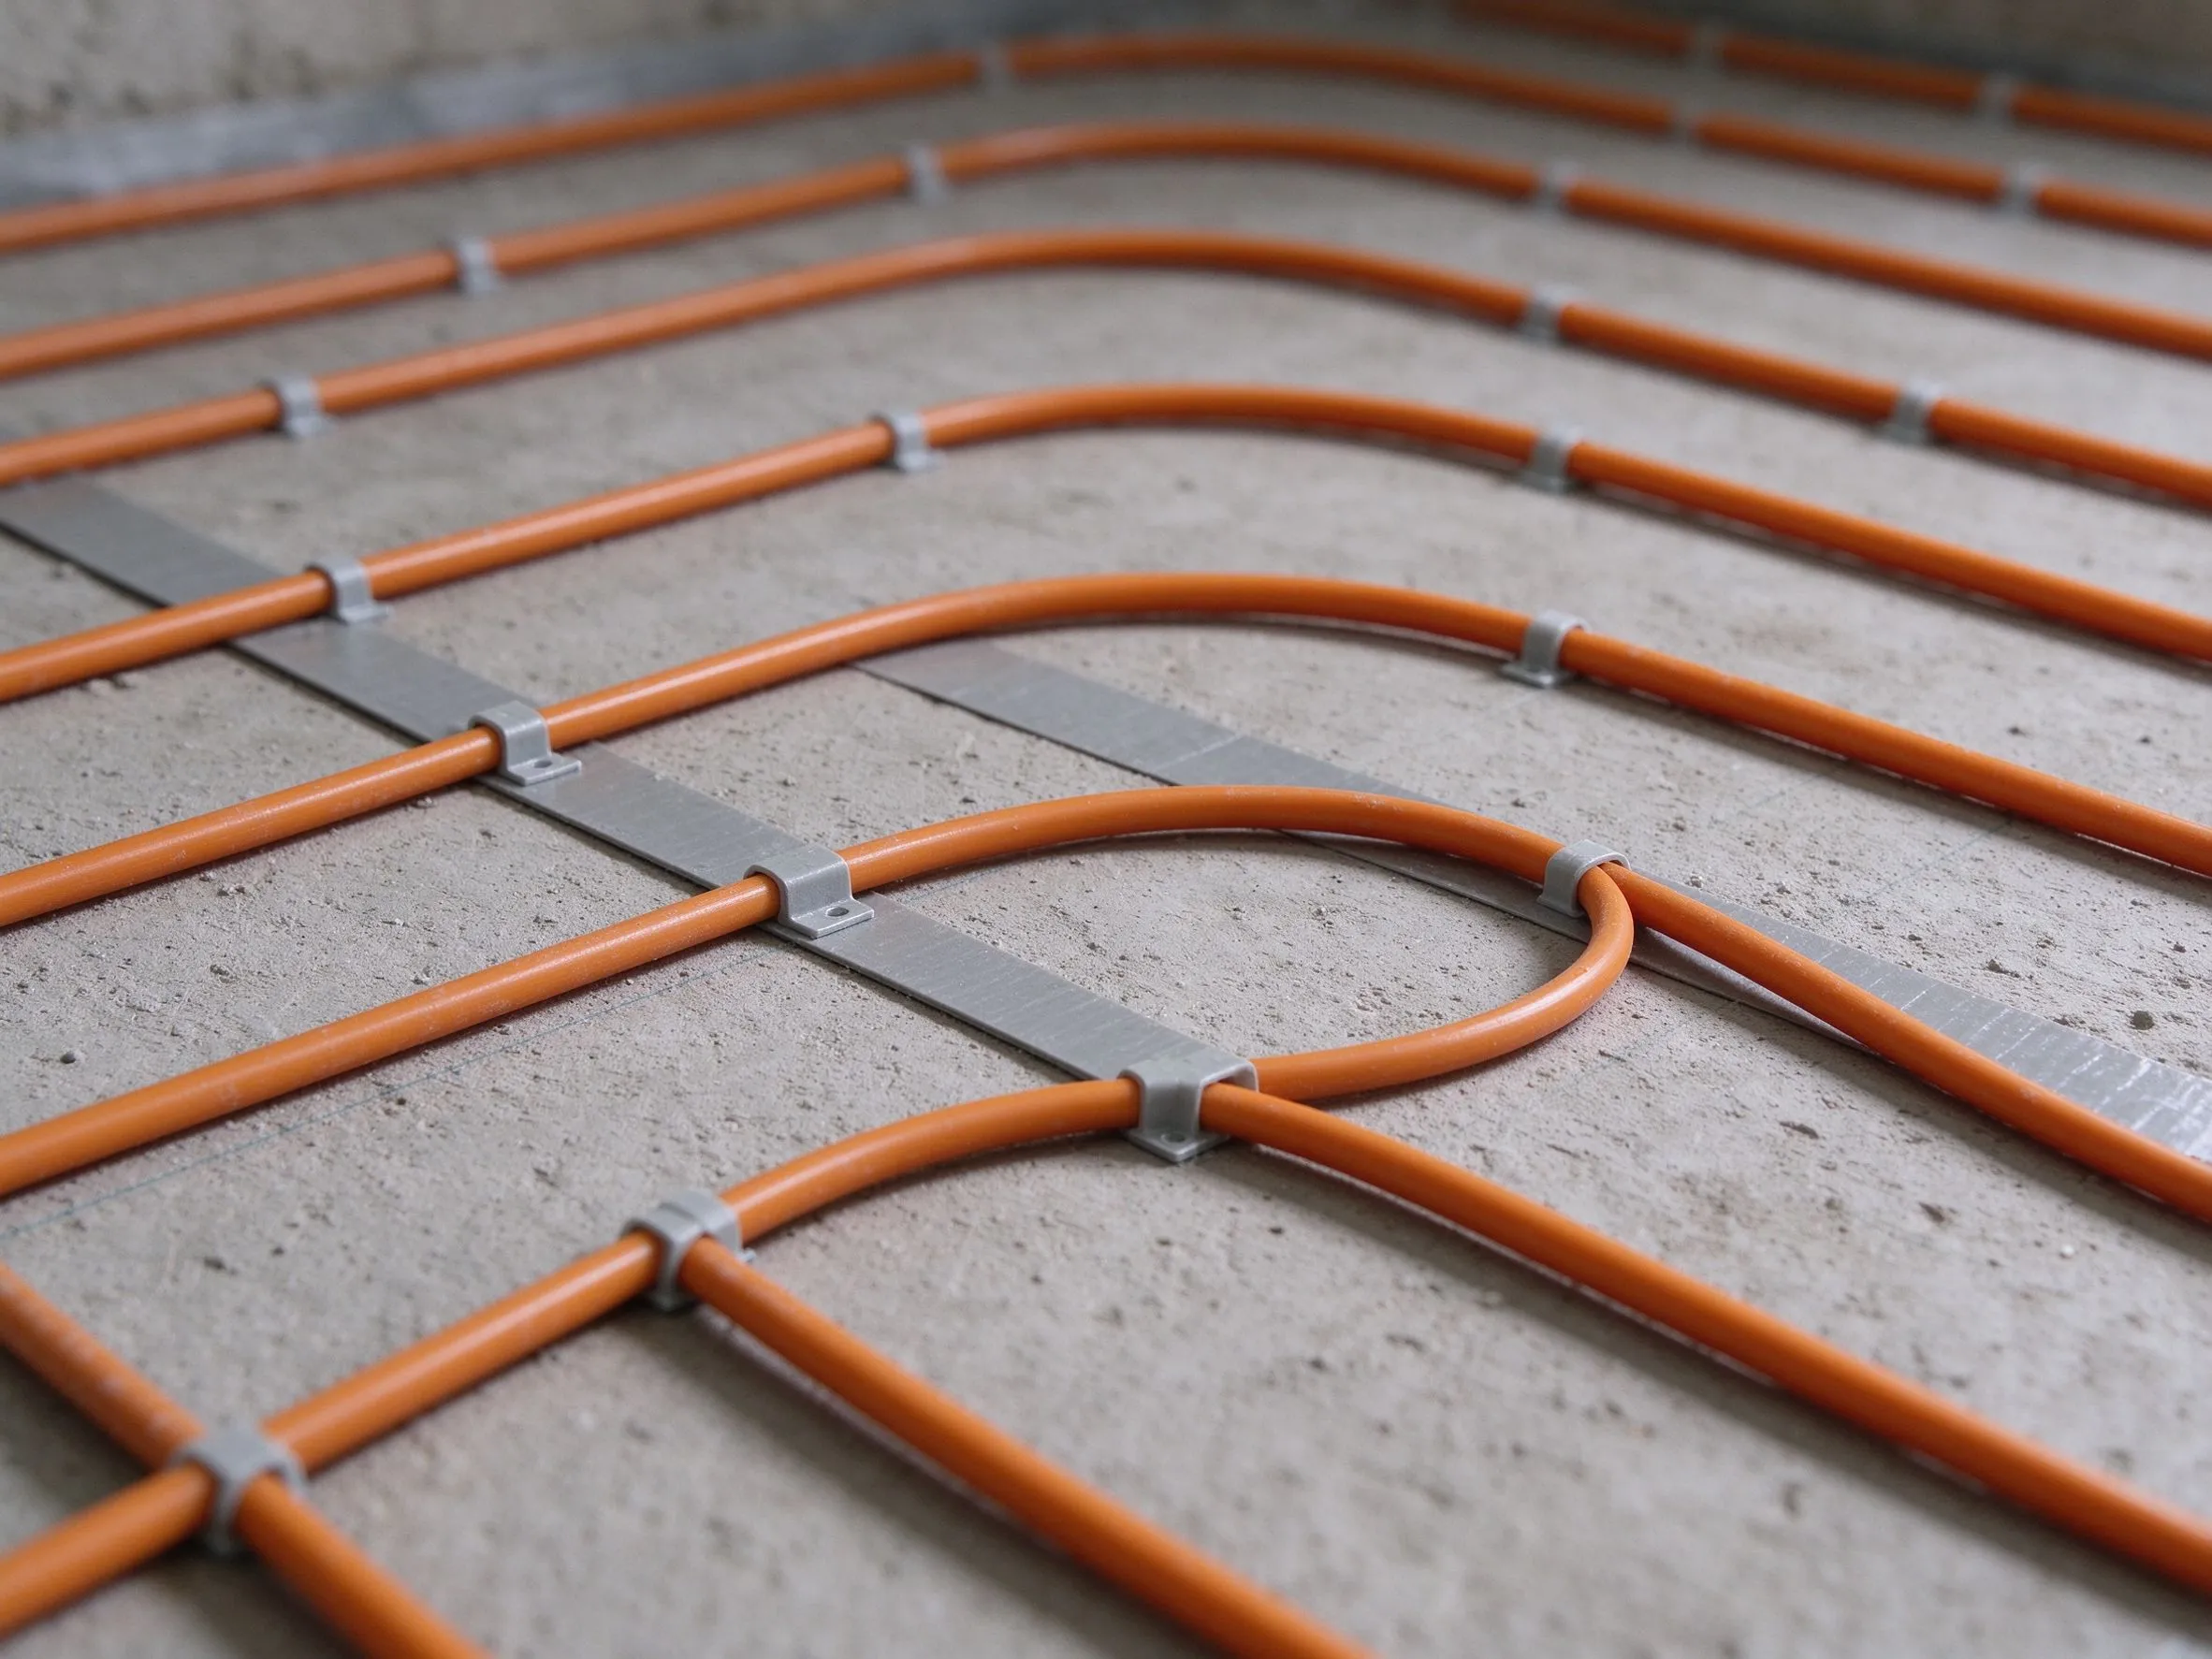
Once the layout is marked out on the insulation board, the cable has to be held exactly where you planned it. The fixing heating cable to screed floor step uses one of three proven methods:
- Mounting strip / rail systems. Plastic or galvanized fixing strips are taped or stapled across the insulation board in straight lines. The cable clicks into the strips at every loop turn. This is the cleanest method for professional projects and is what we supply as a heating cable OEM factory package — cable plus fixing strips plus sensors in one kit.
- Fixing mesh. A wire mesh laid over the insulation, with the cable tied on with cable ties or clipped. Flexible on irregular shapes, slightly slower on large rectangles.
- Double-sided fixing tape. Fast for small areas and retrofit patches, but the least secure under wet screed — use it only where strips are impractical.
Whatever the fixing method, the cable must never touch, cross or rest against itself, and the minimum bend radius specified by the manufacturer (typically around five to six times the cable diameter) must be respected at every loop turn. A kinked cable is a damaged cable — and no one discovers it until the floor is finished.
The Two Moment-of-Truth Tests Before Pouring
Before a single bag of screed is mixed, the installed cable gets tested twice. This is non-negotiable on any professional job.
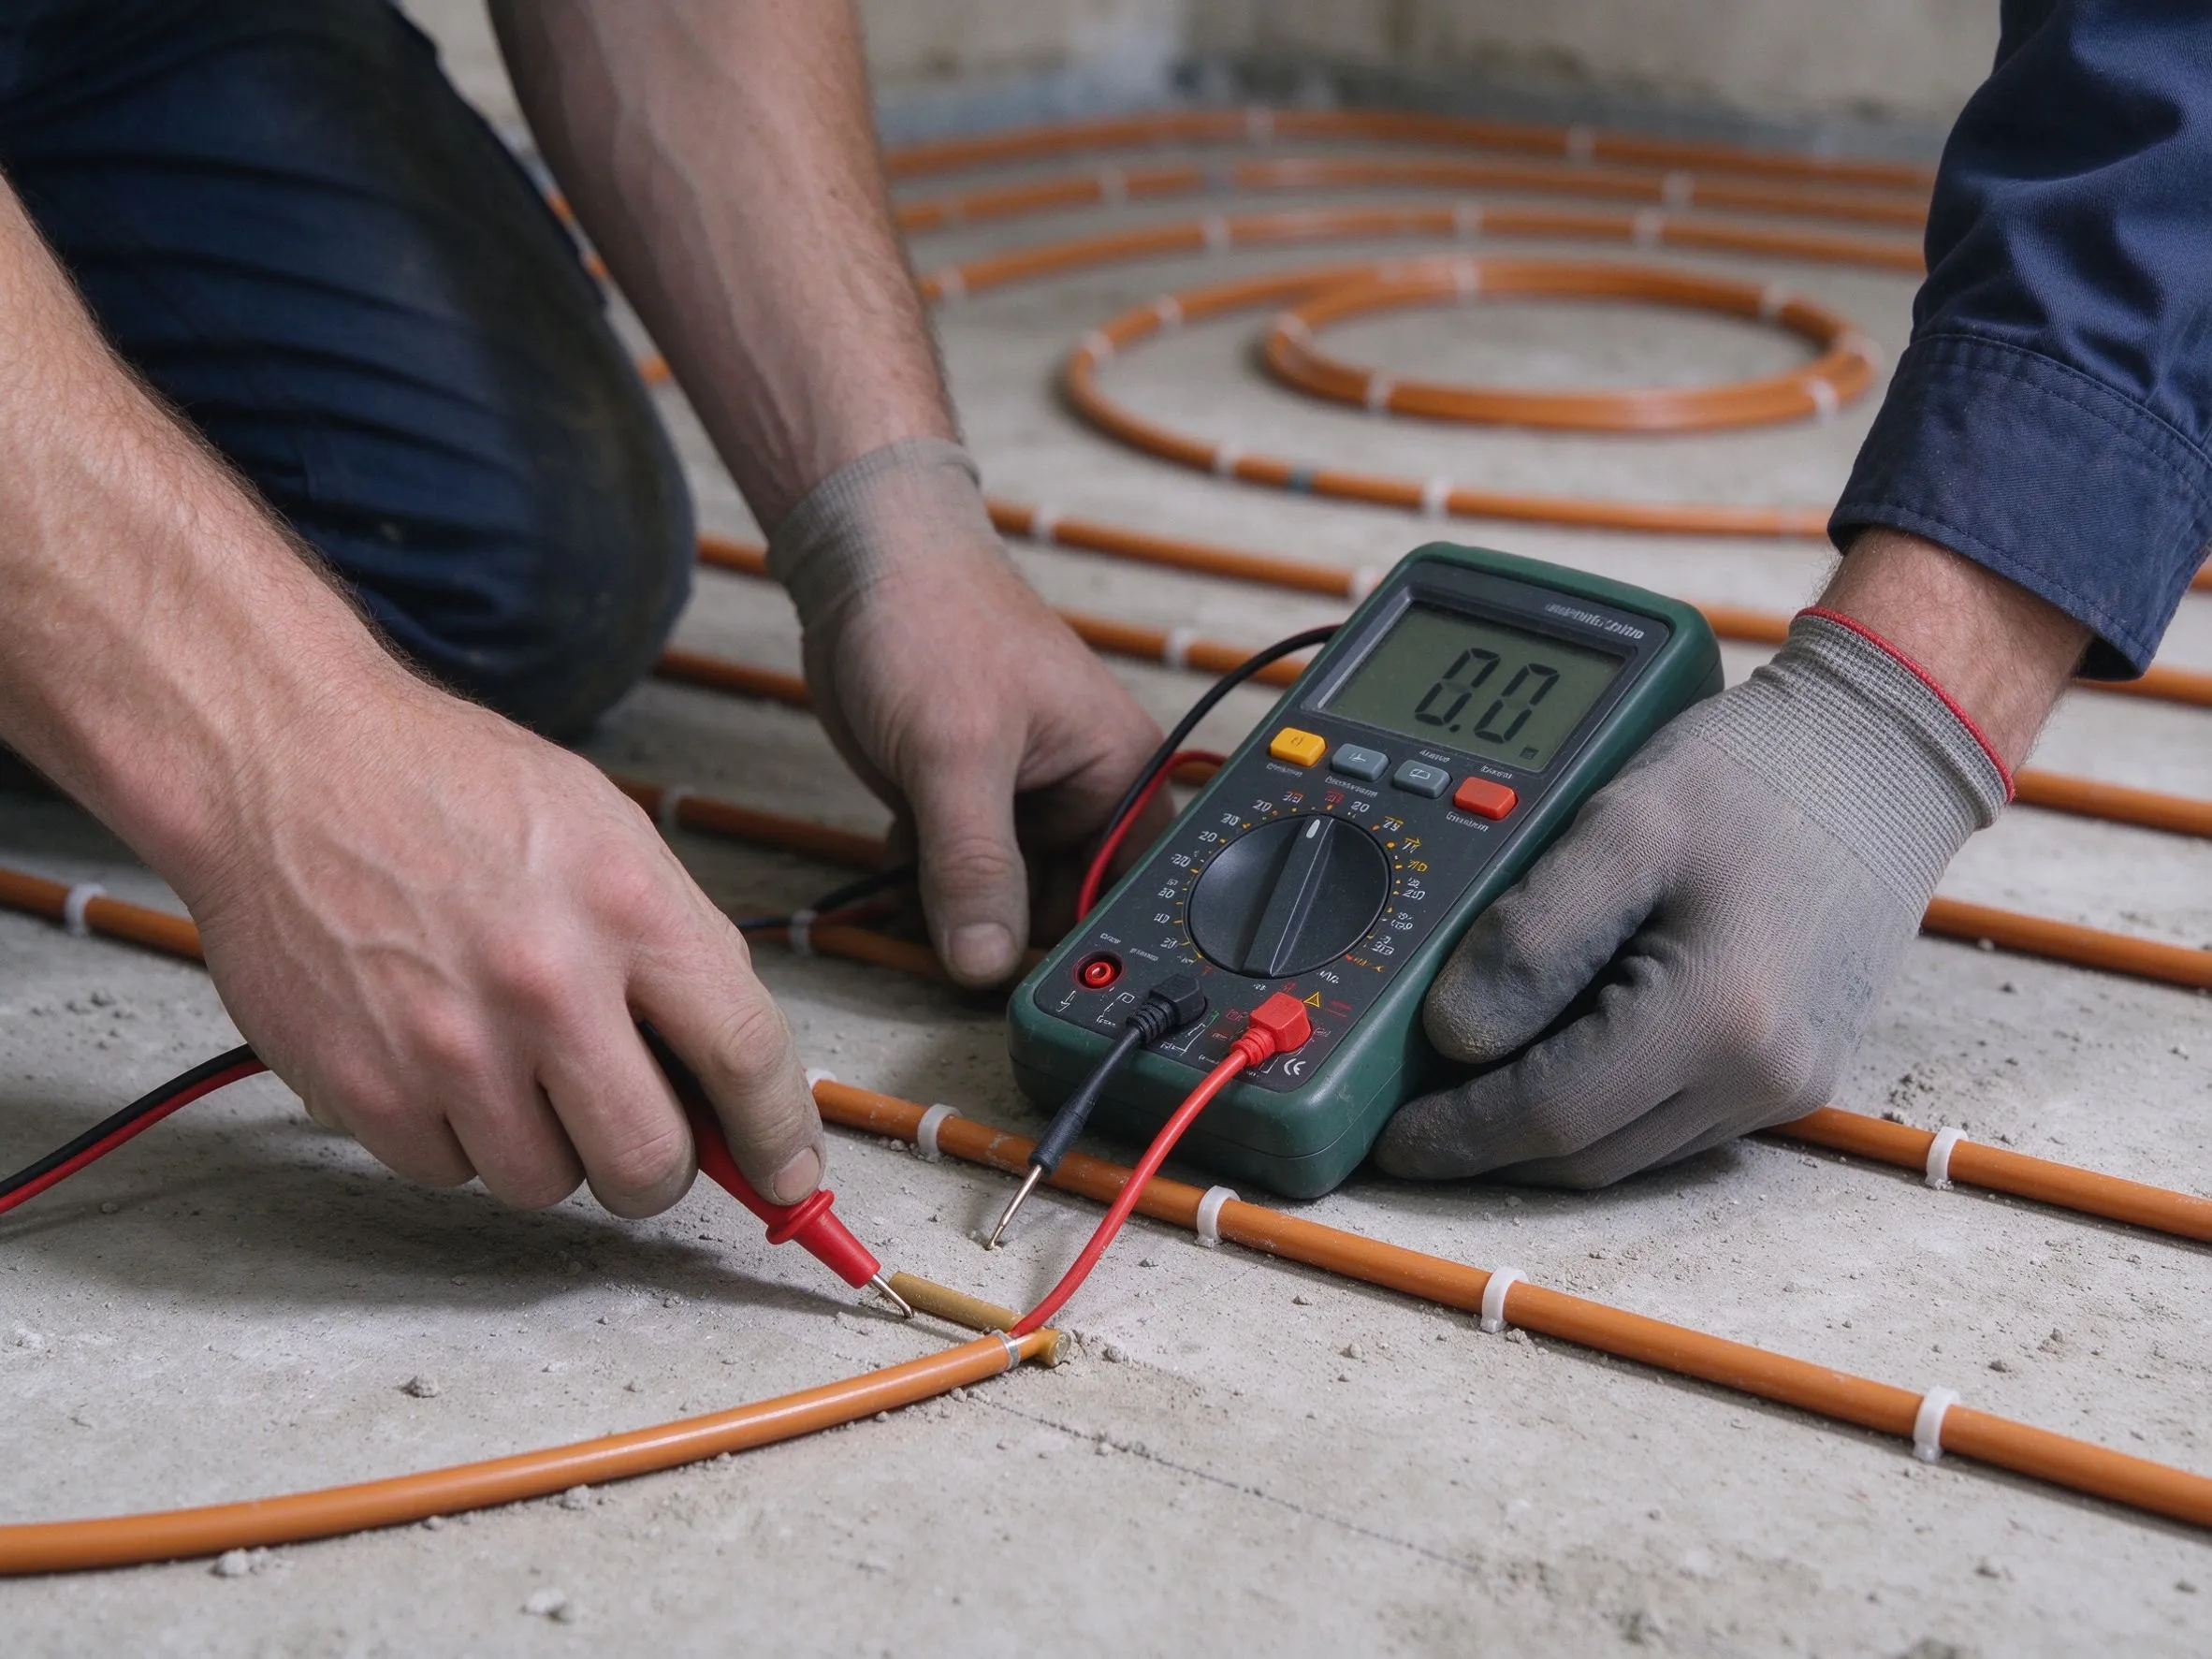
Test 1 — after laying. Measure the cable resistance with a multimeter and compare against the manufacturer’s rated value on the cable label. Also check the earth-continuity / insulation reading. Write the numbers down.
Test 2 — after pouring. Once the screed has been placed and floated, re-measure. Pouring drags trowels and vibrators across the floor; a cable that survived laying can get nicked during screeding. If the post-pour reading has drifted from the pre-pour reading, you still have a thin, wet floor to fix it in — not a finished one to break up. Our commissioning guidance in the testing and balancing guide covers the same discipline for hydronic systems.
Pouring, Finishing and Screed Drying Time
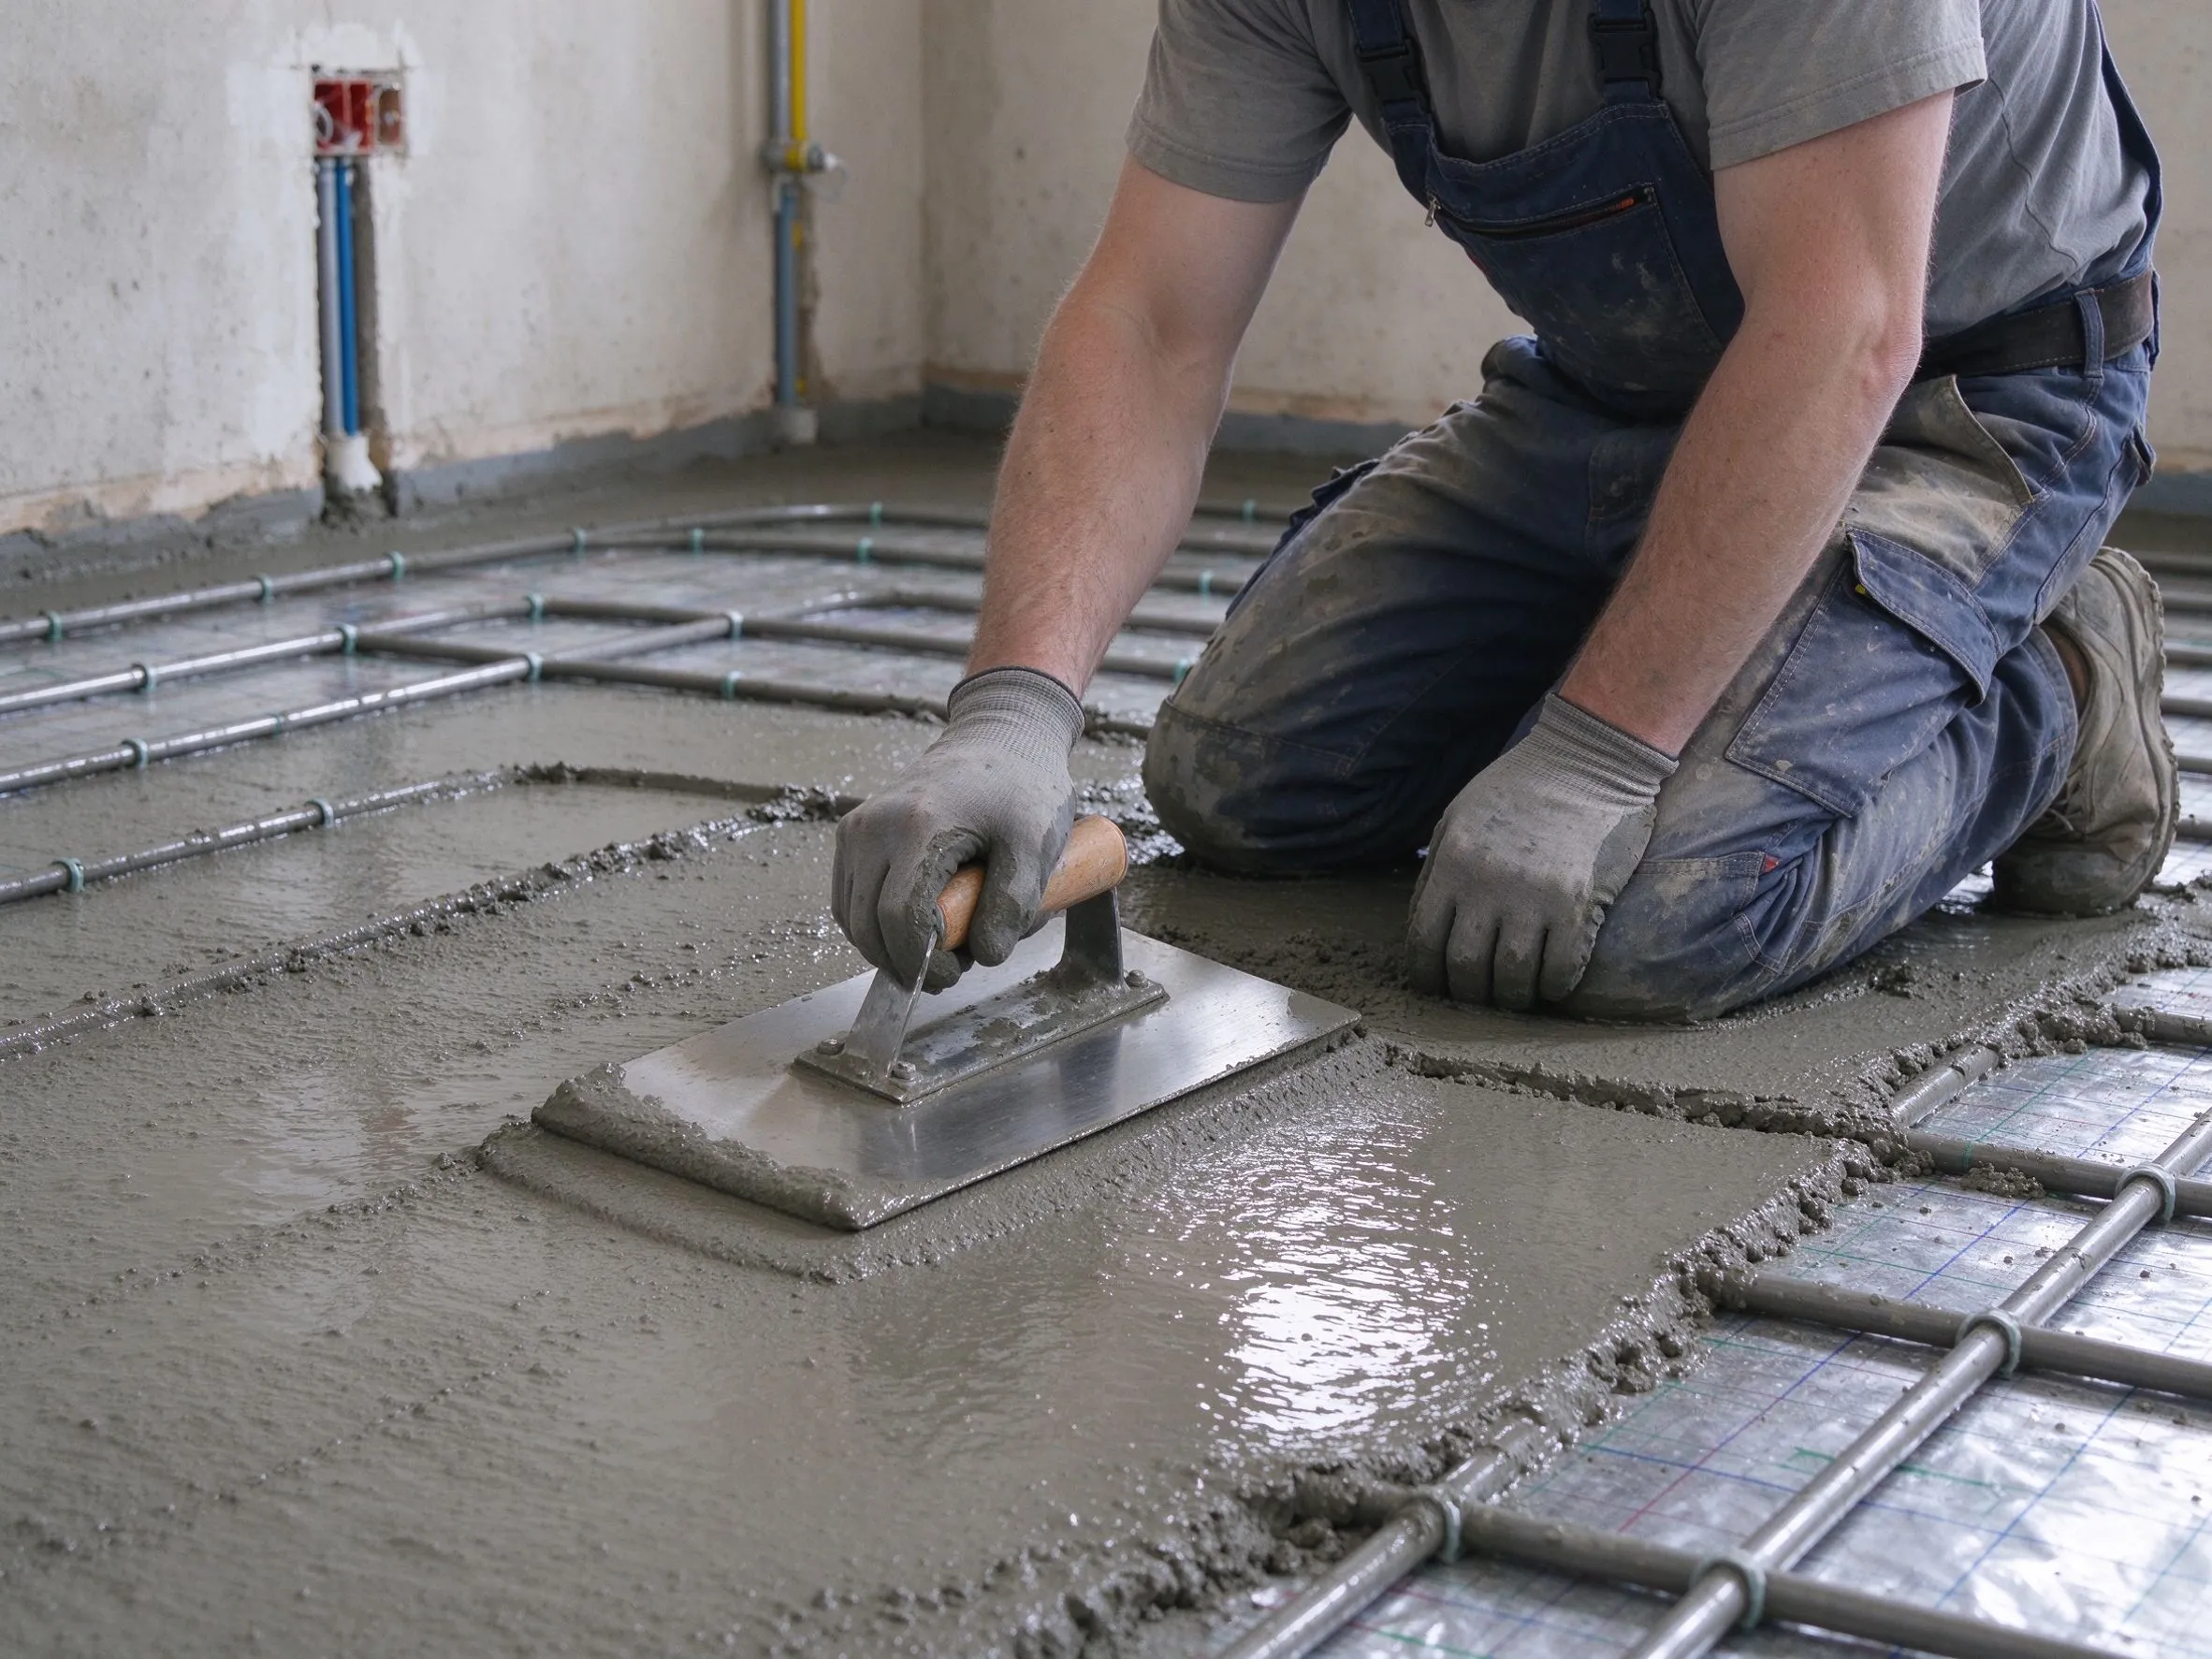
With tests passed and the floor marked (photos taken, measured values recorded), the screed goes in. Conventional sand-and-cement screed is pumped or barrowed on and floated level over the cable; anhydrite (calcium sulfate) screeds flow more fluidly and self-level, which is why they are popular on large underfloor projects. During pouring, at least one person stays on the floor as a cable watch — watching where the pump hose and the float are, and flagging any spot where the cable might be pressed or cut.
Then comes the waiting. The screed underfloor heating drying time rule is the most misunderstood step in the whole process. A new cement screed must dry naturally, with the heating OFF, until it has reached its design strength and moisture content — typically a minimum of 21 days for a standard sand-and-cement screed, and often longer in cool, damp weather. Never turn the heating on to “speed up drying”: rapid surface drying cracks the screed and ruins the floor. Only after the drying period, confirmed by a moisture reading when in doubt, do you begin the gradual warm-up schedule — a low starting temperature raised in small daily increments over a week, which drives off residual moisture without thermal shock.
Six Mistakes That Cause Underfloor Heating Failures
After thousands of embedded installations reviewed with our distributor network, a short list of mistakes accounts for the vast majority of call-backs. Mistake one: omitting or skimping on the insulation board, which dumps heat downward and guarantees a cold floor. Mistake two: bending the cable too sharply at loop turns, which damages the internal conductor — always respect the manufacturer’s minimum bend radius. Mistake three: crossing or overlapping cable loops, which creates a hot spot and weakens the insulation at contact points. Mistake four: forgetting the edge insulation strip, which lets the screed bond rigidly to walls and crack as it moves. Mistake five: turning the heating on too early to “dry the screed faster,” which produces surface cracks and trapped moisture underneath. Mistake six: skipping the post-pour resistance test, which means a cable nicked during screeding stays hidden until the first winter. Each of these mistakes is cheap to avoid on the drawing board and expensive to fix in a finished floor.
Controls, Sensors and Documentation
Every embedded loop needs two temperature sensors: the floor sensor wired to the thermostat, buried in the middle of the floor in a protective conduit sleeve (so it can be replaced later if needed), and the ambient room sensor that lets the thermostat balance floor and air temperature. Pair the system with a smart thermostat — our guide to WiFi thermostat technology covers why schedule-based control recovers the energy savings the installation earned. And keep the records: resistance readings before and after pour, cable model and length, spacing plan, and photos of the bare floor before screeding. In 15 years, that folder is what lets a service technician diagnose a problem without breaking up the floor.
Electrical Connections: Thermostat and Sensor Wiring Basics
The mechanical installation is only half the job; the electrical side has to be done to mains standard. The heating cable connects through a dedicated mains circuit to the thermostat, which switches the load directly or through a contactor on larger floors. Two temperature sensors are run with the cable: the floor sensor, laid in a flexible conduit at the midpoint of the largest loop area so it can be replaced without breaking the floor, and the room sensor built into the thermostat itself. Never lay the floor sensor inside the conduit touching the heating cable — it should sit in the gap between two cable loops, sensing the floor temperature rather than the wire. All connections, junction boxes and the RCD/GFCI protection should be completed by a qualified electrician, and the final commissioning run — a slow ramp-up across several days — is logged together with the initial resistance readings as the permanent record of the installation.
Frequently Asked Questions
Can I embed heating cable in an existing screed? Not in a finished floor. The cable must be laid into fresh screed during construction. For existing rooms, thin-profile heating mats under tile or self-adhesive film over the old floor are the renovation-friendly routes.
How thick should the screed be over the cable? A typical cover of 20–30 mm above the cable, with a total screed depth of around 50–70 mm, is standard practice. Thinner cover risks cracking; much thicker cover adds heat-up time and inertia.
How long before I can walk on the new floor? Follow the screed manufacturer’s curing guidance — usually light foot traffic after a few days, full strength and moisture equilibrium around 21 days or longer, before heating is introduced.
Can I tile directly onto the screed? After drying and warm-up, yes — the finished screed surface is prepared and tiled in the normal way. Underfloor heating does require flexible tile adhesive and grout rated for heated floors.
What floor finishes work over embedded cable? Tile and stone are ideal. Wood and laminate are possible with low-temperature operation and correct underlay, which we cover in the laminate flooring installation guide as the relevant thin-film alternative.
Does embedded heating cable need its own electrical circuit? Yes. A dedicated circuit with its own breaker and RCD/GFCI protection is the standard expectation; never share the floor circuit with high-power appliances. A qualified electrician should connect the thermostat and sensors — this is a mains-voltage installation on most projects.
Source Your Cable and Kits From a Factory That Supports the Whole Process
SunAura Thermal manufactures heating cables, fixing strip systems, floor sensors and matched thermostats at our Qingdao factory, and supplies them as complete kits to contractors and distributors. With 17 years of heating manufacturing experience, ISO 9001/14001/45001-certified production, CE and RoHS-documented product lines and export experience across more than 50 countries, we support partners with everything a screed-embedded project needs — from design guidance and kit configuration to heating cable wholesale supplier pricing on volume orders. Browse our heating cable range, or talk to our team about OEM kit programs for your next project season.
About the author: Ethan Sun is the Founder and CEO of SunAura Thermal. A manufacturing engineer by background, he personally reviews installation-spec questions from distributors and has helped refine the technical guidance behind SunAura’s heating cable kits sold into European and North American markets.