
The decision that decides whether a mat lasts
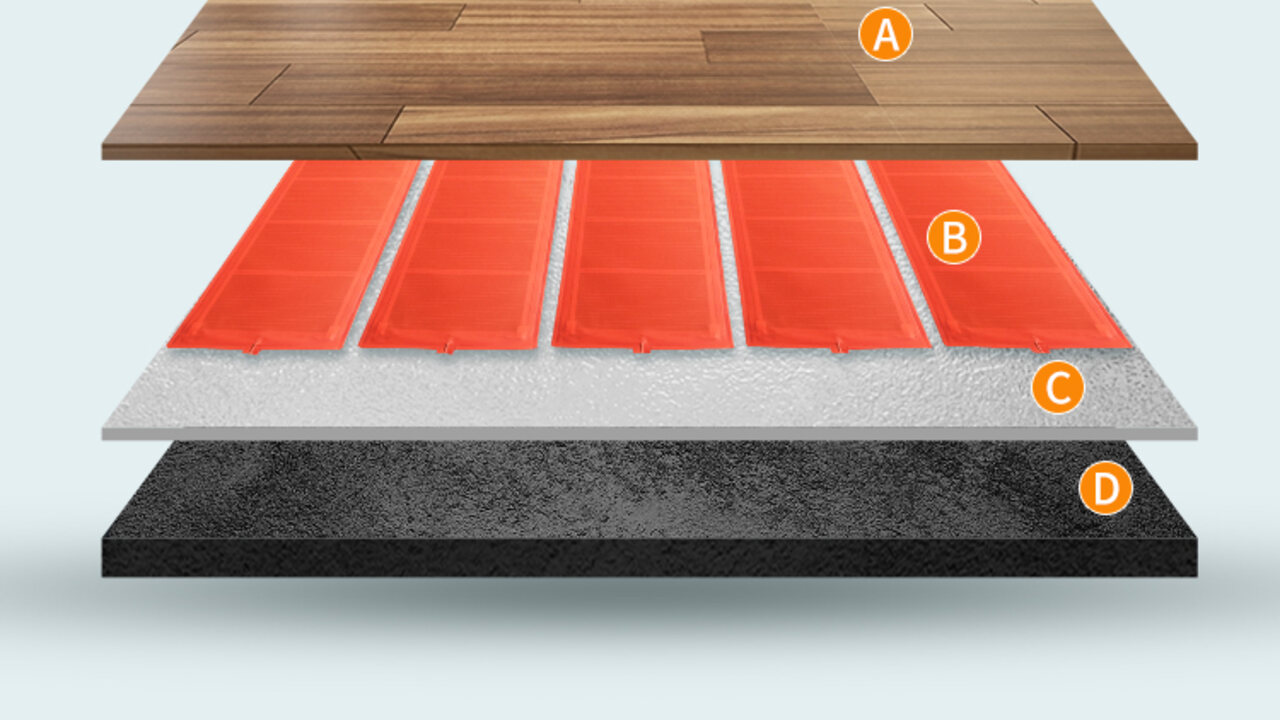
A 160 W/m² heating mat is roughly 3.6 mm thick. The material you put over it — tile adhesive or self-levelling compound — decides how fast the floor responds, whether the tile bonds, and whether the mat survives the first decade. The two routes are not interchangeable, and the difference is not cosmetic.
This guide is for buyers and installers specifying electric mats for tile, stone and LVT finishes. It compares adhesive and self-levelling compound on thickness, heat transfer, working time, cost and failure risk, gives the build-ups that work in each case, and sets out the questions to settle before a bulk order. Where a number is a factory figure, it comes from SunAura product data; where it is site experience, it is labelled as such.
Ethan Sun, Founder & CEO, SunAura Thermal
Route A: mat embedded in tile adhesive
The mat is laid on the prepared substrate, fixed with a thin bed of flexible adhesive, and the tile is laid directly over it while the adhesive is still open. Total build-up is typically 8–12 mm including tile, which makes this the standard choice for renovation where the finished floor cannot rise.
Three conditions have to be met or the route fails:
- Flexible adhesive, not standard. A C2TE S1 classification is the minimum; the mat’s polyethylene body does not bond to a rigid cement bed, and a de-bonded mat becomes an air gap, which is a hot spot.
- Full coverage under the tile. The adhesive must be combed and back-buttered so that coverage exceeds 90 percent. Voids under tile are the single most common cause of a cold strip that shows up as a temperature difference of 3–5 °C across a room.
- No traffic for 24 hours. The mat can be walked on for layout, but the finished tile cannot. Adhesive needs a full day before grouting.
The thermal consequence is a fast floor. With 4–6 mm of adhesive between the element and the tile surface, the floor reaches setpoint in 20–35 minutes, which is why bathrooms specified for quick dry-out usually take this route.
Route B: mat covered with self-levelling compound
The mat is fixed down, primed, and covered with 3–5 mm of self-levelling compound. Tile, LVT or engineered wood then goes on top with its own adhesive. Build-up is 10–16 mm depending on the compound thickness, and the route is chosen when the floor is uneven, when the finish is not tile, or when speed matters more than height.
The advantages are real: the compound finds its own level, so flatness is solved in one pour; it protects the mat from the trowel; and it can take foot traffic in 4–6 hours. The penalty is that a 5 mm compound layer adds thermal mass, so the floor responds 10–15 minutes slower than the adhesive route, and the compound must be a fibre-reinforced, heating-compatible product — a standard renovation compound can crack over a heated mat.
Side-by-side comparison
| Factor | Tile adhesive (Route A) | Self-levelling compound (Route B) |
|---|---|---|
| Build-up over mat | 4–6 mm plus tile | 3–5 mm plus finish adhesive |
| Total floor rise | 8–12 mm | 10–16 mm |
| Heat-up response | 20–35 min to setpoint | 30–50 min to setpoint |
| Flatness achieved | Depends on tiler skill | Self-levelling, ±1 mm over 2 m |
| Time to foot traffic | 24 hours | 4–6 hours |
| Material cost | €5–9 / m² | €8–14 / m² |
| Main failure mode | Voids under tile, de-bonding | Cracking from wrong compound or too-thin pour |
| Best for | Bathrooms, kitchens, fast dry-out, height-critical retrofit | Uneven substrates, LVT and wood finishes, phased site work |
| Worst for | Large format tile over uneven slabs | Height-critical retrofit under a 10 mm threshold |
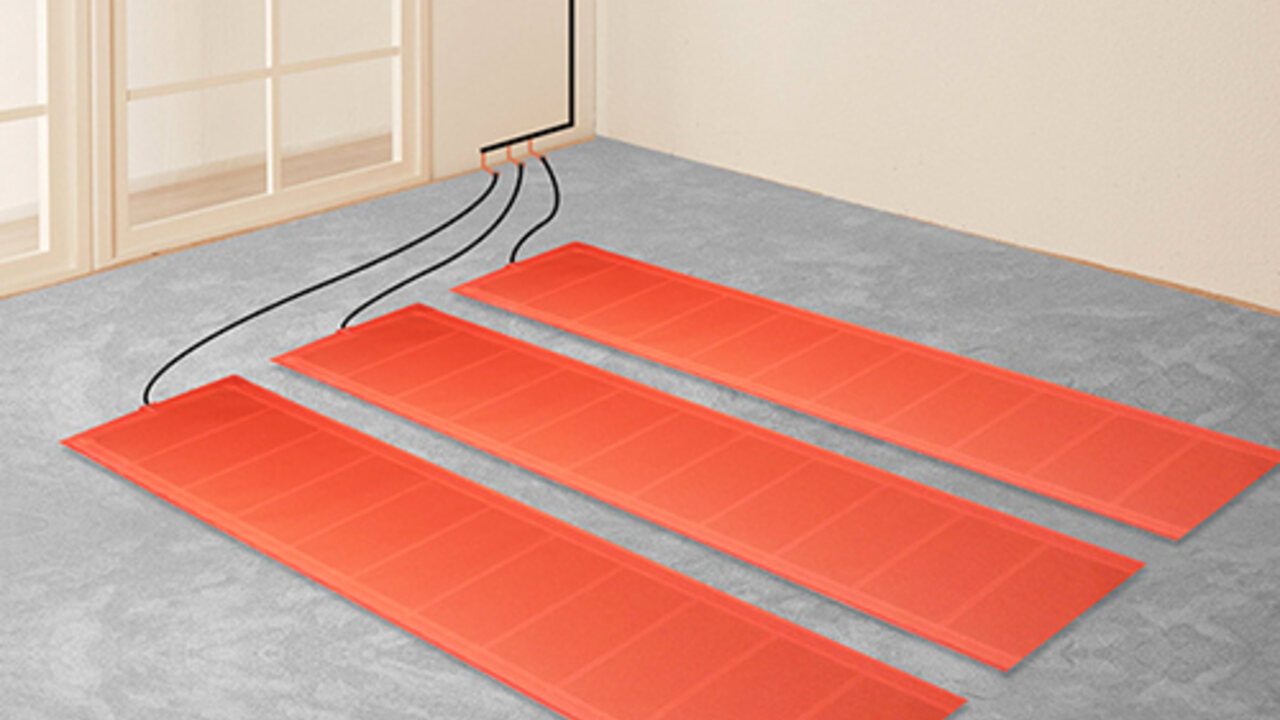
Both routes require the same two things that no compound can fix: a clean, primed substrate, and a floor probe installed in the heated area between two mat runs, not at the wall.
Where each route fails in practice
Adhesive failures
They cluster around coverage. A tiler working fast on a 160 W/m² mat has a 20-minute open time per batch, and the temptation is to comb and lay without back-buttering. The result is a tile that sounds hollow at one corner and runs 4 °C cooler than its neighbour. On a small bathroom nobody notices; on a 40 m² kitchen the client does.
Compound failures
They cluster around chemistry and thickness. A standard smoothing compound with no polymer modification shrinks as it dries and cracks over a mat that cycles to 40 °C. A pour thinner than 3 mm over a 3.6 mm mat leaves high spots where the mesh sits proud, and the mat’s own thickness becomes the crack initiator.
The shared failure
Both routes fail when the mat is switched on before the bedding has cured. Adhesive needs 7 days and compound 3 days at 20 °C before the first full heat cycle, and that first cycle should ramp at no more than 5 °C per day. Turning a new floor to 30 °C on day two is the fastest way to crack a bed that would otherwise have lasted twenty years.
Data and evidence
Thickness and output figures above come from SunAura product data for the NHHC-02 mat range. Factory facts, per SunAura factory records:
- 17 years manufacturing heating film, mat and cable at the Qingdao Huangdao plant, with mat assembly and final electrical test on one site.
- ISO 9001 and ISO 14001 certification, plus ISO 45001 for occupational safety.
- CE, RoHS, LVD and EMC documentation held per family for European buyers.
- Export to more than 50 countries, with the mat range shipping in 0.5 m widths and custom lengths to reduce waste.
- 15-year warranty on mats, conditional on insulation resistance being recorded before and after covering.
The cost ranges are European trade bands for 2026 and vary with local merchant pricing. The response times are site measurements from renovation projects, not laboratory figures, and they depend on insulation and floor mass as much as on the bedding.
Buyer’s checklist before ordering
- Confirm the finished floor height available. Under 12 mm, only the adhesive route fits.
- Confirm the finish: tile takes adhesive; LVT and engineered wood usually need a compound.
- Ask for the mat’s installed thickness and the recommended bedding depth in writing — not on a web page.
- Specify flexible adhesive C2TE S1 or better, and require 90 percent coverage in the tender document.
- Require the compound to be heating-compatible and fibre-reinforced, with a minimum 3 mm over the mat.
- Record insulation resistance at three points: before covering, after covering, and after the first heat cycle.
- For a bulk order, confirm the drum or roll length and whether cut lengths are available, because waste in small rooms is a real cost line.
If the project mixes both routes — tile in the bathrooms, LVT in the bedrooms — order the same mat family for both and change only the bedding. Mixing families adds a second set of test records and a second warranty condition for no technical gain.
FAQs
Can I use ordinary floor tile adhesive over a heating mat?
No. Use a flexible, polymer-modified adhesive classified C2TE S1 or higher. Ordinary adhesive is too rigid and de-bonds as the mat cycles, which creates voids and hotspots.
How thick should the self-levelling compound be over a mat?
3–5 mm over the highest point of the mat, never less than 3 mm. Thinner pours leave the mesh proud and crack along it.
Which route heats up faster?
Adhesive. With 4–6 mm between element and tile the floor reaches setpoint in 20–35 minutes; a 5 mm compound adds 10–15 minutes because of its thermal mass.
Can I tile directly onto the compound the same day?
Not usually. The compound takes foot traffic in 4–6 hours but needs 24 hours before tile adhesive is applied, and 3 days before the first heat cycle.
Installers specifying mats for both routes can check mat thickness and roll lengths on the mat specification page. If the project also includes irregular rooms, the cable range avoids the waste factor that mats carry in L-shaped spaces.