
Snow melting cable is not a heated mat with a bigger label. A driveway, a loading ramp or a hospital entrance slab loses heat to the ground and to the wind far faster than an indoor floor, so the cable has to be sized against the coldest night of the year, not against a comfortable room temperature. SunAura builds constant-wattage twin-conductor and self-regulating cables for in-slab snow melting from 150 to 350 W/m², with the loop pattern, sensor logic and control cabinet matched to your site — quotation from your area drawing within 48 hours.
Where snow melting cable actually earns its cost
There are four situations where the cable pays back faster than salt, ploughing or manual clearing:
- Slopes and ramps. Any gradient above about 8% becomes dangerous under ice. A ramp at a hospital, a hotel or a distribution centre cannot be closed for two hours while a crew clears it.
- Fixed-schedule logistics. Loading docks and cold-chain yards run on time windows. A 20-minute delay per truck compounds across a shift.
- Surfaces that cannot take salt. Concrete younger than one winter, natural stone, brick pavers, and any surface above a membrane or a drainage channel. Salt destroys all of them, and the run-off kills planting beds.
- Public and institutional entrances. Schools, clinics, stations and city walkways carry a liability duty that a maintenance contract cannot fully discharge.
Three layers of the system — cable, sensor, control
Most failed snow melting installations fail on layer two and three, not on the cable.
Layer 1 — the cable
Two families are used in slabs:
| Type | How it behaves | Best fit |
|---|---|---|
| Constant wattage twin conductor | Fixed output per metre regardless of temperature; simple, inexpensive, needs a thermostat to protect it | Straight runs, regular rectangles, cost-driven projects |
| Self-regulating (PTC) twin conductor | Output falls as the cable warms, so it cannot overheat where loops are close or coverage is uneven; can be overlapped at joints | Curved driveways, irregular paving, ramps, areas with partial snow cover |
For in-slab work we specify 230 V or 400 V three-phase, XLPE insulation, tinned copper braid plus aluminium foil screen, and an outer jacket resistant to alkaline attack from fresh concrete. IP67 at the joint is the minimum; the cold lead should be at least 2 m so the connection sits outside the pour.
Layer 2 — the sensor
A slab sensor measures both temperature and moisture. Temperature alone is not enough: a dry slab at −5 °C must stay off, while a wet slab at +1 °C must run. Mount the sensor 30–50 mm below the finished surface, at least 300 mm from the cable, and never in a low spot where melt water pools. A second sensor on a north-facing reference slab is worth the extra cost on large sites.
Layer 3 — the control
Two strategies exist and they cost very differently:
- Idle-and-react. System starts when moisture and low temperature coincide. Cheaper to run, but the first 30–60 minutes of snowfall still accumulate and you get a wet, refreezing surface.
- Pre-heat on forecast. Controller reads a weather feed and warms the slab before the front arrives, so snow melts on contact and drains away. Energy use is higher, but the surface stays dry and safe throughout the event.
For public and institutional surfaces we recommend pre-heat; for private driveways idle-and-react with a manual boost button is usually enough.
Sizing: watts per square metre, not guesswork
Design output depends on climate, surface and acceptable clearing time. These are the bands we work to, to be confirmed against your design temperature and wind exposure:
| Application | Design output | Notes |
|---|---|---|
| Residential driveway, sheltered | 200–250 W/m² | Clearing in 60–90 min |
| Commercial driveway, exposed | 250–300 W/m² | Wind exposure raises demand |
| Ramps, bridges, multi-storey decks | 300–350 W/m² | Thin sections lose heat fast; bridge decks need the top band |
| Walkways and step treads | 250–300 W/m² | Narrow strips, high edge loss |
| Edge strips only (tyre tracks) | 250–300 W/m² in the strips | Lower capital cost, slower full-width clearing |
Two rules of thumb that save projects: keep loop spacing between 100 and 200 mm (spacing roughly three times the burial depth gives an even surface temperature), and never design at the nameplate maximum — leave 15–20% headroom for voltage drop and ageing.
Installation sequence that does not fail
- Set out the area and mark the zones; decide full coverage or tyre-track strips.
- Lay and tie the reinforcement mesh; the cable is fixed to the upper mesh layer, never to the ground.
- Fix the cable with plastic clips at 300–400 mm centres, keeping the loop pattern even at corners and never crossing itself.
- Bring cold leads out through a protected sleeve to a junction box above grade.
- Install the slab sensor and its reference sensor, then record the resistance and insulation values of every cable before pouring.
- Pour with a minimum 40–50 mm cover over the cable; no vibrator directly over a loop, no steel rake.
- After curing, repeat the insulation test; only then commission the controller.
Two measurements decide whether the installation survives: the insulation resistance before the pour and after curing. If either reading moves, stop and find the damage before the slab is finished.
What it costs to run
A 100 m² commercial driveway at 250 W/m² draws 25 kW at full output. A typical central-European winter might call for 300–500 full-load hours across the season, so 7,500–12,500 kWh. At 0.25 €/kWh that is roughly €1,900–3,100 per season — usually below the combined cost of a ploughing contract, salt, surface repair and the liability exposure of an icy ramp.
Send us five parameters, get a sized quotation in 48 hours
- Area — square metres, and whether full coverage or tyre-track strips
- Surface — asphalt, concrete, pavers, or deck; and the layer thickness above the cable
- Climate — design outdoor temperature and typical snowfall intensity
- Supply — 230 V single phase or 400 V three phase, and available capacity
- Control — manual, slab sensor, or forecast-based pre-heat
Send a site drawing or a photo with dimensions marked; we return the loop layout, cable schedule, control diagram and price.
Related pages
Indicative factory-direct range: US$18–60 per m², ex-works (cable 18–40, mats 30–60). Final price depends on W/m², area and control package — quoted within 24 hours.
- Heat trace cable for pipes, tanks and gutters
- Heating cable product range
- All application scenarios
- Heating film vs heating cable
FAQ
Can the cable go under asphalt?
Yes, but asphalt is laid hot and rolled, so the cable must sit in the concrete or binder layer beneath it, never in the asphalt itself. Hand rolling, not heavy equipment, protects the loops.
Will it crack the slab?
Thermal movement is real but small if the output is sized correctly and the slab has proper joints. Overpowering a thin slab is what causes trouble, not heating as such.
Does it work on existing driveways?
Only by adding a new 40–50 mm topping over the cable, or by milling grooves and covering them. Both are viable; the second is cheaper and slightly less even.
What happens if one loop is damaged?
Constant-wattage cables are sectional: the affected run is located by resistance measurement and the section replaced after cutting back to sound cable. Self-regulating cable tolerates local damage better but still needs repair.
Related outdoor pages
Related Products You May Need
Pair this product with compatible SunAura components — one factory, one warranty.
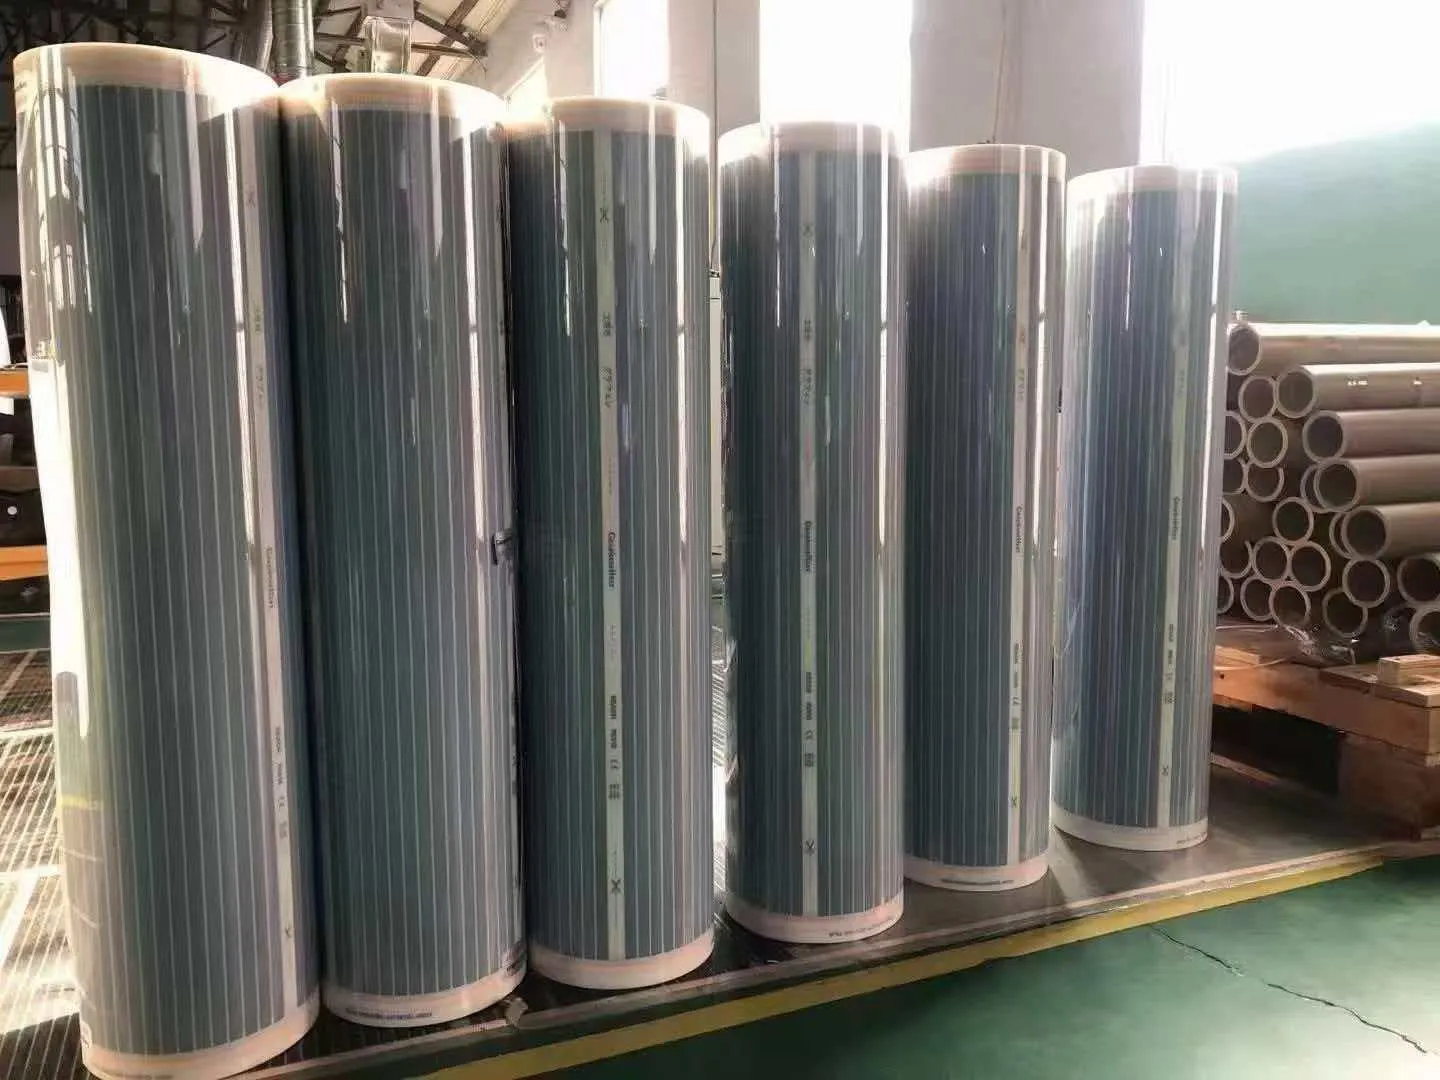
Graphene Heating Film
Ultra-thin, flexible far-infrared film with >99% heating efficiency. Widths 10–100 cm, IP67 waterproof, custom lengths for any project.
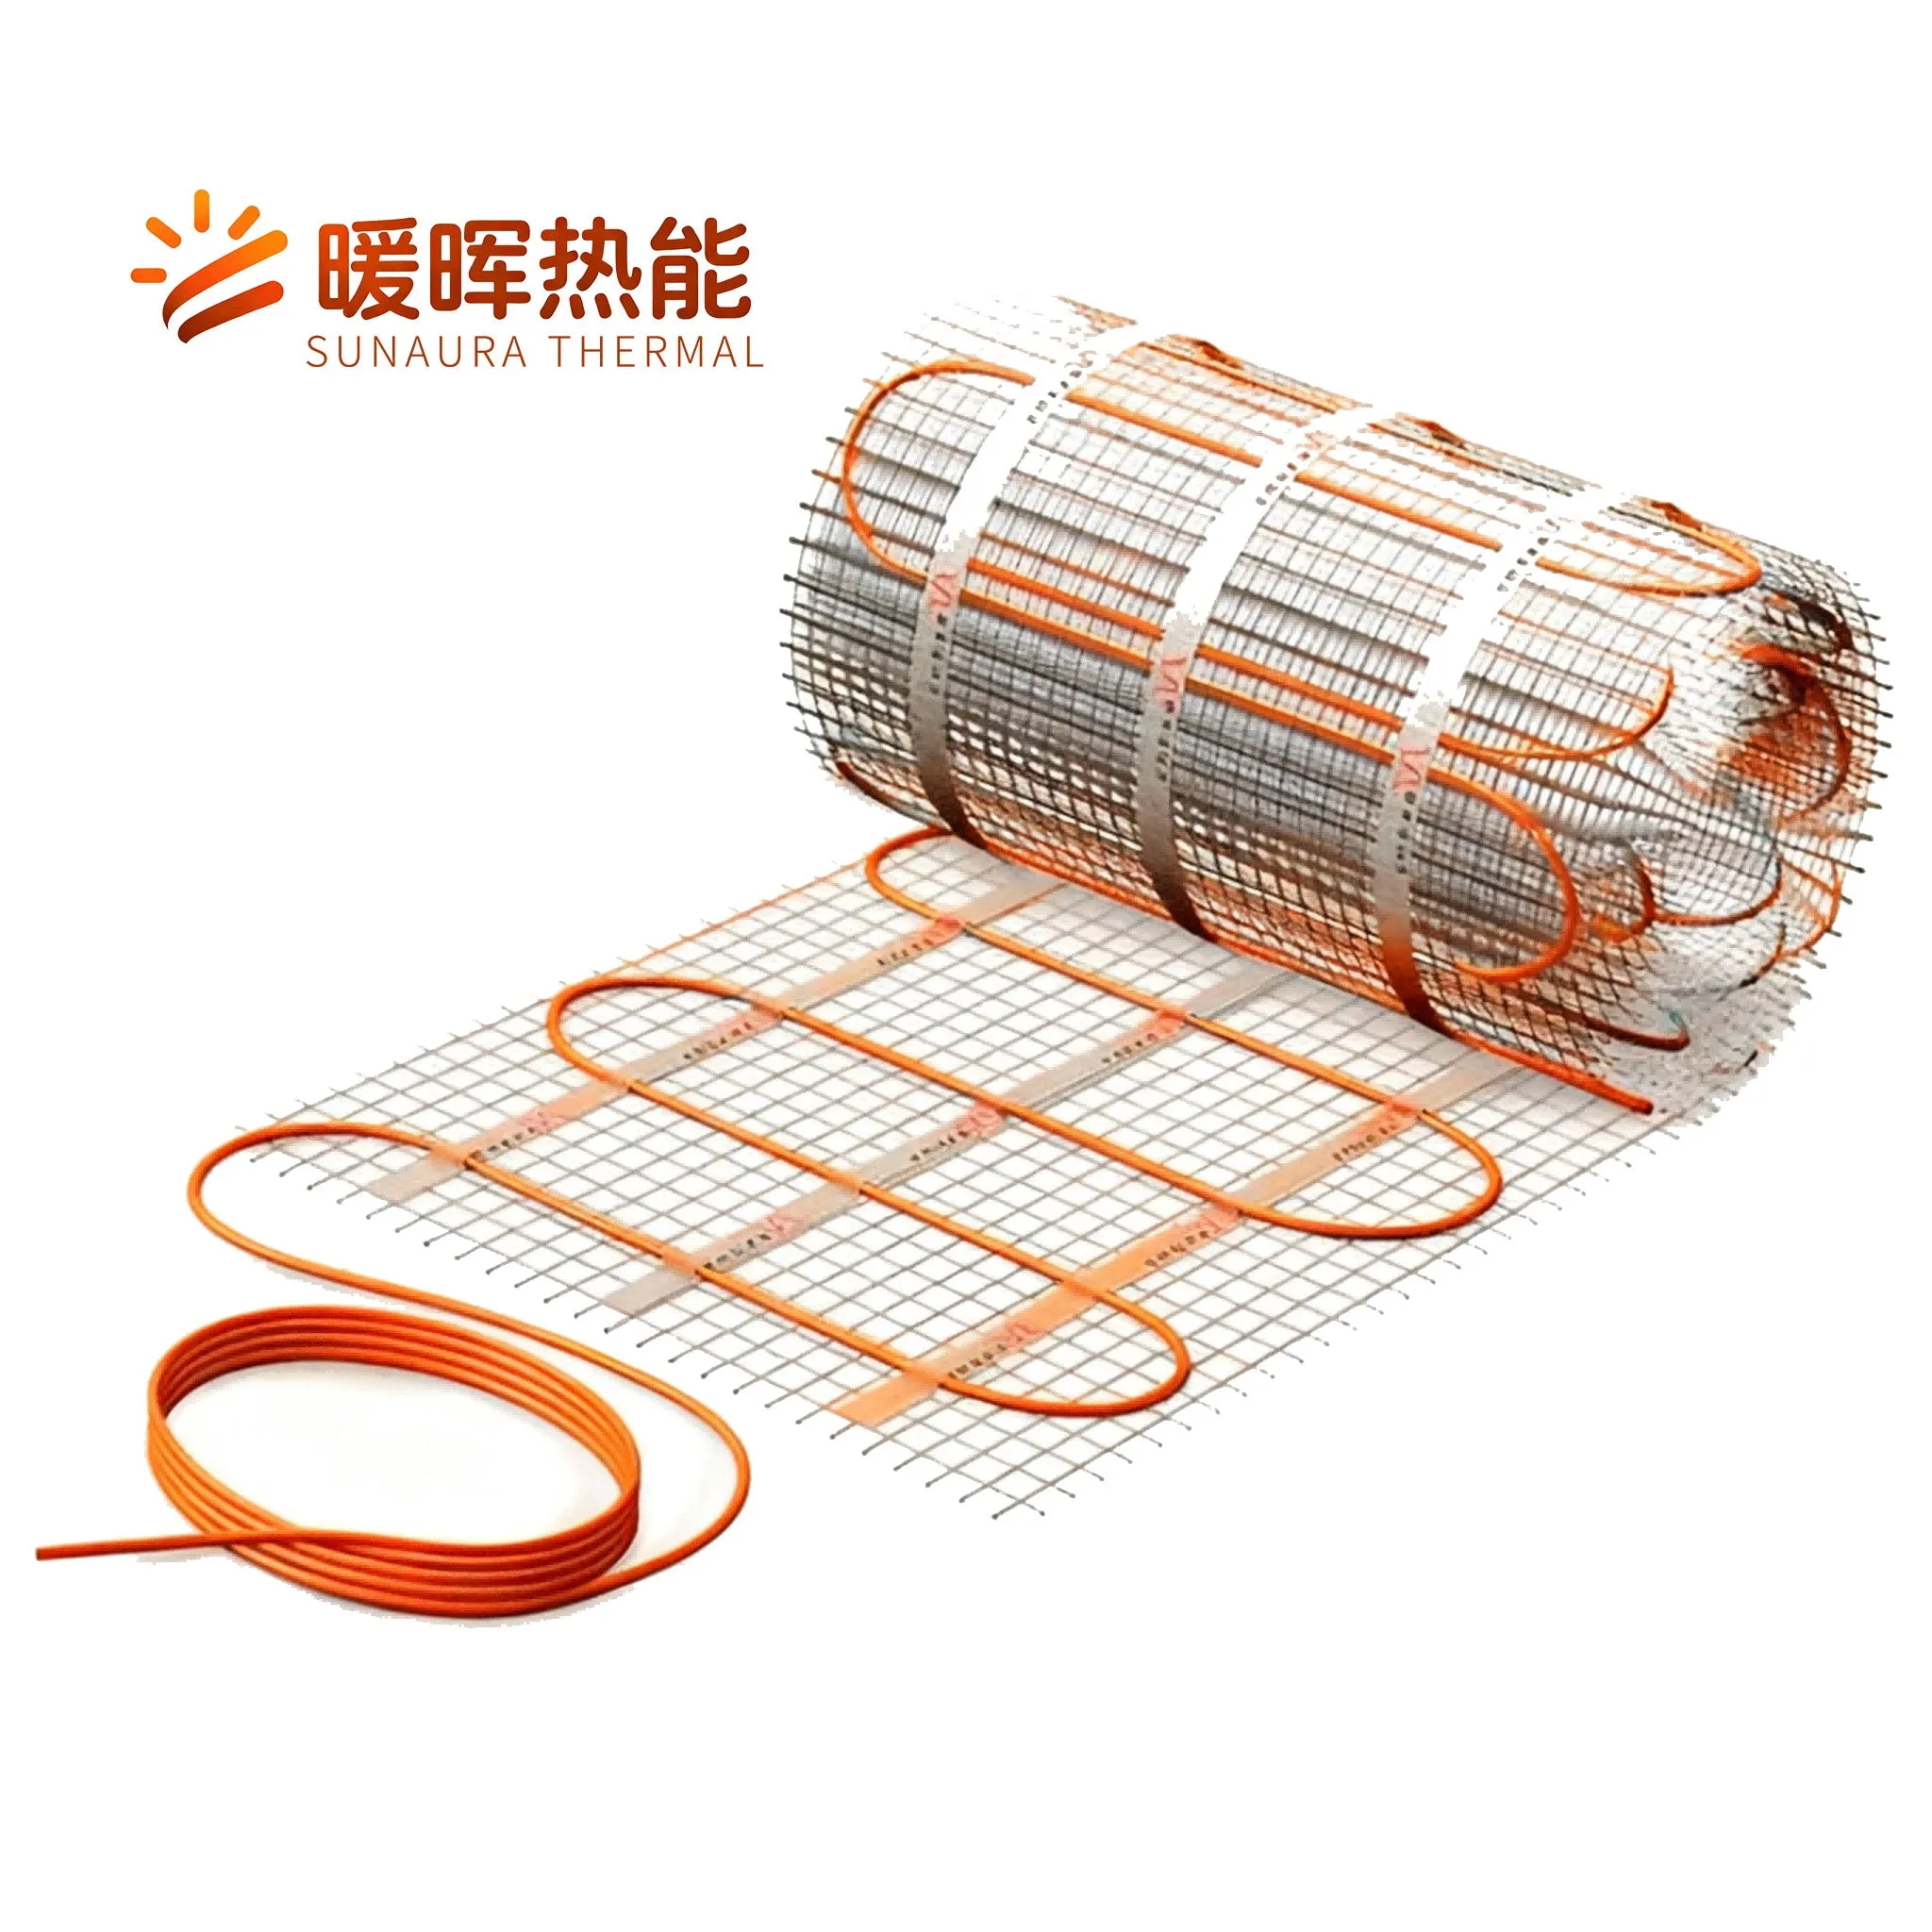
Electric Heating Mats
Self-adhesive 160 W/m² mats for ceramic and stone floors. 3.6 mm thin, EMF-free, 25-year warranty, ready to install under tiles.
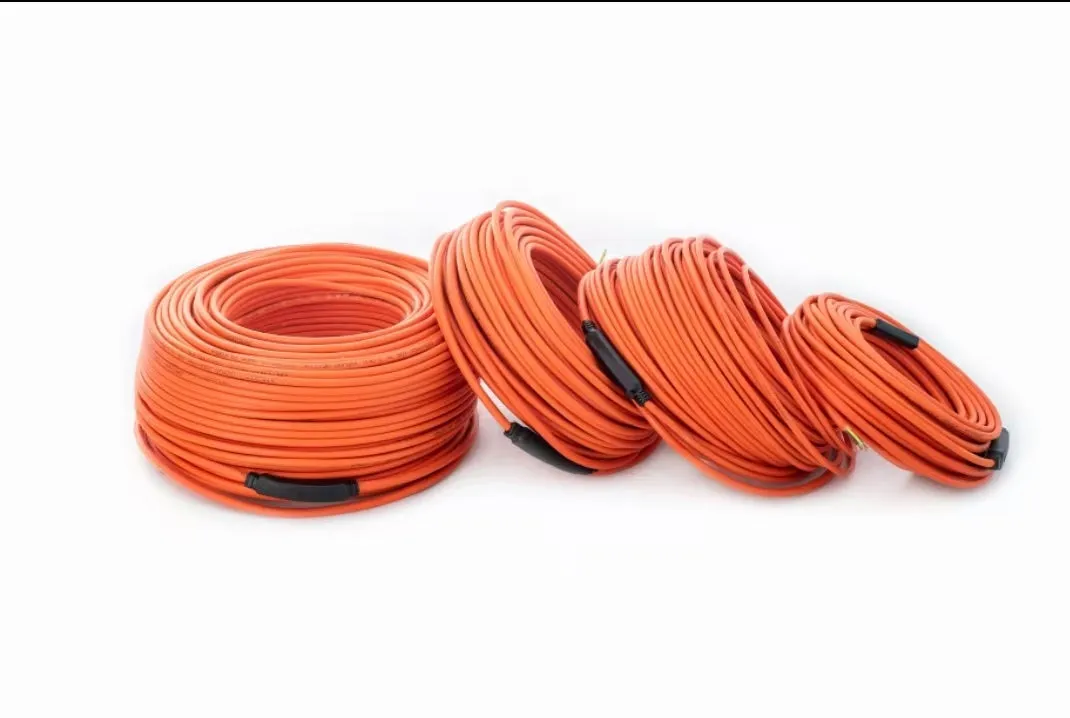
Heating Cables
Durable alloy-resistance cables for underfloor heating, pipe antifreeze, roof and road snow melting and equipment insulation. IPX8 rated.
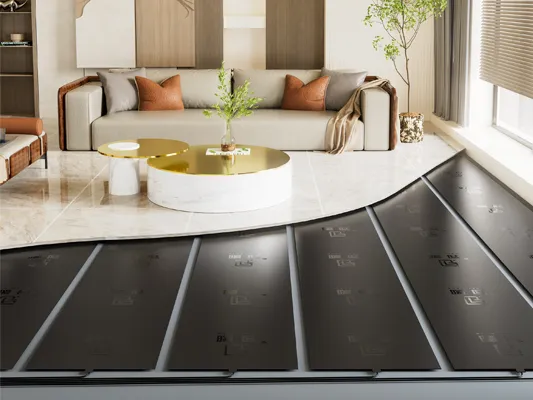
Tile Floor Heating
Graphene film underfloor heating for ceramic, porcelain and stone floors — fast warm-up, EMF-free, no screed required.