
A stable that stays dry and warm in winter is not a comfort issue — it is a health issue. Cold, damp concrete floors chill a horse standing for hours, stress the respiratory tract when ammonia rises with humidity, and make bedding management a daily battle. This is the story of how one equestrian centre decided to heat 24 stalls, and why the project team chose heating mat over loose cable, film and air heating after comparing real installation constraints rather than brochure specs. It is also a practical buying guide: the horse stable floor heating decision comes down to floor build-up, moisture management and how much installation time the facility can tolerate.
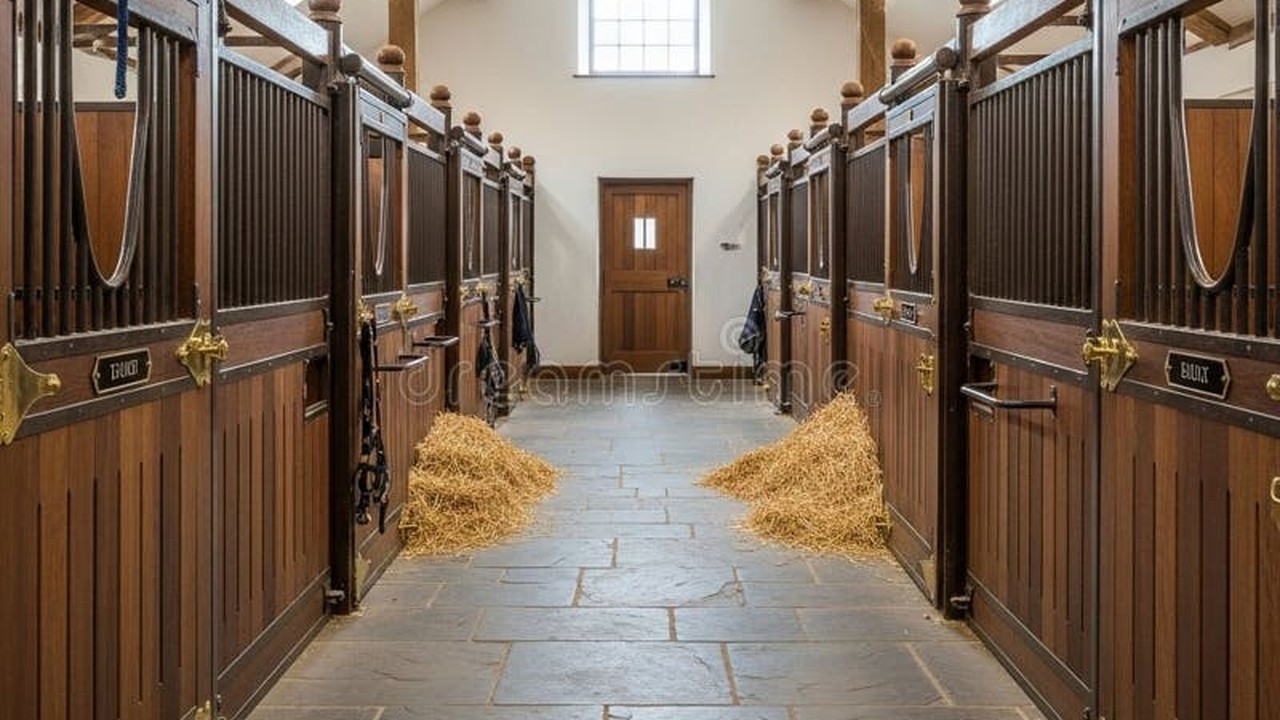
Why Stable Floors Need Active Heating in Winter
Three problems converge in a stable during winter. The concrete or compacted-sand floor draws heat out of the horse’s hooves and legs, which is uncomfortable and can aggravate joint stiffness. Moisture from urine and wet bedding evaporates slowly on a cold floor, raising humidity and ammonia concentration at hoof level — the zone the horse breathes. And wet bedding freezes or stays damp near doorways, increasing labour and bedding cost. Underfloor heating addresses all three at the source: a warm floor surface evaporates moisture faster, keeps the bedding dry, and lowers the humidity gradient that drives ammonia.
Veterinary and husbandry guidance consistently points at dry, non-slip, well-ventilated flooring as a core requirement of equine welfare, and stable-floor heating is one of the few systems that improves dryness without adding airborne heat or air movement. The key design difference from residential heating is that you are heating a ventilated, high-moisture space — so the floor, not the air, is the target.
Heating Mat vs Cable vs Film: What the Installation Actually Decided
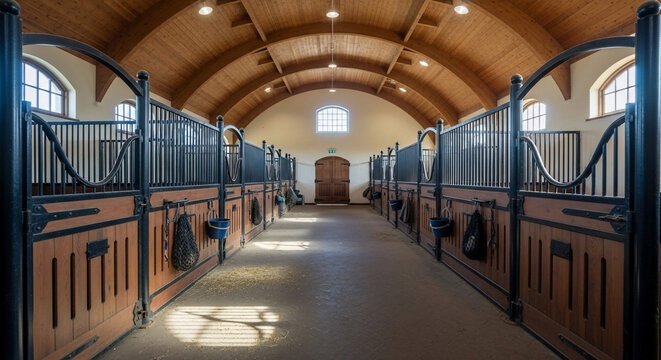
| Option | Installation reality in a stable | Decision |
|---|---|---|
| Loose heating cable | Fast and flexible, but layout is laid by hand on site; in a 24-stall job that is days of labour and a real chance of uneven spacing under heavy mats | Rejected for labour and uniformity risk |
| Pre-spaced heating mat | Rolls out and staples down in hours; spacing is factory-fixed so W/m² is guaranteed before the topping goes on | Chosen for the whole project |
| Heating film | Thin and fast, but rated for floating floors; not designed for embedment under a wear layer that gets shod-hoof traffic and pressure points | Rejected for durability and load |
| Air heaters / radiant panels | Warm the air, not the floor; moisture problem remains and energy is blown through ventilation | Rejected — does not solve the actual problem |
The decisive factor was not price per metre — it was repeatability. With pre-spaced mat, every stall receives the same W/m², the installer cannot make layout mistakes, and the factory’s quality control applies before the roll leaves the plant. For a facility owner who is not a heating specialist, that predictability is worth more than a lower material cost.
The Floor Build-Up That Made It Work
Stable heating only works if the heat stays in the floor instead of leaking into the ground. The build-up used on this project, in order from the base up:
- Vapour barrier and insulation. 30–50 mm of closed-cell insulation board under the heated zone, sized so downward loss stays under roughly 20% of the load. This is the same principle documented in the insulation R-value guide on this site.
- Heating mat. Pre-spaced constant wattage mat at 100–150 W/m² for the stall area, slightly higher near doorways where cold ingress is strongest.
- Protective screed or levelling layer. A thin screed or flowable levelling compound covering the mat, giving the elements full embedment and a smooth substrate.
- Waterproofing membrane. Essential in a stable: urine and wash-down water must not reach the electrics. A liquid-applied or sheet membrane over the screed, with the wall upstand, protects the whole system.
- Wear surface. A rubber stable mat or a dense, non-slip screed finish — never bare polished concrete, which is slippery when wet.
Temperature control is split: an air sensor for general frost protection and a floor sensor to limit surface temperature, because a stable floor that gets too hot dries bedding and discomforts hooves. The control is zoned per aisle, so occupied and empty sections run differently.
Data and Evidence: What the Project Log Showed
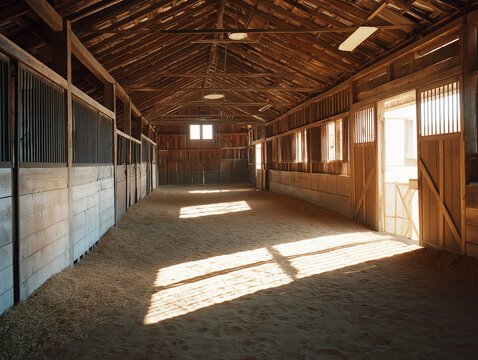
Per SunAura factory records, the project covered 24 stalls plus a wash bay, with a total heated area of roughly 340 m² at an installed density of 120 W/m², giving a connected load around 41 kW split across three-phase circuits. The installation sequence — insulation, mat, screed, membrane, rubber mat — was completed over eight working days, compared with the fourteen the contractor had budgeted for loose cable with the same topping. The facility reported that bedding consumption dropped, floors dried visibly faster after washing, and stall humidity readings stayed lower through the coldest weeks of the season; per the client’s own note, the stable was usable without the usual winter ice layer forming at doorways.
On the manufacturing side, per SunAura factory records, the Qingdao Huangdao plant has made heating elements since 2008 — 17 years of production — and exports to 50+ countries. The mats used on this project were produced under the ISO 9001 quality system and carry CE, RoHS, LVD and EMC compliance documentation per current factory records; the certificate pack, including ISO 14001 and ISO 45001, is available to facilities that need it for their own procurement files. Certificate numbers are supplied on request through the sales channel rather than printed in marketing material, so nothing in this article should be read as a certificate reference.
Common Mistakes in Stable Floor Heating
- Skipping the insulation layer. Without it, the ground swallows the heat and the running cost roughly doubles; the floor also heats unevenly because the soil under the slab varies.
- No waterproofing above the heater. In a stable, water WILL reach the floor. A membrane between screed and wear layer is the difference between a 20-year system and a warranty claim in year two.
- Oversizing wattage. 150 W/m² is enough for most stalls; above 200 W/m² you pay for heat the bedding and hooves do not need, and surface temperature limits start to bite.
- Air-only control. A floor sensor matters here more than in a bathroom, because stall occupancy varies and the floor needs a surface limit, not just an air setpoint.
Selection Framework: Which Stable Solution for Which Facility
- Competition yard, rubber-matted stalls, full rebuild: pre-spaced mat at 100–150 W/m² with screed, membrane and rubber wear layer — the specification above.
- Livery or rental stables, budget-constrained: loose cable in the aisle and wash bay only, mat in the stalls; concentrate heat where standing time is longest.
- Pole barns and open-front shelters: floor heating is not practical where the floor is compacted earth; focus on drainage and deep bedding instead, and use frost-protection cable for water lines.
- Foaling and veterinary stalls: floor heating plus a separate space heater for targeted air warmth, because foaling boxes need both a warm floor and controlled air temperature.
For other livestock buildings, the same logic transfers directly: the livestock barn floor heating decision follows floor build-up, moisture load and hoof pressure, which is why pre-spaced mat keeps appearing in these projects.
Running Costs and Energy Management in a Heated Stable
The objection every stable owner raises is electricity cost, so the honest answer matters. At the installed density of this project — 120 W/m² over 340 m² — the theoretical full-load draw is about 41 kW, but full load is never the operating reality. The control strategy runs three states: frost protection at roughly 5–8 °C floor target when the stable is empty, normal comfort around 12–15 °C floor surface when horses are in, and boost after wash-down to dry the floor quickly. With zoned aisles, the connected load is switched progressively rather than all at once, which also keeps the electrical connection modest.
The energy figure that the client logged was roughly 30–40% of what a naive calculation (full wattage × full hours) would predict, because the floor is well insulated and the control target is a floor surface temperature, not a room air temperature. In practice the system behaves like a thermal battery: it pre-warms the floor mass, then coasts. For buyers comparing solutions, this is the key performance difference between embedded floor heating and air heating in a ventilated building — the floor holds its heat while air heaters keep reheating air that is constantly exhausted.
Installation Timeline, Step by Step
For buyers who will tender this work, the sequence below is the one the contractor followed, with the time each stage took on a 24-stall project:
- Day 1–2 — floor preparation. Old wear layer lifted, slab cleaned and levelled where needed, vapour barrier and insulation board laid. Downward insulation was the non-negotiable stage; without it the design density would have needed to rise to 180–200 W/m².
- Day 3 — heating mat layout. Pre-spaced mat rolled out per the zone drawing, stapled or fixed per the manufacturer’s instructions, element end brought to the junction box, and every zone’s resistance measured and logged before covering. This is the point where pre-spaced mat earns its cost: a full stall floor is laid in hours, not days.
- Day 4–6 — topping. Screed or levelling compound applied over the mat to the specified depth, cured per product data, waterproofing membrane applied with wall upstands, then the rubber stable mat or finished wear surface installed.
- Day 7–8 — electrical and control. Circuit wiring, RCD, contactors, thermostat and both floor and air sensors connected; every zone energised and tested; resistance and insulation values recorded for the client file. The factory’s as-produced test sheet per SunAura factory records gives the baseline for this final comparison.
Total: eight working days for 340 m², against the fourteen the contractor had first budgeted for loose cable with identical topping — the difference being factory-fixed spacing and no on-site layout decisions.
Frequently Asked Questions
Is it expensive to run stable floor heating? At 120 W/m² with insulation, a 340 m² stable draws about 41 kW when all zones are on; with zoned control and frost protection only in empty sections, actual consumption is a fraction of theoretical maximum. The saved bedding and reduced labour usually pay for the running cost.
Can we retrofit heating under existing rubber stable mats? Only if you lift the wear layer and add insulation and screed or levelling compound. Laying mat directly on an uninsulated slab wastes most of the heat; a proper retrofit is a floor rebuild.
Is heating film an option under rubber mats? No. Film is designed for floating floor loads, not shod-hoof pressure points; use embedded mat or cable.
What warranty should we ask for? Look for a factory warranty on the element plus installation documentation that matches the manufacturer’s build-up; the membrane and wear layer are separate trades, so define responsibility before ordering.
Can we heat only the aisles and leave stalls unheated? Yes, and many facilities do exactly that on a budget — but horses stand most of their time inside the stall, so the stall floor is where the welfare and bedding benefits concentrate. If you must choose, heat the stalls first and treat the aisle as a secondary zone.
Can horses sense the heated floor, and is it uncomfortable? At the surface temperatures used here — 12–15 °C in comfort mode — the floor is noticeably dry but not hot, which is exactly the point. The target is moisture removal and thermal comfort, not a warm surface under hoof pressure; the floor sensor limit prevents the build-up from getting hot enough to discomfort the horse or over-dry bedding.
CTA
If you are planning horse stable floor heating or any livestock facility upgrade, send your stall count, floor construction and power availability to the SunAura sales team, and ask for the heating mat W/m² tables and the installation build-up drawing used on this project. For stable heating mat wholesale quantities and OEM branding, request the factory price list and current certificate pack from the Qingdao Huangdao plant. If your building has no screed option, compare the heating cable range and read the mat installation tutorial to understand the topping sequence before you commit.
Ethan Sun, Founder & CEO, SunAura Thermal