
The question buyers ask last is often the one that should be asked first: how long will this heating system actually last, and what happens when it stops working? The honest answer is that heating film, mat and cable have different life expectancies, different failure modes and very different replacement costs — and the choice you make at purchase decides how painful the end-of-life moment is. This guide gives a straight comparison of underfloor heating lifespan across the three technologies, the signs that a system is failing, the tests that confirm it, and a framework for deciding whether to repair or replace.
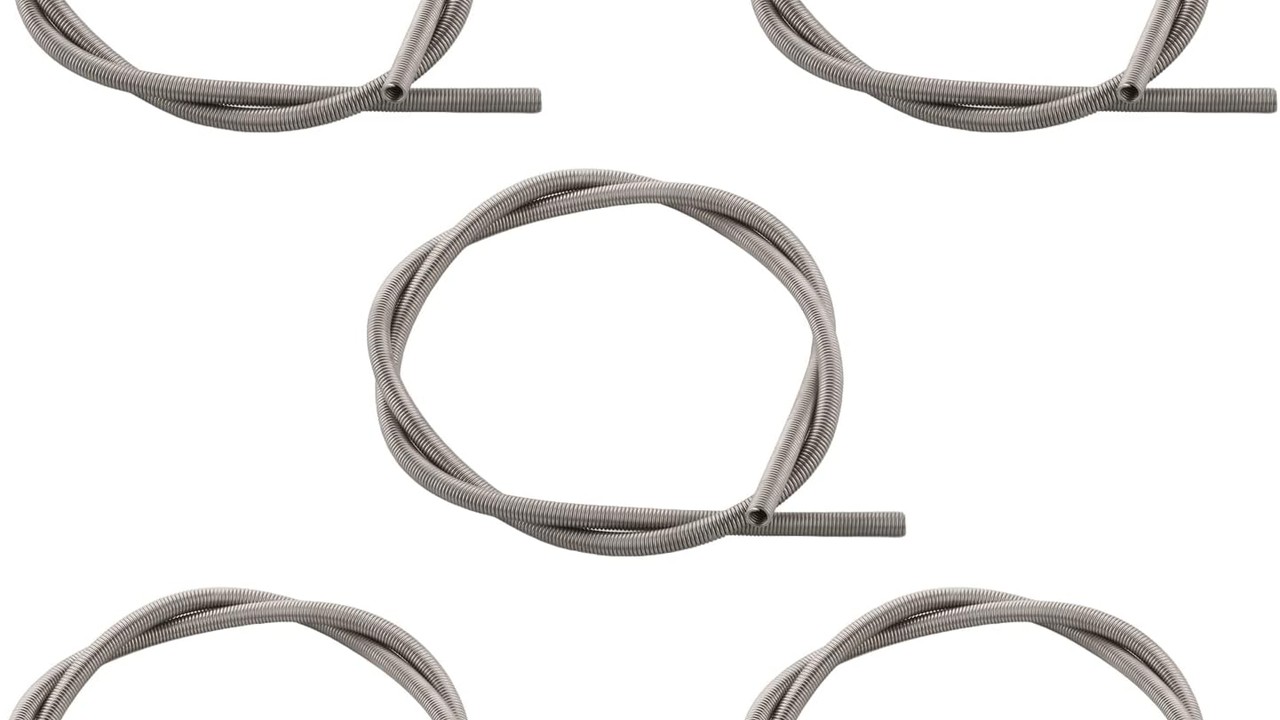
What “Lifespan” Actually Means for a Heating Element
An embedded electric heating element does not wear out the way a motor or a pump does. There are no moving parts, and the resistive conductor or PTC polymer degrades mainly through thermal cycling, moisture ingress and mechanical stress from the building. The practical lifespan is the number of years the element keeps its insulation resistance and its rated output while embedded — not the warranty period, and not the life of the thermostat, which is a separate replaceable component.
Two numbers matter: the element’s design life under continuous rating, and the system’s installed life under real operating conditions. The difference between them is installation quality. A well-installed system in a dry, stable floor can run far past its nominal design life; a badly installed one fails early regardless of the brand. That is why every discussion of heating film lifespan or mat or cable has to start with the floor build-up, not the datasheet.
Heating Film, Mat and Cable: Lifespan and Failure Comparison
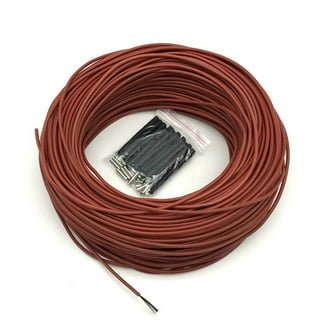
| Parameter | Heating film | Heating mat | Heating cable (screed) |
|---|---|---|---|
| Typical design life | 20–30 years under rated conditions | 25–30+ years embedded | 30+ years embedded in screed |
| Most common failure | Connection points and foil damage under floating floors | Local damage from trowel or staple during installation | Mechanical damage before pour; rare after embedment |
| Repairability | Sectional; damaged zone can be cut out if connectors allow | Zone replacement; mat section removable if mapped | Full-run replacement usually required; no joints inside screed |
| Replacement cost class | Lowest — floor covering lifted, film replaced | Medium — topping removed or mat section replaced | Highest — screed break-out if the run is damaged |
| Best case | Floating floor retrofits, laminate, low traffic | Tile over thin topping, bathrooms, kitchens | Wet screed new builds, large areas, commercial |
The table hides one important nuance: for mat and cable embedded in screed, the element itself usually outlives the floor covering. Bathrooms are re-tiled every 20–30 years anyway, and the heating layer is the least likely part of that renovation to fail — which is precisely why a well-built screed system is treated as a once-in-a-building-life decision.
What Shortens a System’s Life in Practice
Per installation-failure analyses shared across the industry and the field experience at SunAura’s factory, the most common life-shorteners are:
- Mechanical damage during installation. Staples, trowel cuts, dropped tools and folded rolls account for most early failures. This is why pre-spaced mat and careful laying protocols exist.
- Overload beyond rated W/m². Operating an element above its design density raises conductor temperature and accelerates insulation aging. The fix is correct sizing — see the W/m² calculation guide.
- Moisture ingress through a broken membrane or topping. Water reaching the element is the fastest killer, especially in wet rooms and ground floors.
- Thermal cycling stress at connection points. Terminations and joints are the weakest part of any resistive system; they need to be embedded correctly and mapped.
- Ignoring thermostat faults. A failed floor sensor or an overheating safety cut-out that keeps tripping is a warning, not a nuisance — repeated tripping stresses the element.
- Cold zones. A room or part of a room stops reaching temperature while the thermostat reports normal operation.
- Slow heat-up. The floor takes noticeably longer to warm than it did in the first years — often insulation degradation or partial element failure, not just weather.
- RCD trips. A residual current device that trips only when heating is on points at insulation breakdown in the element or its connections.
- Energy creep. Consumption rises for the same comfort level; the system is working harder because part of the output is being lost.
- Visible damage. Bulging, cracking or damp patches in the floor surface over a heating zone.
- Continuity and resistance. Measure the element’s cold resistance and compare it with the factory value for the installed length. A large shift means a broken or shorted element.
- Insulation resistance. With power off, measure element-to-earth at 250 V or 500 V. Values below roughly 10 MΩ — or trending downward year to year — indicate moisture or insulation aging. Most factory test sheets quote the as-produced value, per SunAura factory records, which gives you a baseline.
- Thermostat and sensor check. Confirm the floor sensor resistance curve and the air sensor response; a faulty sensor is a common false alarm for “dead” heating.
- Thermal imaging during a heat-up cycle. A 20–30 minute energised cycle with an IR camera shows cold runs and hot spots that resistance testing cannot reveal.
- Repair the control side first. Thermostat, sensor, contactor or RCD faults are cheap, quick fixes and cause most “system failure” calls. Always verify these before considering floor work.
- Repair a damaged mat or film zone. If the affected zone is mapped and accessible, section replacement can restore the system at a fraction of full replacement cost.
- Replace the full run only when the element is confirmed dead and unserviceable — for cable in screed, a confirmed element fault usually means break-out, which is the highest-cost scenario and justifies the extra care taken at installation.
- Compare against a floor renovation window. If the floor covering is due for replacement anyway within a few years, replacing the heating layer at the same time is the efficient move, not a double cost.
- Spacing accuracy. A fold, overlap or doubled-back run creates a local hot spot that ages the insulation faster in one zone while the rest of the floor runs normally. Pre-spaced mat eliminates the human spacing error; loose cable depends on the installer’s discipline.
- Coverage and protection during the build. Trowel cuts, dropped tools and foot traffic on an uncovered element are the classic cause of “failed in year two” systems. The installation protocol — lay, fix, cover or protect, then finish — is part of the product specification, not an optional extra.
- The topping quality. A screed or levelling layer with voids leaves air pockets that overheat the element locally; correct depth and curing time are documented in the manufacturer’s build-up for a reason.
- Connection embedding. Terminations and joints must be embedded per instructions, protected from moisture and mapped in the as-built drawing. Cold joints on a finished floor are the most expensive fault to find, because the floor covering has to come up to reach them.
Signs That a Heating System Is Failing
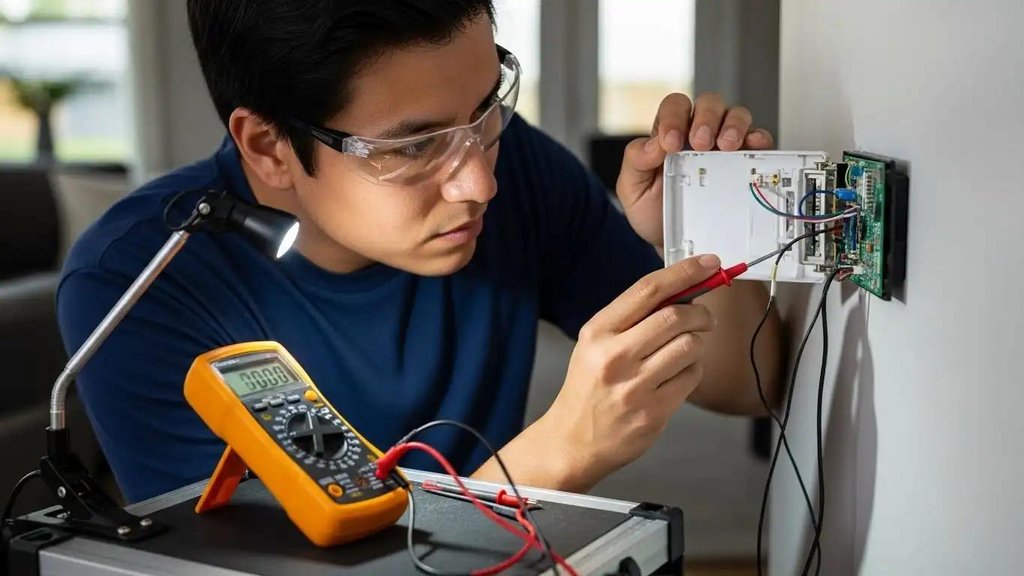
None of these alone means replacement — each needs confirming with a measurement before any floor work starts.
How to Test Before You Tear Anything Up
The standard checks, in order, require a multimeter and an insulation tester (megohmmeter):
If the element passes continuity, insulation and thermal-imaging checks, the system is almost certainly serviceable — and a maintenance routine of sensor calibration and electrical checks is worth more than replacement.
Repair vs Replace: A Decision Framework
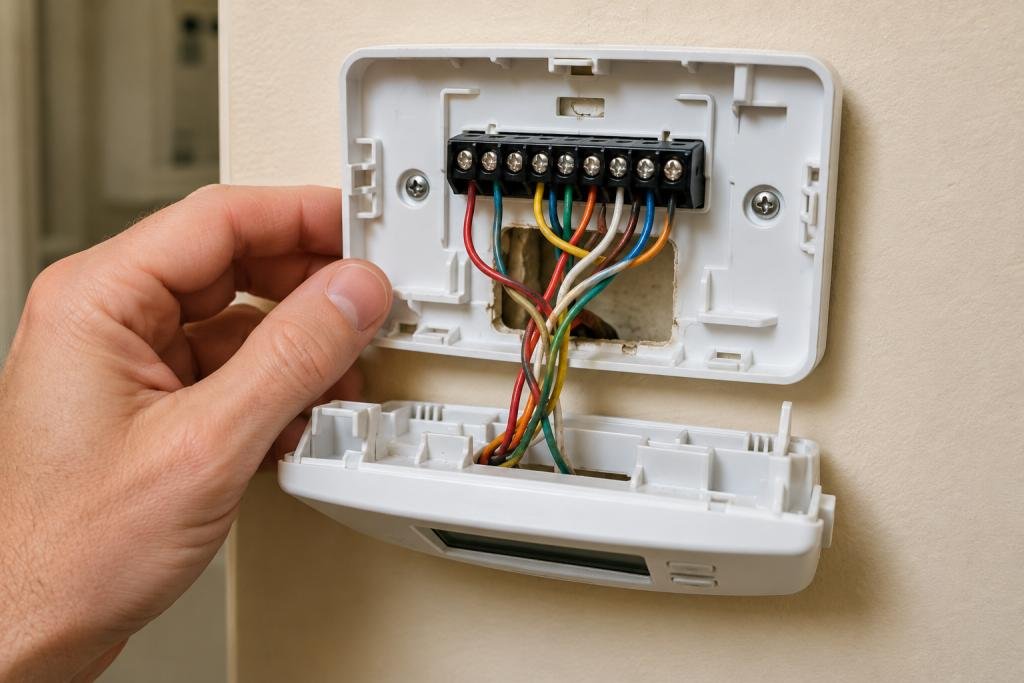
The heating cable replacement signs above — persistent RCD trips plus low insulation resistance — are the clearest green light for break-out; anything less should be tested before demolition starts.
Data and Evidence: What Testing Standards and Factory Records Say
European product testing for embedded heating elements (the IEC 60335 family, applied through national certifications such as CE/LVD) evaluates thermal endurance and moisture resistance under defined ageing cycles, which is the basis for the 20–30+ year design-life figures quoted here. The exact life in your floor depends on operating hours, temperature and moisture, which is why the numbers in the comparison table are ranges, not promises.
Per SunAura factory records, the Qingdao Huangdao plant has manufactured heating elements since 2008 — 17 years — under ISO 9001, ISO 14001 and ISO 45001 management systems, with CE, RoHS, LVD and EMC compliance documented for the current product range. Production batches are tested for insulation resistance and continuity before packing, so every installed system starts from a measured baseline. The factory does not publish certificate numbers in marketing material; buyers needing them for maintenance or insurance files can request the current certificate pack through the sales channel.
Why Installation Quality Decides Lifespan More Than the Brand
If the same element were installed by three different crews, it would get three different life expectancies. The reasons are concrete and visible at the factory level:
The practical consequence for buyers: when comparing quotes, compare the installation specification, not just the element price. A project that maps zones, logs resistance before covering and protects the element during the build is buying lifespan; a project that skips those steps is buying a shorter system for the same money. This is also why factory quality-control documentation — the as-produced resistance and insulation values per SunAura factory records — matters: it gives the installer a baseline to verify against before the floor is closed.
Frequently Asked Questions
Do I need to replace underfloor heating after 20 years as routine maintenance? No. Electric elements do not have a mandatory replacement interval; they are replaced when testing shows a fault. The thermostat and sensors are the components with the shortest practical life.
How long does an electric heating mat last in a bathroom? A mat embedded in screed or levelling compound and protected by a membrane typically lasts 25–30+ years — usually outliving the tile covering, which is re-done in that same window.
Is heating film lifespan shorter because it sits under floating floors? Film under floating floors is more exposed to traffic and connection stress, so its practical life skews toward the lower end of the range, especially in high-traffic rooms. Installations under glued or properly restrained coverings fare better.
What is the typical replacement cost? It is dominated by floor work, not the element: thermostat replacement is minor, a mat section is moderate, and a screed break-out for cable is the major cost. Insulation and flooring restoration are usually the largest line items.
Does a longer warranty mean a longer lifespan? Not directly — a warranty covers manufacturing defects for a defined period, while lifespan depends on installation, operating conditions and moisture. Treat warranty length as a signal of factory confidence, but verify lifespan claims against the installation specification and the factory’s test documentation.
Should I replace the heating layer when I re-tile the bathroom? Not automatically. If the element passes continuity and insulation tests, it will likely outlast the new tile. Re-tiling is a good moment to replace the thermostat and sensors and to record a fresh resistance baseline, but breaking out a working element just because the floor is open is usually wasted cost.
How do I know the installed system’s original test values? The factory test sheet for the element — the as-produced resistance and insulation readings, per SunAura factory records — should be handed over with the delivery or at least retained by the installer. It is the baseline for every future maintenance check, so keep it with the building file or the warranty paperwork.
CTA
Before you spend on replacement, run the three tests above — most “dead” systems turn out to be a failed thermostat or sensor. If testing confirms element failure, get a comparison from the heating cable, heating mat and heating film pages, each with its own lifespan and replacement profile, and match the technology to your floor build-up rather than to habit. For a failing system, ask the SunAura sales team for the current certificate pack and factory test data so you can document the replacement decision. The wattage guide helps you size the replacement correctly the second time around.
Ethan Sun, Founder & CEO, SunAura Thermal