
Screed vs Dry-Lay Underfloor Heating: Installation Method Comparison for Renovations
When a renovation project reaches the floor build-up, the first decision is rarely about the heating element itself — it is about the installation method: do you pour a wet screed over the heating, or lay it dry? Screed vs dry-lay underfloor heating is the fork in the road that decides build-up height, drying time, floor covering options, project schedule and, ultimately, the total installed cost. This guide compares both methods with the parameters renovation buyers and installers actually need — thickness, curing, wattage, covering compatibility and budget — so you can pick a method before you compare element prices.
For the power-density numbers behind any method, start with the watts per square metre guide; this article focuses on the installation layer itself.
1. What Each Method Actually Involves
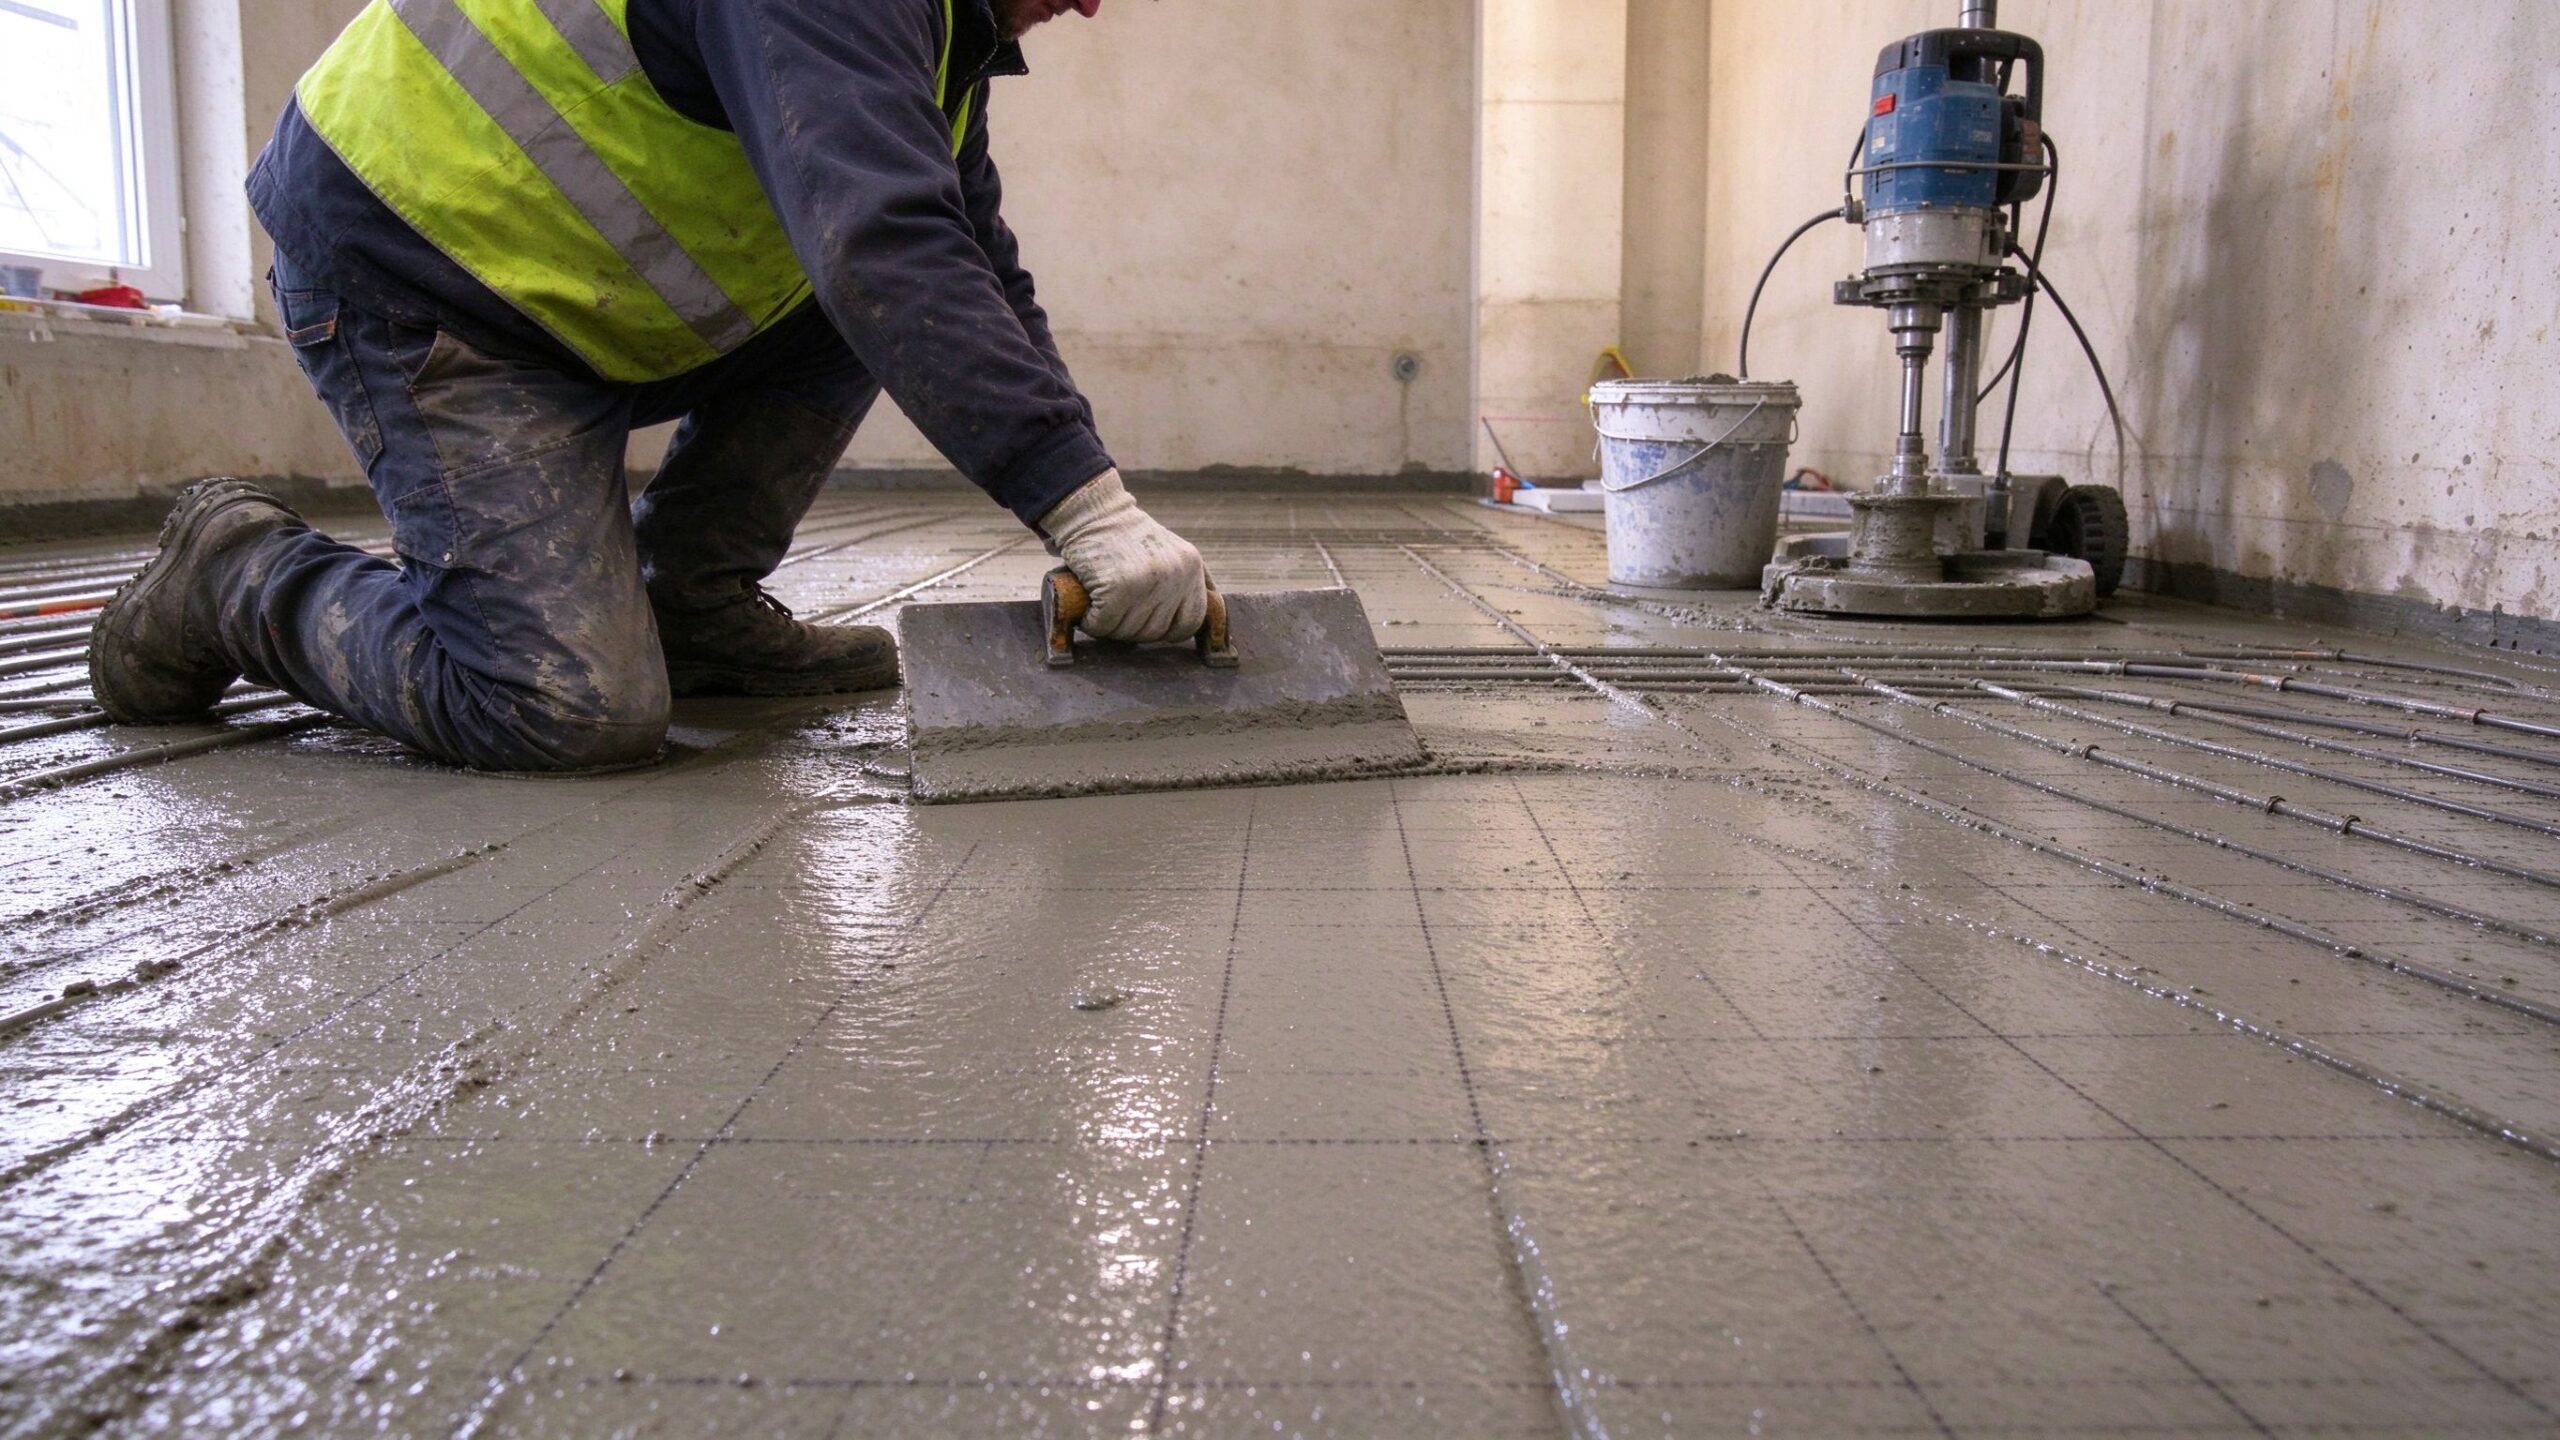
Screed installation (wet method): the heating element — usually twin-conductor cable, sometimes mat — is fixed to the subfloor or insulation, and a screed layer (cement-sand or liquid screed) is poured over it to a total thickness of roughly 30–60 mm above the element. The screed becomes the heat-distribution mass: it evens out the heat, protects the element, and gives the floor its structural layer. The trade-off is schedule — screed needs curing time before the floor covering goes down, and the room cannot be used meanwhile.
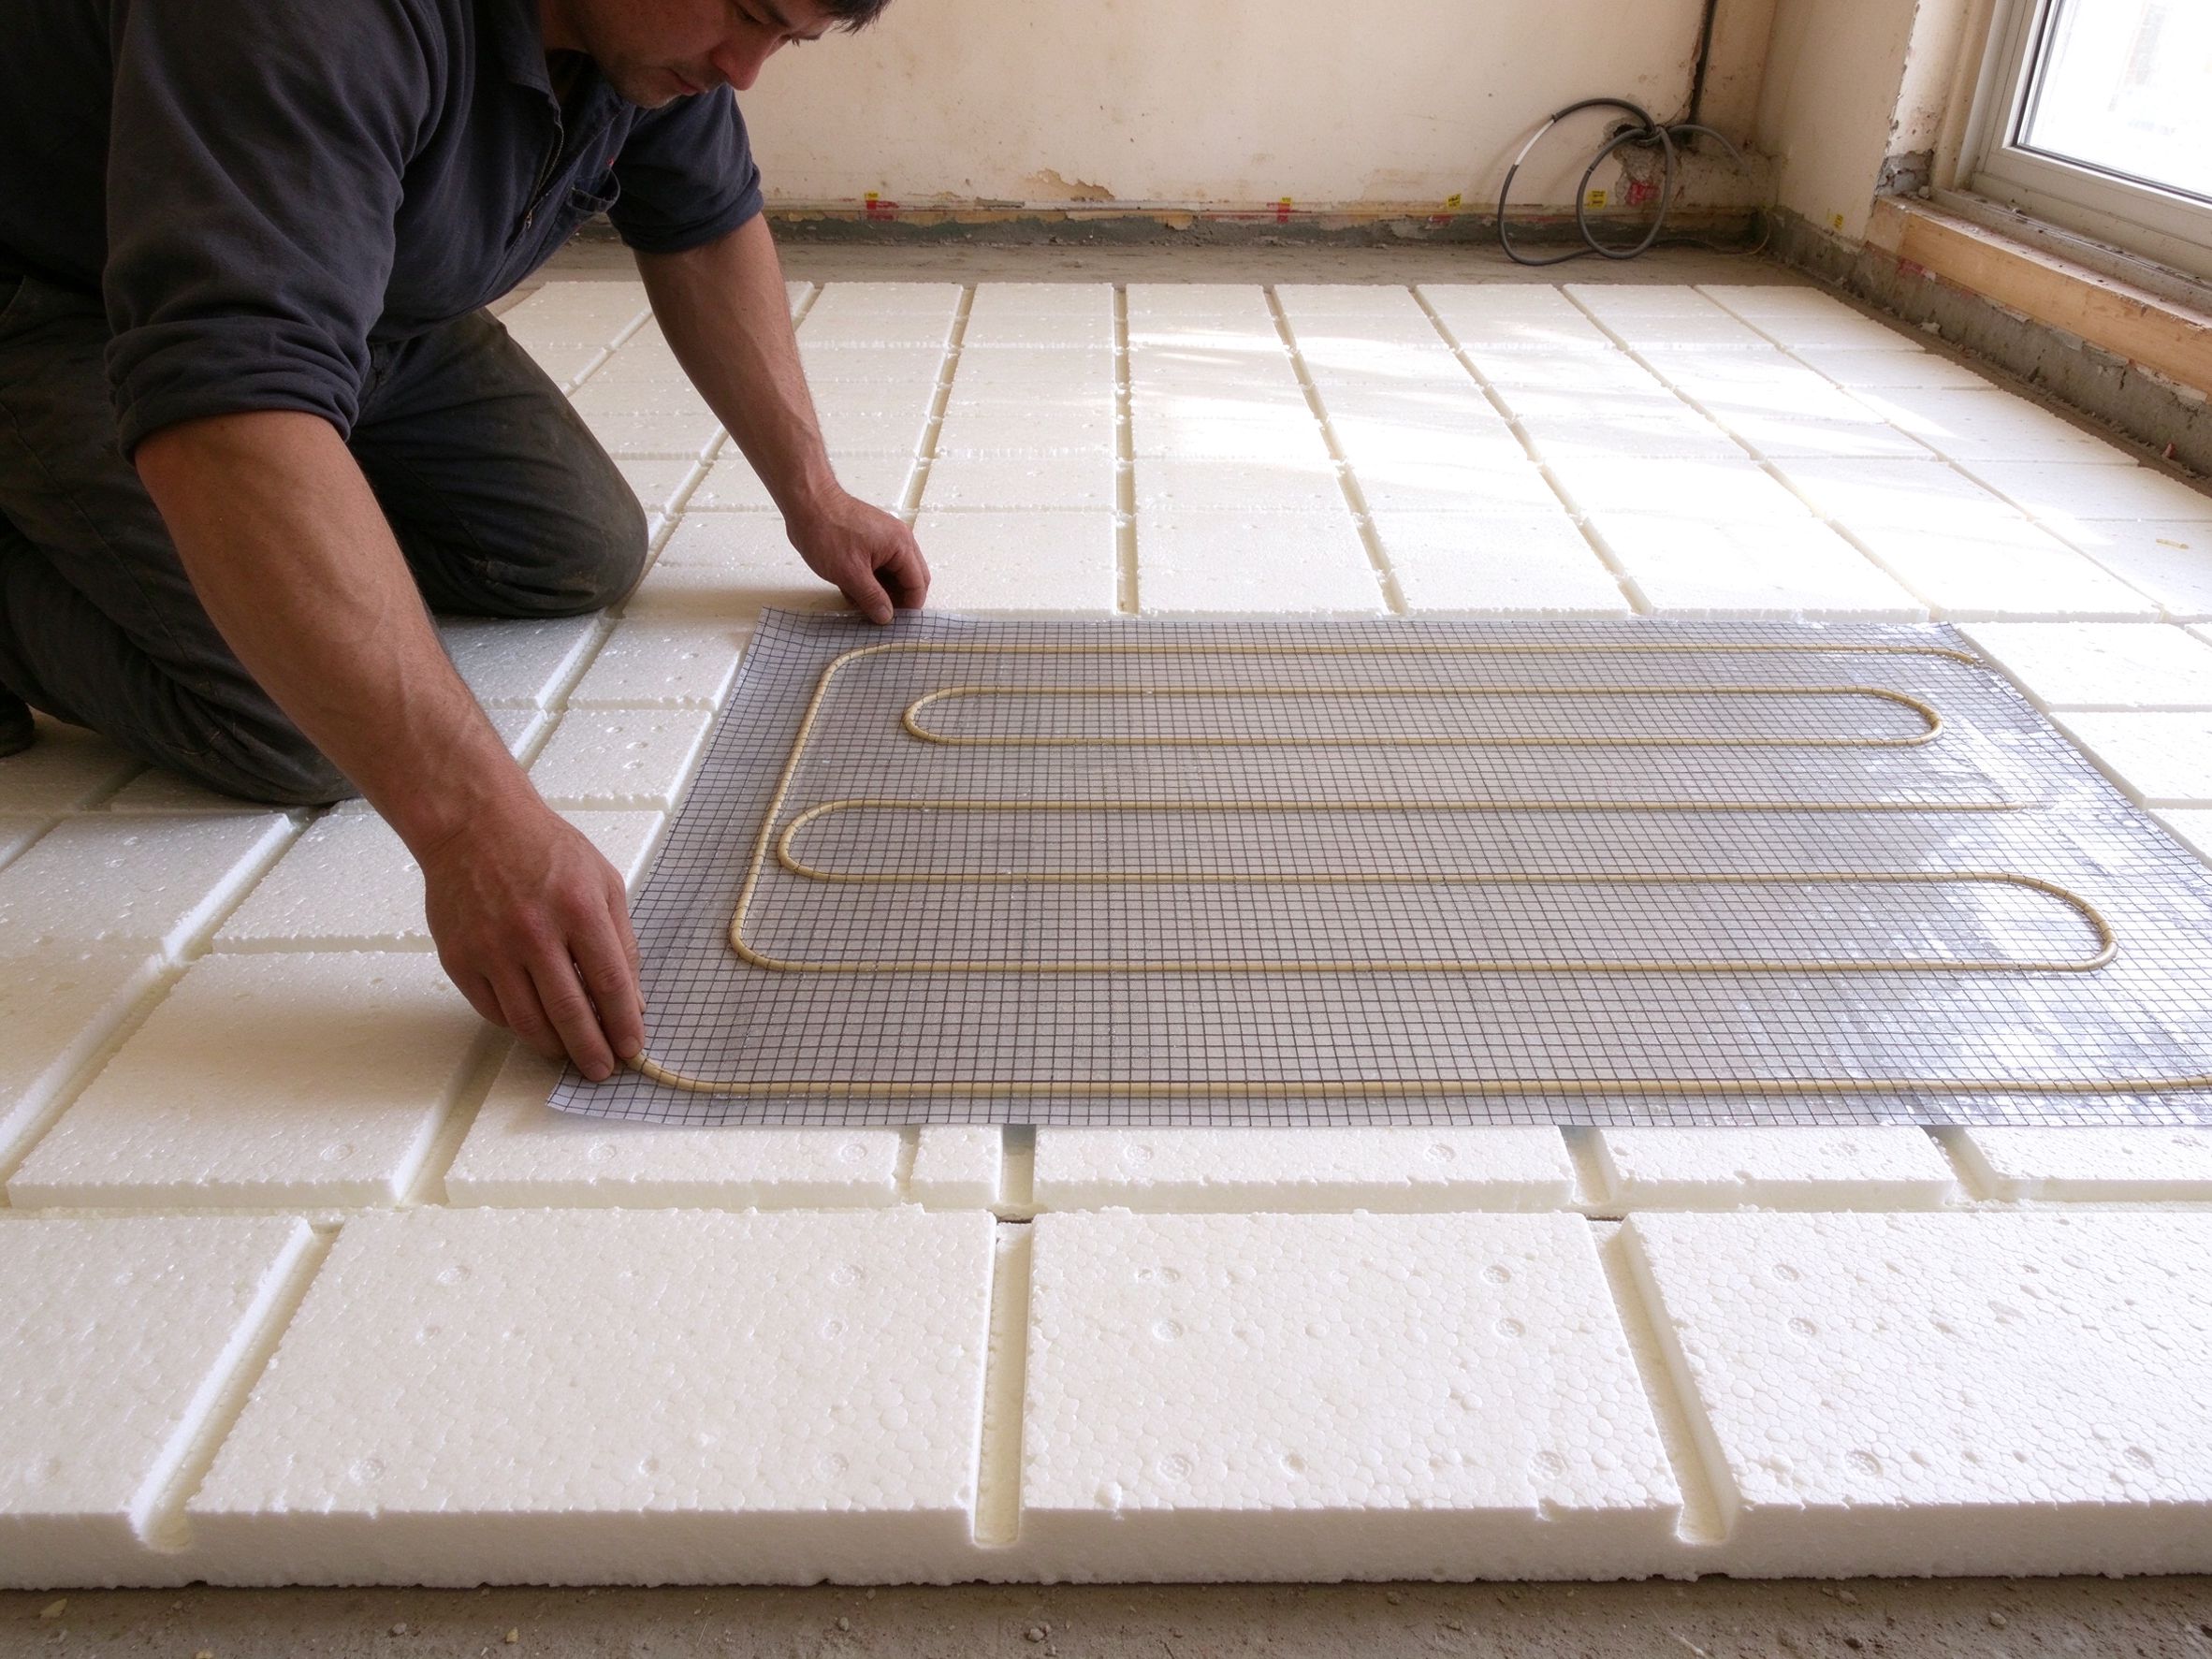
Dry-lay installation: the heating element — typically graphene film or a low-profile mat — is laid on an insulation board (often with aluminium facing) directly under the floating floor covering: laminate, engineered wood, vinyl or carpet. No wet material touches the element. Build-up is typically 15–25 mm including the board and the floor covering, and the room is usable the same day. The trade-off is that heat is not stored — the floor responds fast but there is no thermal mass to smooth the load.
The choice between the two is therefore not “cable vs film” — it is about what the building allows and what the schedule demands. A cable system can be dry-laid on boards; a film system can be embedded in a thin screed. The method, not the element, drives most of the practical differences below.
2. Screed vs Dry-Lay: Side-by-Side Comparison Table
| Parameter | Screed (wet) method | Dry-lay method |
|---|---|---|
| Total build-up added | 35–60 mm above element (cable), 25–40 mm (thin screed over mat) | 15–25 mm including insulation board and covering |
| Drying / curing time | Cement screed: 3–7 days before light use, longer before coverings (moisture %) ; liquid screed faster | None — usable same day |
| Heat-up response | Slow (30–90 min), long heat retention | Fast (10–25 min), little retention |
| Heat distribution | Very even — screed mass spreads the heat | Even per sheet; depends on board and covering contact |
| Floor coverings | Tile, stone, screed-ready wood, most coverings after moisture check | Laminate, engineered wood, vinyl/SPC, carpet; tile possible with gypsum board system |
| Suitable subfloors | Concrete slabs, structural timber with sufficient load | Existing screed, timber boards, uneven subfloors (board levels them) |
| Install labour | Higher — element fixing + screed pour + cure management | Lower — board, element, covering in one pass |
| Typical budget position | Lower element cost, higher labour + materials for screed | Higher element cost (board included), lower labour |
| Best for | New builds, full re-floors, tile finishes, thermal mass wanted | Renovations, low headroom, fast turnarounds, floating floors |
Read the table against your project constraints, in this order: allowable build-up, then schedule, then floor covering, then budget. In most renovations, build-up and schedule decide the method before price does.
3. Build-Up Height: The First Renovation Gate
Measure the available height before anything else. In a renovation, the finished floor level is usually locked by door thresholds, stair nosings, skirting and adjoining rooms. If you have 40 mm or more to play with and the structure can take the load, the screed method gives you a proper, tiled, mass-heated floor. If you have less than about 30 mm — which is the common case in flats, extensions over existing boards and loft conversions — dry-lay is not just easier, it is often the only method that works without rebuilding thresholds.
On a renovation floor build-up height of 15–25 mm, a dry-lay film system on 10 mm insulation board plus an 8–12 mm laminate is the standard stack. A thin-screed mat system can squeeze into about 25–35 mm, but it reintroduces curing time, so it only makes sense where a tile finish is required.
4. Curing Time: The Schedule Gate
Wet screed is where renovation schedules go to die. Cement-sand screed over underfloor heating typically needs several days before foot traffic and longer before moisture-sensitive coverings (wood, vinyl, carpet) can be laid, because residual moisture must fall below the covering manufacturer’s threshold. Liquid/anhydrite screeds speed this up but bring their own moisture and pH requirements. If the project must be handed over inside a week, the screed method is structurally incompatible with the schedule unless a fast-dry screed and dehumidifiers are budgeted.
Dry-lay has no such gate: the floor covering goes straight onto the boards the same day, and the heating can be commissioned immediately. The wet screed curing time underfloor heating is therefore not just a delay — it is a cost line: temporary heating or dehumidification, extended scaffolding or access, and the opportunity cost of an unusable room. That line alone has flipped many mid-size renovation decisions to dry-lay.
5. Wattage, Floor Covering and Comfort Differences
Method changes how much wattage is needed and how the room feels. Because a screed slab stores heat, a screed system can run at the lower end of the W/m² range for a given comfort level — the mass smooths the peaks. A dry-lay system has almost no mass, so it needs to hit its full surface temperature quickly; in practice both end up specified in the same 100–150 W/m² band for living spaces, but the dry-lay system must be controlled closer to actual occupancy (programmable thermostats with floor probes matter more), and the screed system tolerates a simpler schedule because it drifts less.
Floor covering compatibility follows the method: screed accepts the full range of tiles, stone and screed-ready wood; dry-lay accepts floating floors — laminate, engineered wood with a temperature limit around 27–28 °C surface, vinyl/SPC with similar limits, and carpet only if thin and with low tog rating. Tile on dry-lay is possible via a gypsum-fibre board system, but it adds cost and weight and is rarely chosen in renovations.
Surface comfort also differs. Screed gives a warm, stable floor with a slight lag; dry-lay gives a quickly warm surface that responds to the schedule. For bathrooms and playrooms used briefly at set times, dry-lay’s fast response is a genuine advantage; for rooms kept at a constant comfort temperature through the day, screed’s stability is quieter and often cheaper to run on continuous mode. The lifespan and maintenance article covers how the two methods age differently — including why termination access matters in dry-lay (element is replaceable per sheet) versus screed (break location is the repair problem).
6. Subfloor Condition and Levelling: The Layer People Forget
Both methods assume the subfloor can accept the build, but the preparation differs. The screed method hides a poor subfloor: screed is poured at a level that can compensate for moderate unevenness, so the old surface matters less — provided it is structurally sound and clean. The dry-lay method leans on the insulation board to level the floor: boards are typically self-levelling within a few millimetres per metre, but large steps, proud nail heads or rotten boards must be corrected first, because the floating floor will faithfully reproduce a 6 mm dip.
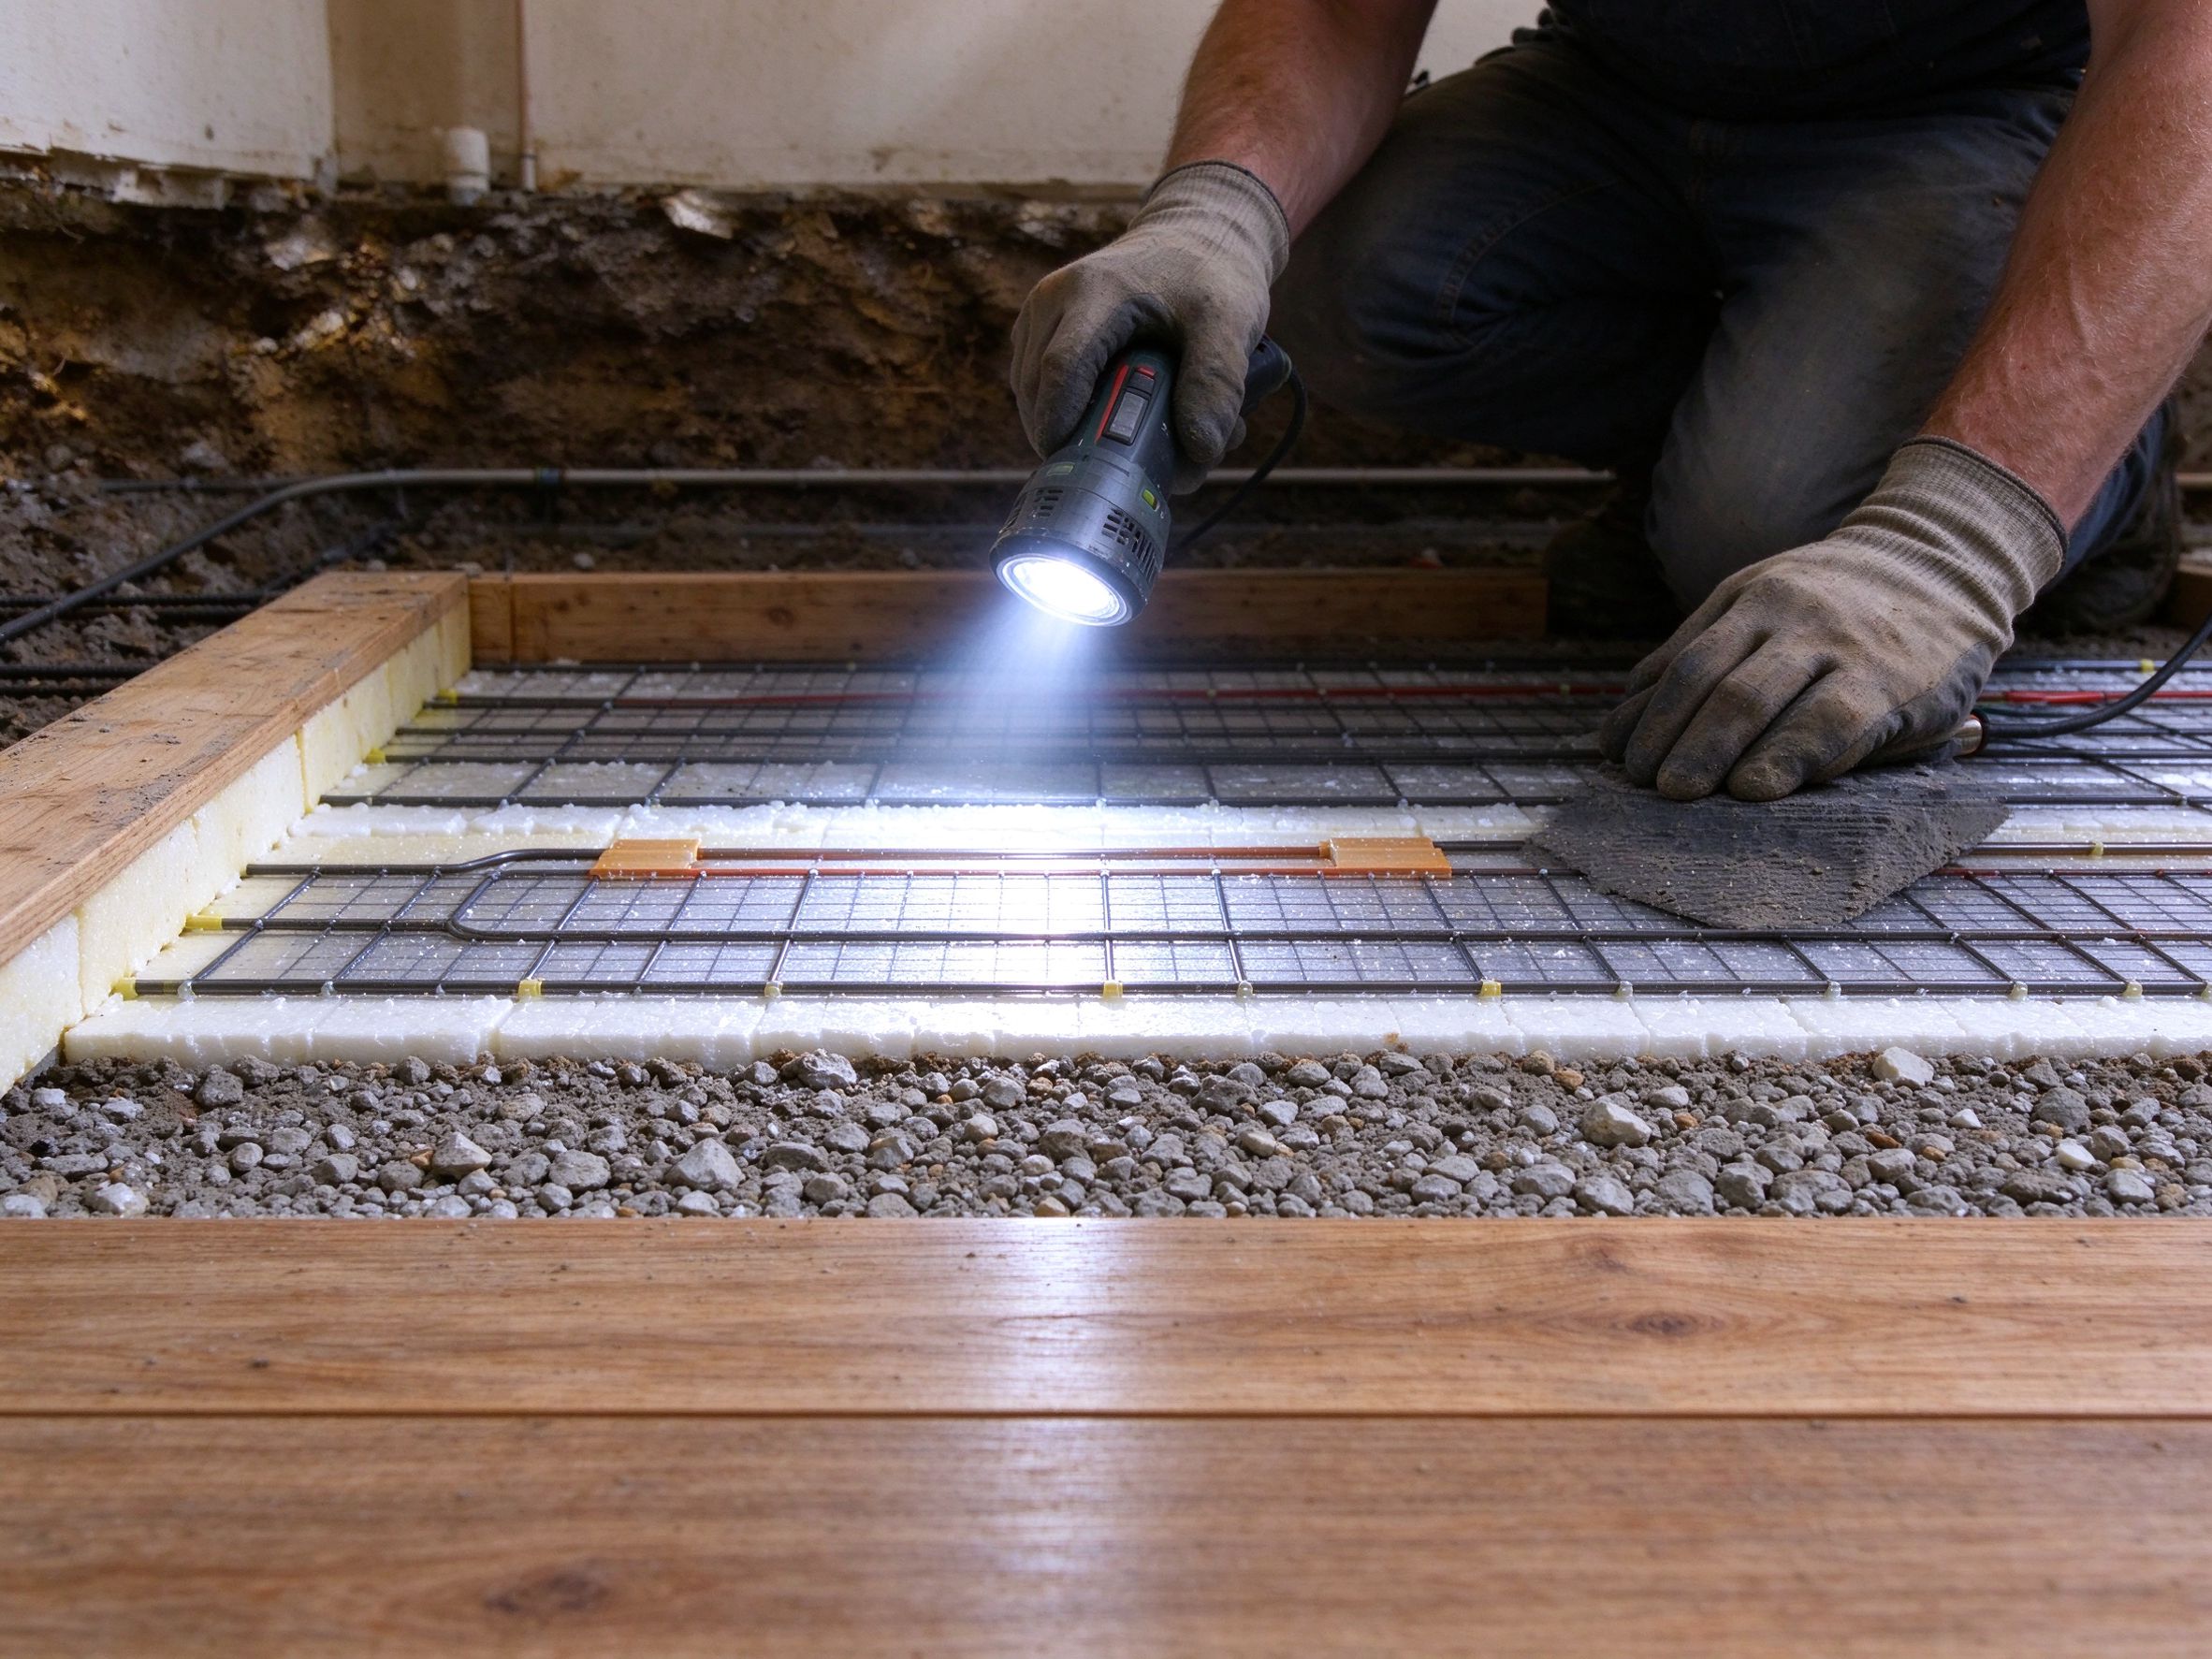
Moisture is the second hidden variable. A damp subfloor under dry-lay needs a vapour barrier over the boards before the floor covering; a damp slab under screed needs a DPM and often a moisture reading before the pour. In old buildings, the moisture check frequently changes the method: if the ground floor slab has persistent damp, screed over an inadequate DPM will fail quietly over years, while a dry-lay stack with a proper vapour barrier is the safer retrofit. Buy a cheap moisture meter before you decide anything; the reading belongs in the project file alongside the build-up measurement. For a renovation heating budget, add the preparation line — levelling compound for dry-lay or DPM work for screed — because it is the line most quotes omit.
7. Cost Comparison: Installed Cost, Not Element Price
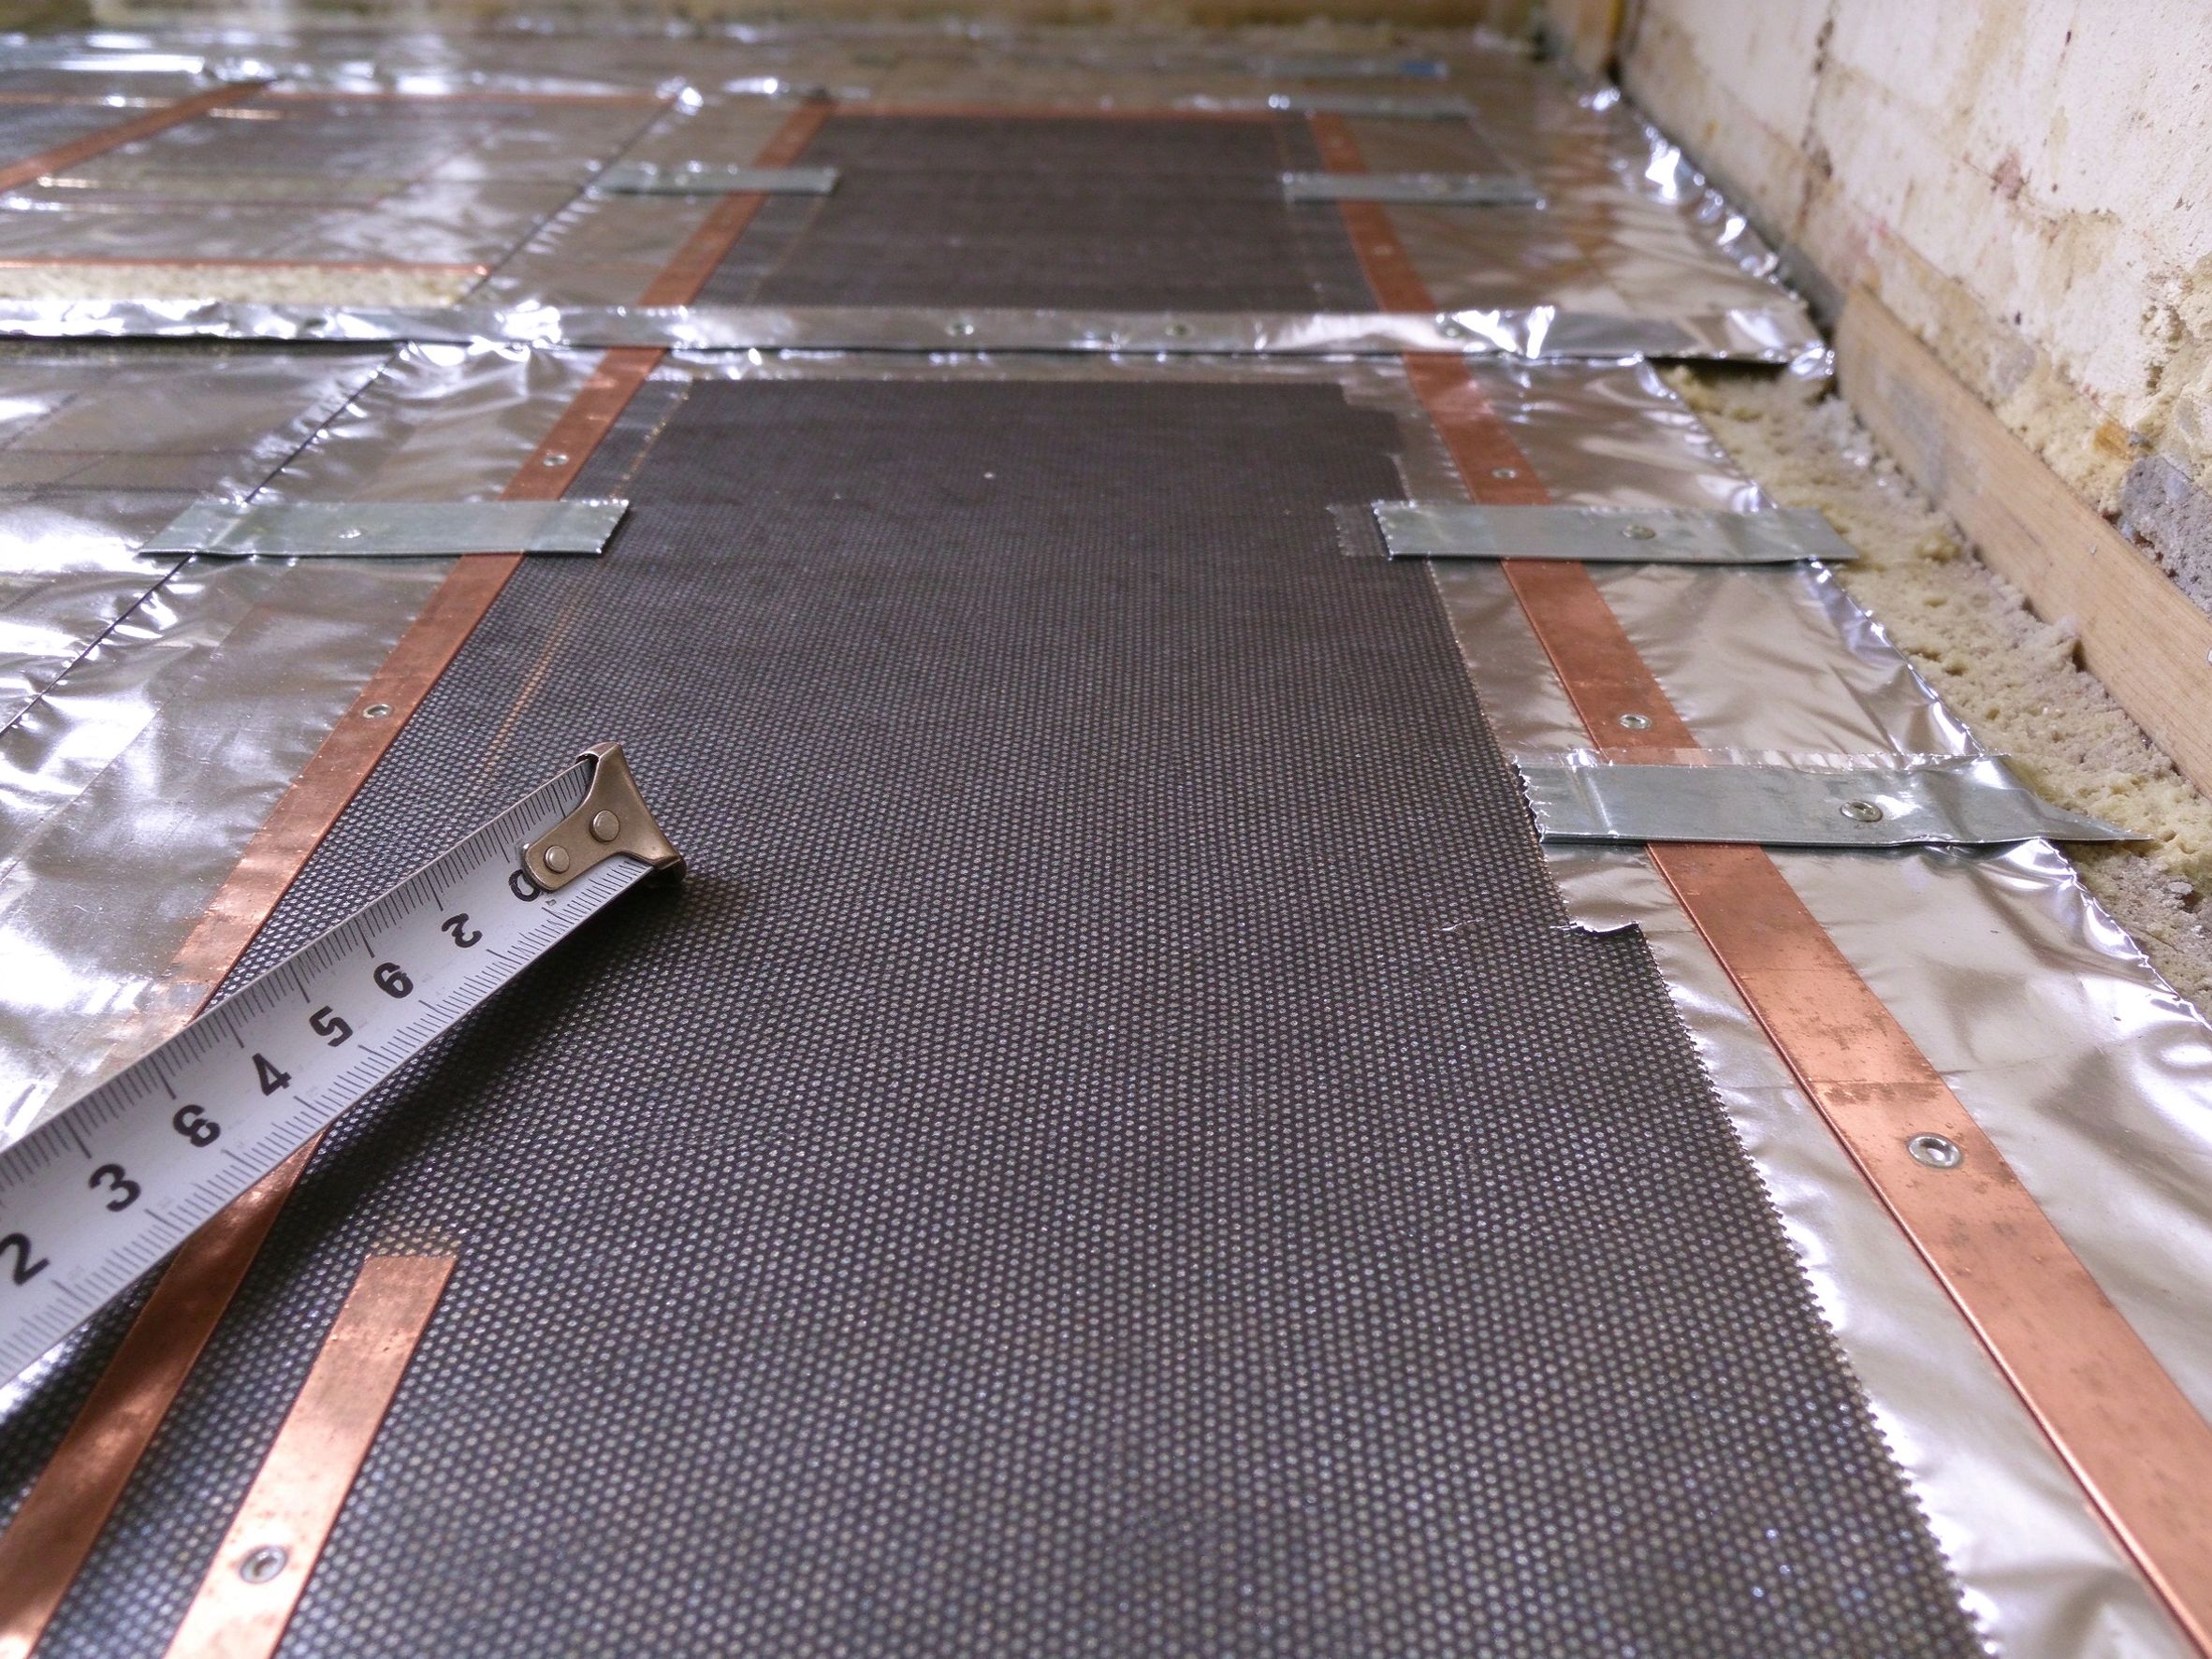
Compare the complete installed cost. A screed system’s element is often cheaper, but you add screed materials and labour, curing management, and the schedule risk. A dry-lay system’s element plus board costs more per square metre, but the labour is a fraction, there is no screed subcontractor, and the room earns revenue the same week. For typical renovation sizes of 10–40 m², the total installed gap between methods is usually small; for larger floors the screed method can come out cheaper per square metre if the schedule allows — and vice versa when it does not.
Budget in round figures for planning: dry-lay film system complete (board + element + thermostat) often lands in the $30–60/m² installed band for a self-installed small room; a screed cable system with a professional screed pour is comparable or lower on large areas, higher on small ones because fixed labour dominates. Always ask suppliers to quote installed cost per square metre with the heating film product range or cable kits broken out, so the method decision is made on like-for-like numbers.
8. Common Mistakes in the Method Decision
- Choosing dry-lay for a room that needs tile, then discovering the gypsum-board route costs more than screed would have.
- Pouring screed in a low-headroom flat without checking door thresholds first — the classic rebuild surprise.
- Ignoring curing moisture and laying wood over screed early; delamination and gapping follow within a season.
- Assuming dry-lay means “low wattage” — the element still needs the heat-loss wattage; the method does not reduce the power required.
- Forgetting probe placement: in dry-lay the floor probe goes between the board and the covering; in screed it is fixed to the element before the pour. Both need a documented position for commissioning and future repair.
9. Data and Evidence
Per SunAura factory records: 17 years of manufacturing since 2008, Qingdao Huangdao plant, 50+ export countries; film, mat, cable and thermostat ranges carry CE, RoHS, LVD and EMC documentation. Curing time ranges cited follow standard cement and liquid screed practice as published by screed manufacturers and EN 1264-class guidance; always confirm against the screed product’s datasheet and the floor covering’s moisture requirement. Build-up figures assume typical insulation boards and 8–12 mm laminate; actual stacks must be verified with the specific products.
10. FAQ
Can I dry-lay cable instead of film? Yes — low-profile cable on boards is used, but film is more common in dry-lay because it covers area efficiently without spacing calculations. The method suits whichever element the covering and wattage allow.
Is screed heating better for underfloor heating? Not universally. Screed stores heat and is ideal for tiles and constant-use rooms; dry-lay suits renovations, floating floors and fast turnarounds. The “better” answer is project-specific.
How long must screed dry before tiling? Typically 3–7 days minimum for foot traffic and longer for moisture-sensitive coverings; the governing test is the screed’s moisture reading against the covering’s requirement, not a fixed day count.
Does dry-lay heating damage laminate? Only if surface temperature exceeds the laminate’s limit (usually 27–28 °C) — control with a floor probe and set the limit; then it is a standard, supported installation.
11. Decision Shortcut for Your Project
- Choose the screed method for new builds and full re-floors, tile or stone finishes, rooms kept at constant comfort temperature, and projects where the schedule tolerates a curing week.
- Choose the dry-lay method for renovations with limited build-up, floating floors, fast handovers, loft conversions, flats and any room that must be usable the same day.
- Choose thin screed over mat only where tile is required and build-up is tight — it keeps the tile benefit with a smaller height penalty than full screed.
- Get quotes on installed cost per square metre for both methods before deciding; the element price difference is the least informative number on the page.
For a renovation heating budget estimate or an underfloor heating kit wholesale enquiry, send your floor plan, build-up constraint and schedule — the method recommendation follows from those three inputs, and the quote will be itemised by layer, not just by element.
— Ethan Sun, Founder & CEO, SunAura Thermal