
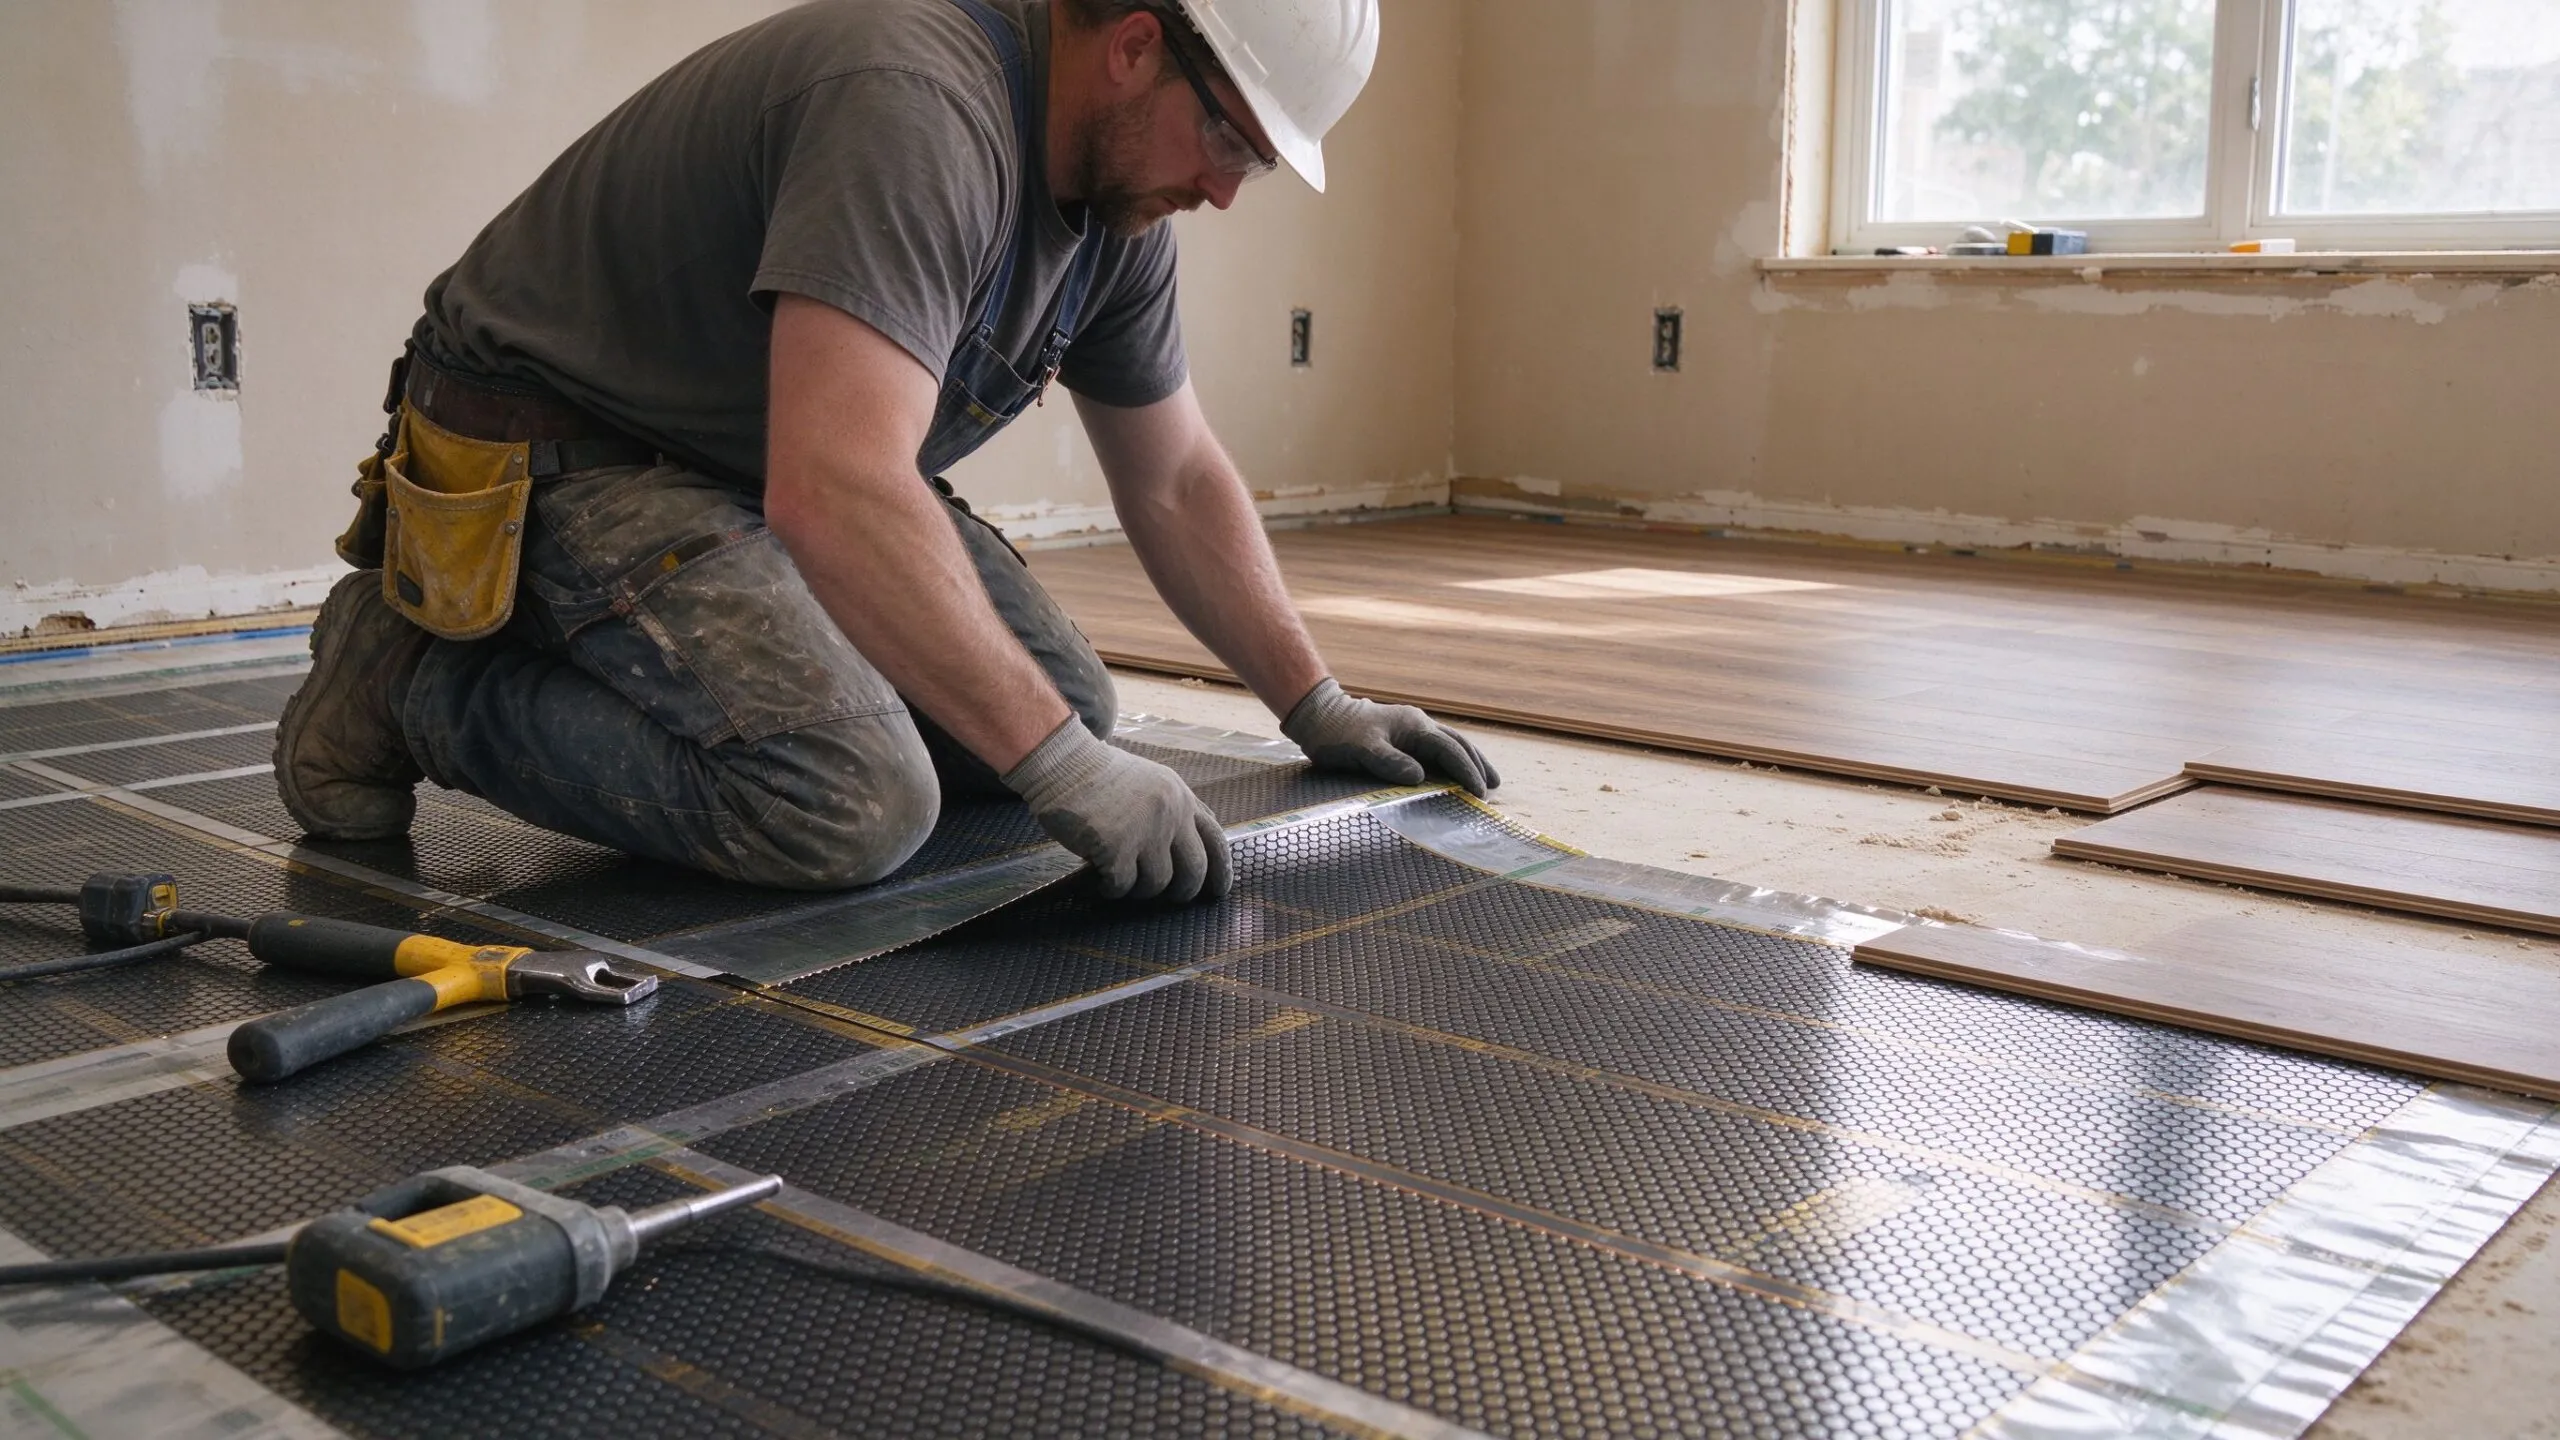
Installing graphene heating film under laminate flooring is a project that can be accomplished by a competent DIY enthusiast or a professional installer. When done correctly, the result is an efficient, comfortable, and invisible heating system that provides years of reliable service. This step-by-step guide covers everything from preparation to final testing.
Article by Ethan Sun, Founder & CEO, SunAura Thermal — based on 17 years of dry-lay heating film manufacturing and field installation experience.
Tools and Materials Required
Before beginning the installation, gather all necessary tools and materials. You will need: graphene heating film rolls, insulation boards (6mm XPS or equivalent), reflective tape, multimeter for electrical testing, scissors or utility knife, measuring tape, wire connectors, conduit for floor sensor, thermostat with floor sensor, and appropriate electrical cable.
Step 1: Subfloor Preparation
The subfloor must be clean, dry, and level before any heating components are installed. Remove all debris, dust, and grease from the surface. Check for any cracks or uneven areas and repair them with appropriate floor leveling compound. The subfloor should have a moisture content below 2% CM for concrete floors. Measure the room carefully and plan the layout of the heating film, ensuring you leave a 100mm gap from all walls.
Step 2: Install Insulation Layer
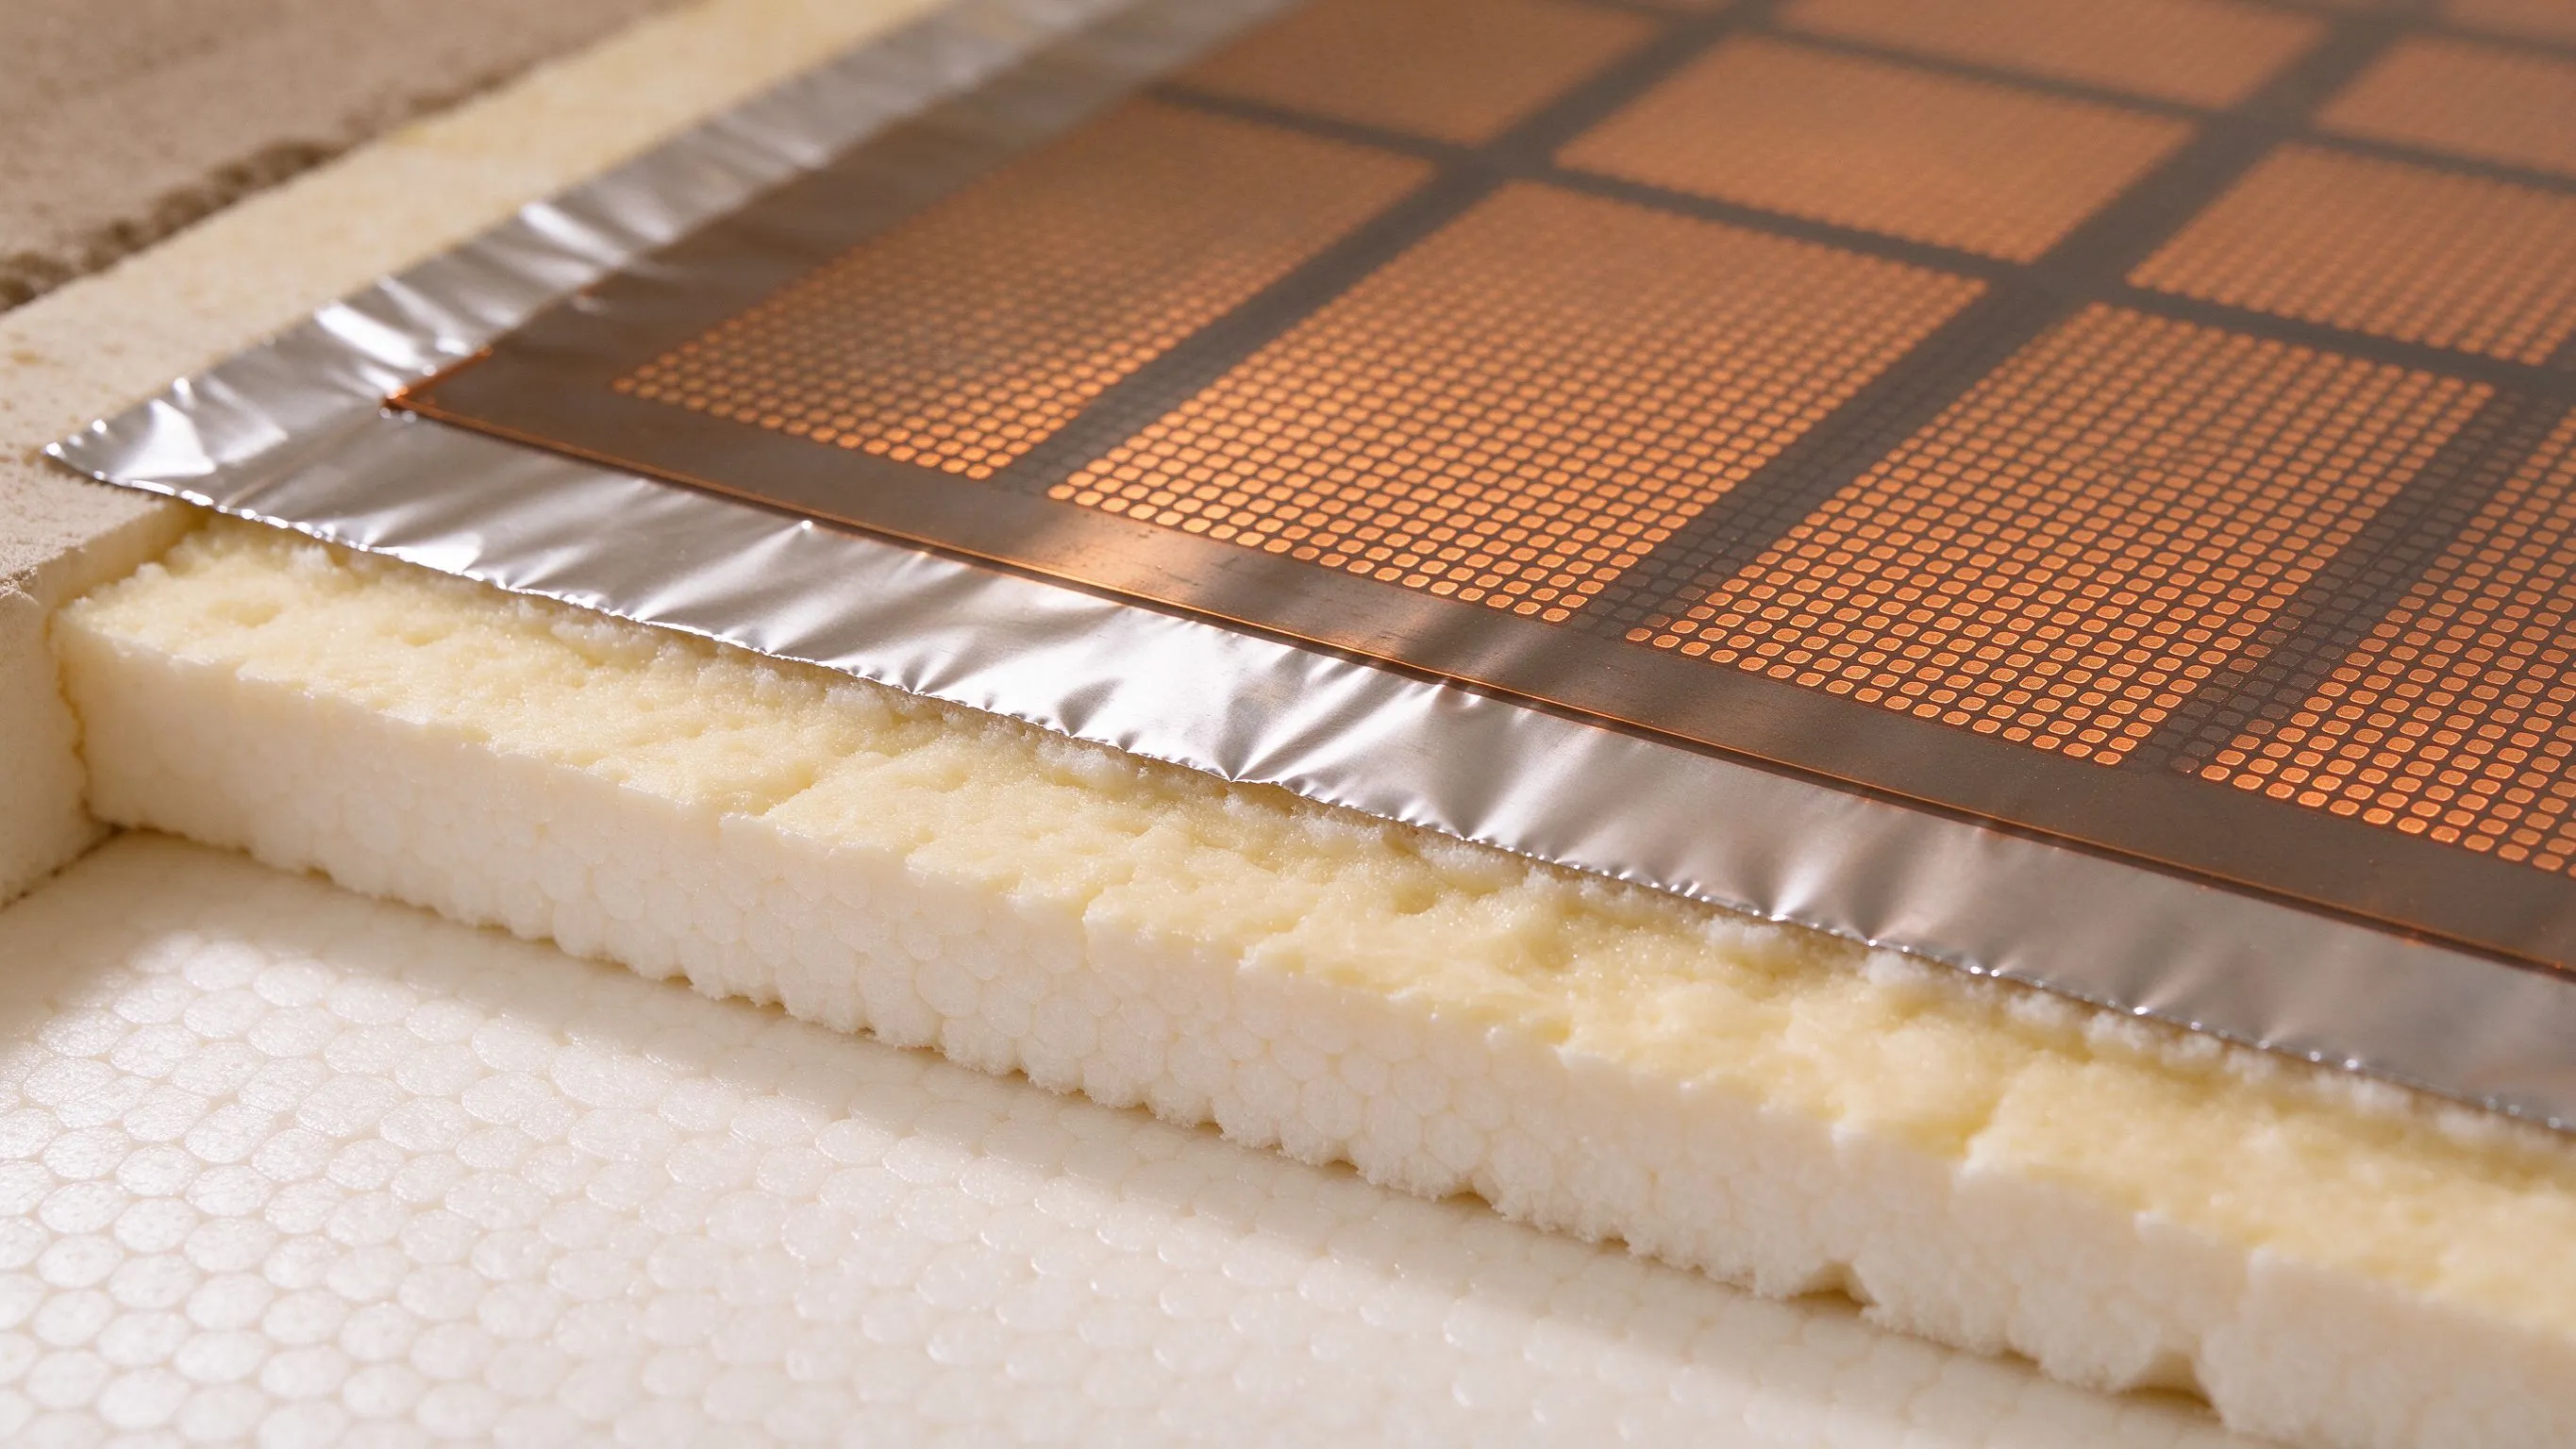
Install the insulation boards over the entire floor area, not just where the heating film will be placed. This ensures consistent floor height and prevents heat loss to the subfloor. The insulation boards should be at least 6mm thick XPS. Tape all joints with aluminum tape to create a continuous vapor barrier. The reflective surface also helps direct heat upward into the room, improving system efficiency by 10-15%.
Step 3: Layout and Cut Heating Film
Roll out the graphene heating film on top of the insulation, starting from the wall closest to the thermostat location. Cut the film to length using scissors, cutting only along the designated cut lines between the copper bus bars. Never cut through the heating element itself. The film should cover approximately 80-90% of the available floor area, leaving gaps for expansion and avoiding areas under fixed furniture.
Step 4: Electrical Connections
Electrical connections must be made with extreme care. Strip approximately 10mm of insulation from the end of the power cable and crimp the appropriate terminals. Connect the live wire to one copper bus bar and the neutral wire to the other. Use the provided connector clamps or solder the connections, ensuring a solid mechanical and electrical connection. Insulate all connections with heat-shrink tubing.
Install the floor temperature sensor in the conduit tube and position it between two runs of heating film, approximately 500mm from the wall. The sensor should be placed in an area that represents typical floor temperature, not directly on top of the heating film. Route the sensor cable to the thermostat location alongside the power cable.
Step 5: Testing Before Floor Covering
Before installing the laminate flooring, it is critical to test the heating system. Use a multimeter to measure the resistance of the heating film. The measured resistance should match the manufacturer specifications. Record this value for future reference. Next, temporarily connect the thermostat and power the system for 10 minutes. Use an infrared thermometer to verify that the film is heating uniformly. Check all connections for signs of overheating.
Step 6: Install Laminate Flooring
Install the laminate flooring according to the manufacturer instructions, taking care not to damage the heating film beneath. Use a vapor barrier underlayment if not already integrated into the laminate. Do not nail, screw, or staple anything through the floor and into the heating film area, as this could puncture the film and create a short circuit or fire hazard.
Step 7: Final Commissioning
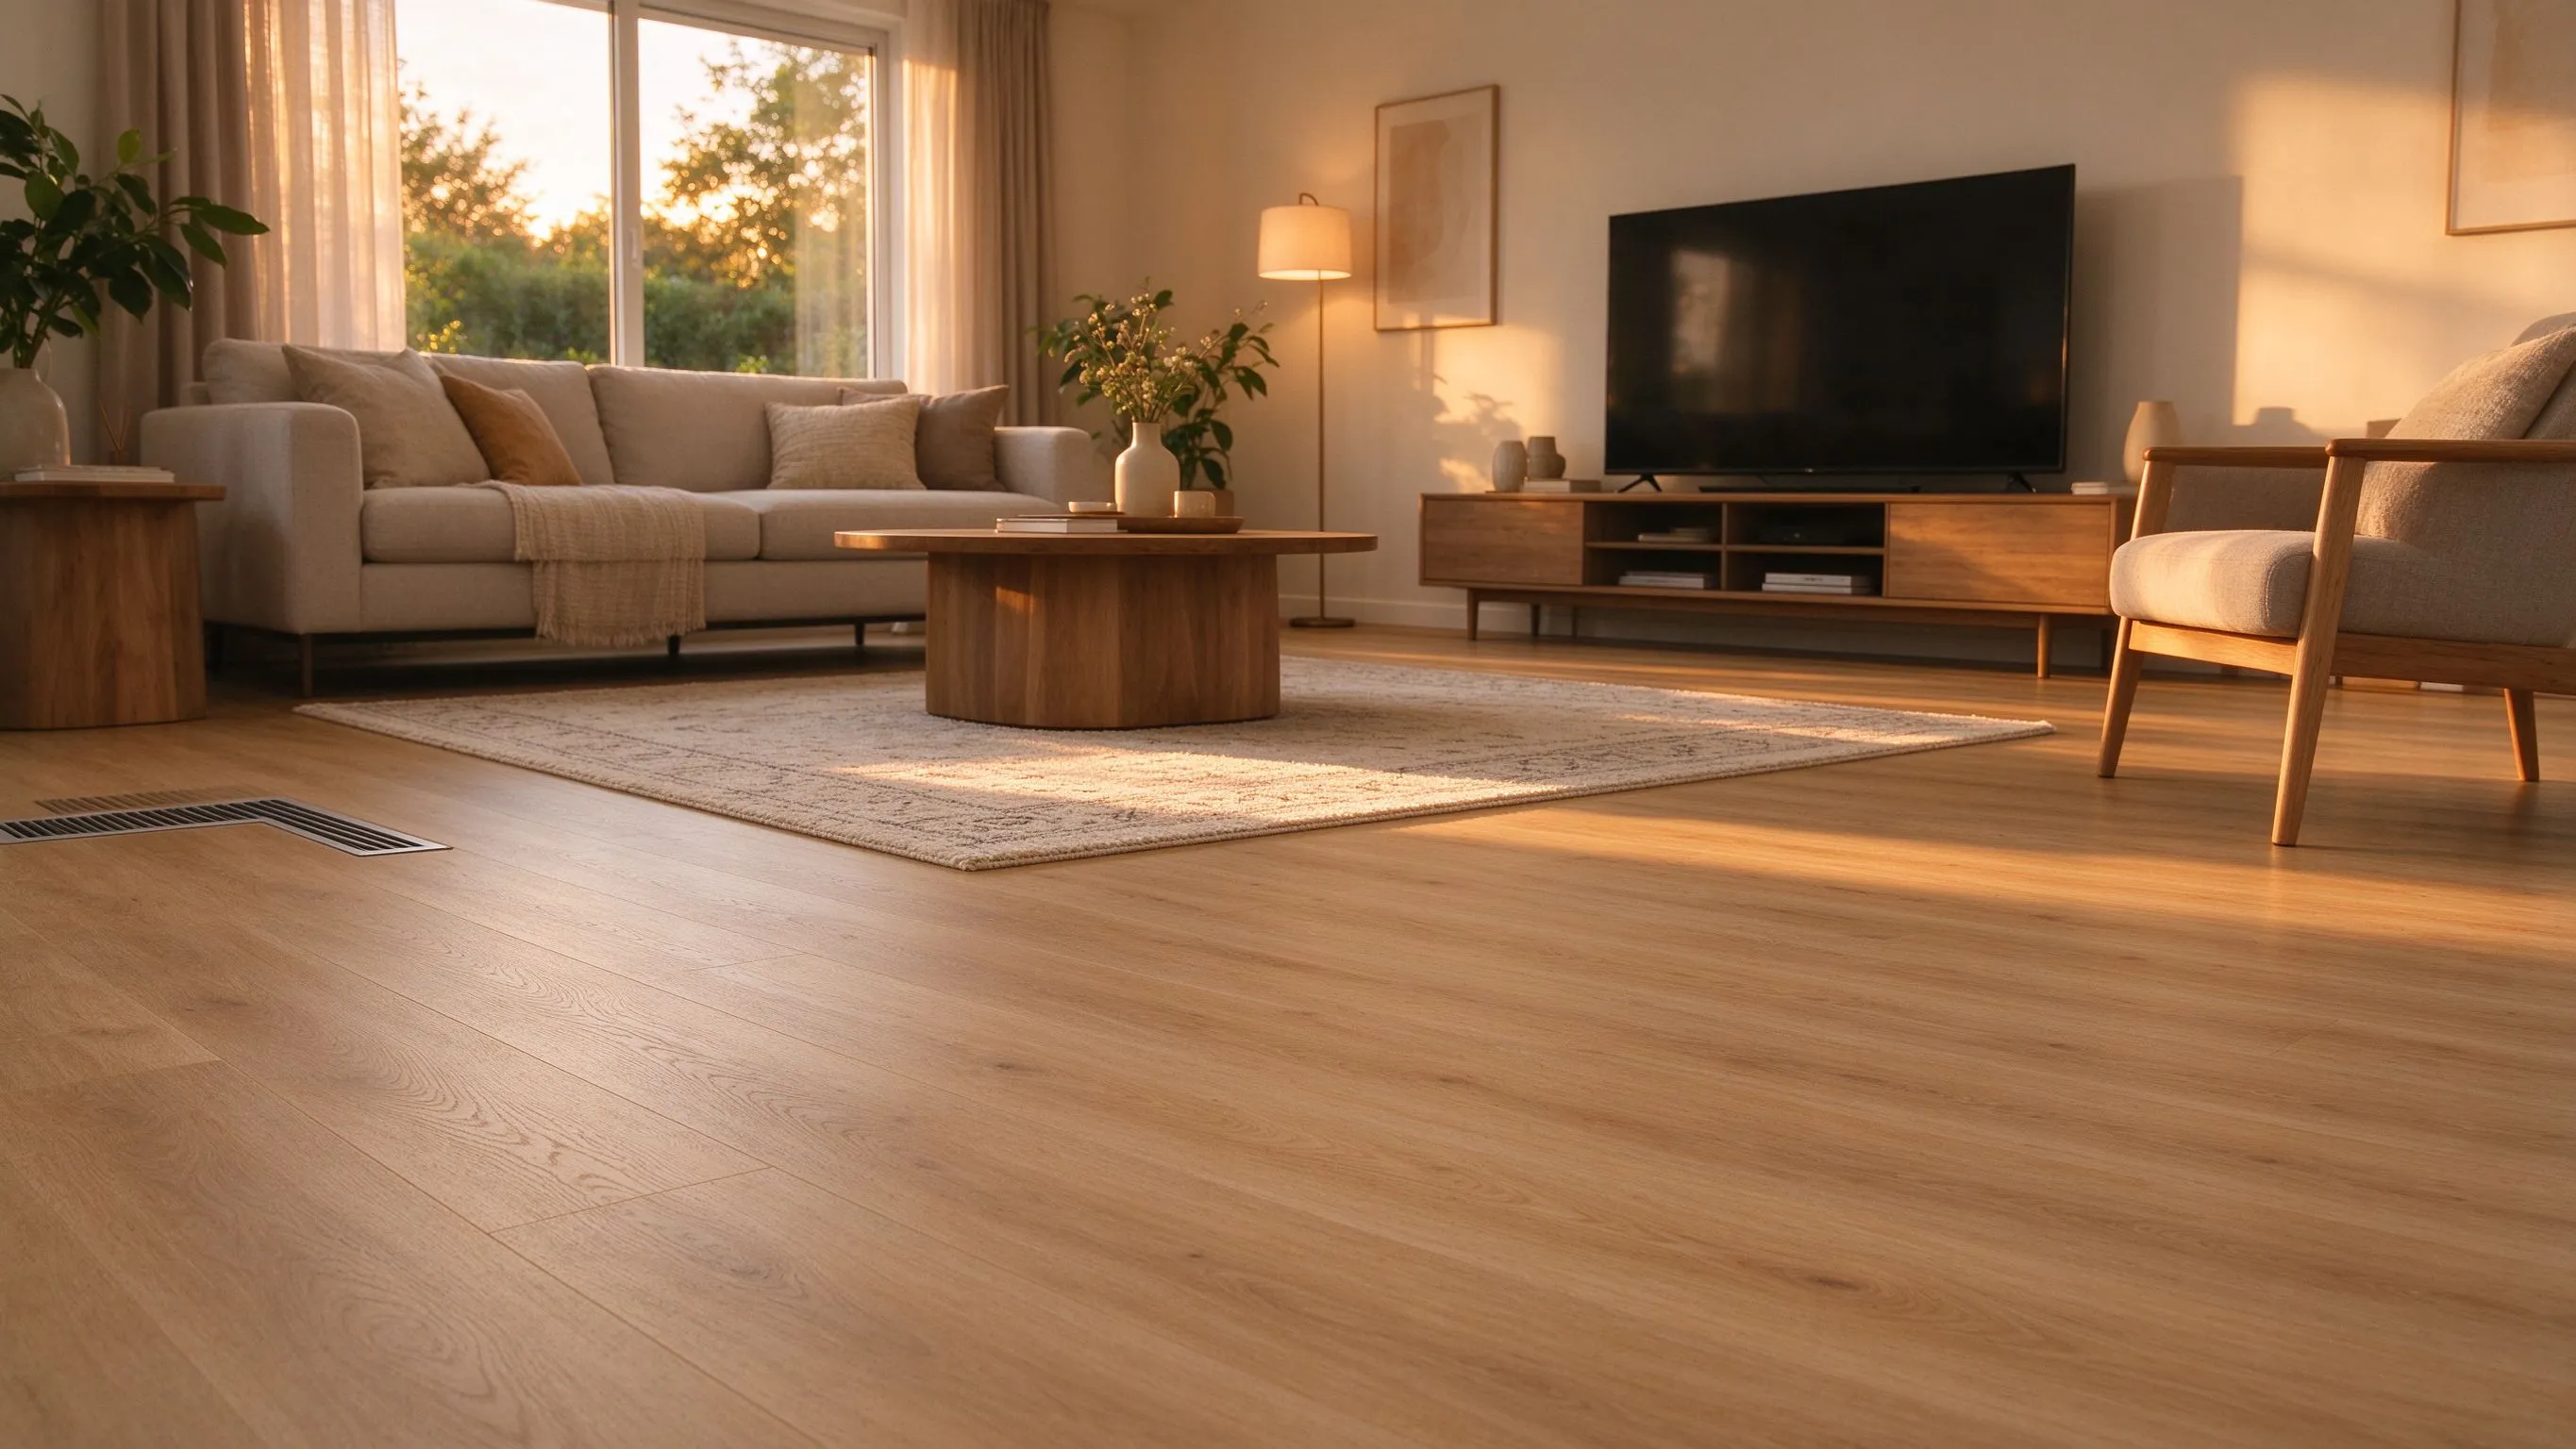
After the laminate flooring is installed, allow the floor to acclimate for 24 hours before turning on the heating system. Program the thermostat according to the manufacturer instructions, setting the appropriate floor temperature limit for laminate flooring (typically 27 degrees Celsius maximum). Start the system at a low temperature and increase by 2 degrees per day until the desired comfort level is reached.
Common Mistakes to Avoid
Several common mistakes can compromise the performance and safety of a graphene heating film installation. Do not install heating film under fixed furniture or in areas with restricted airflow. Never overlap heating film strips. Do not exceed the maximum circuit load specified by the manufacturer. Always install the floor temperature sensor. Ensure all electrical work is performed or verified by a qualified electrician.
Heat Loss Sizing: How Much Film Do You Actually Need?
Before unrolling any film, calculate the room’s heat loss. A modern well-insulated living room in the EU or North America loses roughly 40–60 W/m² on the coldest design day; a 1990s house with single glazing and no wall insulation can lose 100–150 W/m². Standard graphene film outputs 150–220 W/m², so covering 80–90% of the free floor area usually over-delivers against design heat loss — but in old, draughty rooms, that margin is what keeps the floor comfortable. If calculated heat loss exceeds the film’s output per covered square metre, specify higher-wattage film (200 W/m²) rather than reducing the floor temperature.
The free floor area calculation itself trips up DIY installers. Deduct under fixed kitchen units, wardrobes, bathtubs and toilet pedestals — typically 10–20% of a room’s area. Keep a 100 mm clearance from walls and a 200 mm clearance from sanitary fixtures. Never run film under a freestanding cast-iron radiator or a heavy sofa that will stay in one place for years; the trapped heat cannot dissipate upward and ages the film locally. For wood floor heating specifically, this clearance rule is the most important single installation detail.
Electrical Connections: Bus Bars, Crimps and Floor Sensors
Graphene film connects at the copper bus bar, not through the carbon heating layer. Each roll has two bus bars — live and neutral — running along its long edges. Installation typically fans rolls out from the thermostat wall, with adjacent rolls connected in parallel using crimp terminals and the manufacturer’s proprietary connector clamps. Never solder the bus bar (heat damages the film); never cut across the bus bar (you sever the conductor); and never connect more than the rated circuit wattage on one thermostat. For a 16 A, 230 V circuit, the limit is 3,000 W after safety derating — typically 15–20 m² of 160 W/m² film.
The floor sensor is routed through a split conduit tube between two rolls of film, roughly 500 mm from the wall and centred on the room’s typical occupancy zone — not above the bus bar, not in a corner, not under a piece of furniture. A sensor placed in a hot corner reads high and switches the system off prematurely; one placed under a sofa reads low and overheats the floor. After testing, the conduit is sealed at both ends so that mortar or underlay cannot drift into it; if the sensor ever fails, it can be pulled out and replaced without lifting the floor finish. SunAura supplies all of these parts in our installation kits, including conduit, crimps, end seals and terminal clamps, so installers do not improvise.
Testing, Commissioning and First-Winter Care
There are three mandatory electrical tests, and skipping any of them is why film installations fail within two years. First, before laying the film underlay, measure resistance with a multimeter and compare it to the value printed on the roll; record it. Second, after laying the laminate but before first use, measure it again — any drift means a crimp was damaged during flooring. Third, heat the film for 10 minutes and scan the surface with an infrared thermometer; temperature should be even across all rolls, with no cold or hot spots. The same testing discipline applies whether you install film or compare it to an aluminum film heating mat in wet areas — the commissioning checklist is identical.
Commissioning follows a ramp-up schedule. Day one, set the floor thermostat to 18 °C; increase by 2 °C per day until reaching the 27 °C laminate limit. This gradual ramp lets the adhesive and wood-based flooring acclimate thermally; an instant jump to full temperature causes expansion gaps to close, creaking boards and, in worst cases, buckled laminate. During the first winter, run the system daily rather than leaving it off for weeks — intermittent long-off periods let humidity migrate into the film’s backing, which ages it faster.
Long-term, graphene film has essentially zero maintenance: no pumps, no filters, no bleeding. Our guide to underfloor heating maintenance for 20-year efficiency covers the annual checklist — visually checking the thermostat display, verifying the floor-sensor limit, and listening for unusual cycling — which takes about ten minutes per room.
Troubleshooting Common Film Installation Issues
Three symptoms account for most call-backs. A cold room usually means the circuit load was undersized at design stage, the film was laid too sparsely, or the floor sensor is reading high. Hot spots under a particular rug mean the rug’s thermal resistance trapped heat; remove it. Creaking boards after commissioning usually mean the ramp-up schedule was skipped and the laminate expanded too fast. In each case, the fix is easier at commissioning than after a winter of complaints, which is why the pre-covering resistance test and the slow ramp are non-negotiable steps in the SunAura installation manual.
Factory Evidence: Film Manufacturing and Testing
SunAura Thermal has manufactured graphene heating film at our Qingdao Huangdao facility since 2008, now in our 17th year. Every roll passes 100% continuity and insulation-resistance testing, thermal imaging for even carbon distribution, and a 48-hour burn-in cycle at elevated temperature, per SunAura factory records. The film carries CE, RoHS, LVD and EMC declarations under ISO 9001, ISO 14001 and ISO 45001 management systems, and is exported to more than 50 countries. Independent standards bodies reinforce the specification: ASHRAE publishes the residential heating design standards that govern heat-loss calculation, and the EU energy efficiency framework sets the regulatory expectation that zoned, controllable electric heat be the default in new renovations.
Frequently Asked Questions
Can graphene heating film be installed under existing laminate without lifting it?No. The film must lie directly on the subfloor with insulation beneath it; retrofitting under an existing floating laminate floor would require lifting the entire floor, rolling the film, and relaying — technically possible but rarely worth the labour cost. It is better planned before flooring is installed.
What underlay should I use over graphene film?Use a 2–3 mm fibre or cork underlay with a built-in vapour barrier, not a thick foam underlay. Thick foam acts as insulation and raises floor surface temperature above the laminate limit. Cork and fibre underlays have the right thermal resistance — around 0.04 m²K/W — to protect the film without trapping heat.
Can I install a wardrobe directly on top of the film?No. Free-standing wardrobes are fine as long as the film stops 50 mm outside their footprint, but built-in fitted wardrobes that touch the subfloor must have film deducted from their area. Trapped heat under cabinetry ages the film and risks overheating the wood finish.
How long does a graphene film installation take in a typical room?A competent installer covers a 15 m² room in roughly 4–6 hours: 1 hour for prep, 1 hour for insulation, 1–2 hours for film layout and connections, 1 hour for testing, and the laminate flooring itself takes another day. Compared with wet mat installations, the dry build-up eliminates the 7-day mortar curing wait.
Does graphene film work with smart thermostats and voice control?Yes. Our WiFi thermostats integrate with Amazon Alexa, Google Home and Apple HomeKit, so film zones can be scheduled, voice-controlled and monitored through the same app as the rest of a smart home. See our WiFi thermostat technology guide for compatible models.
Conclusion
Installing graphene heating film under laminate flooring is a straightforward process when following the correct procedures. The key to success lies in careful preparation, precise layout planning, proper electrical connections, and thorough testing at each stage. When installed correctly, a graphene heating film system provides rapid, efficient, and comfortable heating that will enhance the comfort and value of your home for decades. SunAura Thermal provides comprehensive installation guides, technical support, and all necessary components for a successful installation.
Related Products & OEM Inquiries
Looking for graphene heating film fitted under laminate flooring or a factory-direct OEM/ODM partner? Explore our graphene far-infrared heating film range, then request a quote for your project — we supply distributors, installers and brands in 50+ countries.
Looking for graphene heating film for a project? SunAura is a direct OEM/ODM manufacturer offering wholesale, factory-direct supply with full CE/RoHS compliance.