
Ethan Sun, Founder & CEO, SunAura Thermal
A wall heating film is a 50 cm wide sheet of printed resistive elements bonded to a reflective backing, and it will perform the same way on almost any interior wall — as long as the wall is sound, dry, and flat enough for the sheet to sit in full contact. The failures we see are rarely electrical. They are substrate failures: adhesive that never cured because the paint was chalky, film that bridged a tile joint and cracked along the grout line, wallpaper that released in the summer because the film was installed over a loose seam.
This guide sets out the substrate rules we give to installers and to buyers who are specifying the product for a contractor. It covers plasterboard, painted plaster, ceramic tile, wallpaper and wood panelling, the adhesive and mechanical fixing the factory specifies, and the checks that should be done before the film is covered by anything.
Why the substrate decides the outcome
The film transfers heat to the wall by conduction through the adhesive layer, and it radiates from its front face. Both paths depend on contact. A film that touches the wall at 95 % of its area heats evenly; a film that touches at 70 % — because the wall is bowed, or because the adhesive only grabbed the high spots — develops local hot bands along the stripes that carry current.
Those hot bands are where the printed element ages fastest. They are also invisible: the surface temperature at the front face can read correctly with an infrared thermometer while the underside of the sheet is running considerably hotter. This is the reason a substrate that is “good enough to stick to” is not the same as a substrate that is good enough to heat against.
The second constraint is moisture. A wall film runs at a surface temperature of roughly 50–70 °C uncovered, per the factory configuration guide, and it is designed for interior dry walls. Installing it on a wall with rising damp, on fresh plaster that has not finished curing, or over a substrate that traps vapour will drive moisture into the adhesive layer and, over a heating season, into the film bond.
Four substrates and what each one demands
Every interior wall falls into one of four families for our purposes. The table is the one we use when a buyer asks whether a given room can take the film.
| Substrate | Typical condition | Prep required | Fixing method | Main risk | Verdict |
|---|---|---|---|---|---|
| Painted plasterboard or plaster | Flat, dry, matt or satin paint | Degrease, sand chalky paint, fill cracks | Adhesive backing plus tape positioning; screws on printed strips if the board is soft | Chalky or glossy paint releasing the adhesive | Best case — standard retrofit |
| Ceramic tile | Glazed or matt, grout lines 2–5 mm | Degrease thoroughly, check for hollow tiles | Adhesive on tile face or screws into the printed strips, never through a stripe | Grout-line bridging and thermal expansion at joints | Workable — specify adhesive grade |
| Wallpaper and wallcovering | Vinyl, non-woven, fabric-backed | Check seams are tight and the paper is fully bonded | Adhesive over the paper, tape positioning | Seam release; moisture trapped under vinyl | Workable on tight seams, avoid loose paper |
| Wood panelling and MDF | Lacquered or veneered, joints every 30–60 cm | Degrease, check panel movement | Adhesive plus screws on printed strips | Panel movement cracking the film at a joint | Workable if the film does not cross a moving joint |
The verdict column is honest rather than promotional. All four substrates can take the film; what changes is how much preparation sits in front of the installation, and which failure mode you are managing.
Plasterboard and painted walls: the standard case
This is the substrate the product was designed around, and it is the one that gives the cleanest result. The requirements are modest: the wall must be dry, the paint must be sound, and the surface must be flat to within a few millimetres over the length of a panel.
Paint is the trap. Matt emulsion on plasterboard is usually fine after a degrease. Chalky distemper, lime wash and some low-quality matt paints leave a powder layer that the adhesive bonds to instead of the wall — the film appears fixed, passes a hand test, and releases in the first heating season as the adhesive layer expands and contracts against a surface that has no cohesion. The test is simple: rub the paint with a damp cloth. If pigment comes off on the cloth, the wall needs a primer or the paint needs sealing before the film goes on.
Gloss and semi-gloss paints are the second trap, for the opposite reason. They are smooth enough that an adhesive designed for porous substrates has nothing to key into. Either sand the surface to break the sheen, or use the printed fixing strips along the silver foil border with screws into the plasterboard. The factory prints those strips precisely so that a mechanical fixing is possible without drilling blind — the print marks where a screw is allowed, and a screw anywhere else risks the conductor.
Flatness matters more than most installers expect. A plasterboard wall with a 4 mm hollow behind a 1 m panel means the film bridges that hollow. Under heating the bridge becomes a hot band. Fill and sand before installation rather than relying on the adhesive to pull the sheet flat; the adhesive holds, it does not level.
Ceramic tile: adhesive grade and the grout line
Tiled walls are common in bathrooms, kitchens and commercial fit-outs, and they are the substrate where installation quality most often diverges from installation appearance. Two issues dominate.
The first is adhesion to glaze. A glazed tile has very low surface energy, and an adhesive specified for plasterboard will not develop a reliable bond to it. The specification we give is an adhesive rated for low-energy surfaces, applied as a continuous bed rather than dabs, with the tile degreased and dried first. Kitchen grease and bathroom soap residue are both bond killers, and neither is visible.
The second is the grout line. A film laid across a 3 mm recessed grout line is unsupported for that width. It will not fail immediately, but the recess becomes the place where the sheet flexes each heating cycle, and mechanical fatigue concentrates there. The practical options are to fill and level the grout lines under the film footprint, or to position the panel so its edges align with grout lines rather than crossing them at random. On a large tiled wall the second option is usually quicker and leaves the tile visually intact.
Note also what the tile does to the surface temperature. Tile has a higher thermal mass than plasterboard, so the wall takes longer to feel warm and holds warmth longer after the film switches off. That is not a defect, but it changes the control strategy: on tile, a longer pre-heat before occupancy is more useful than a higher setpoint.
Wallpaper and decorative finishes
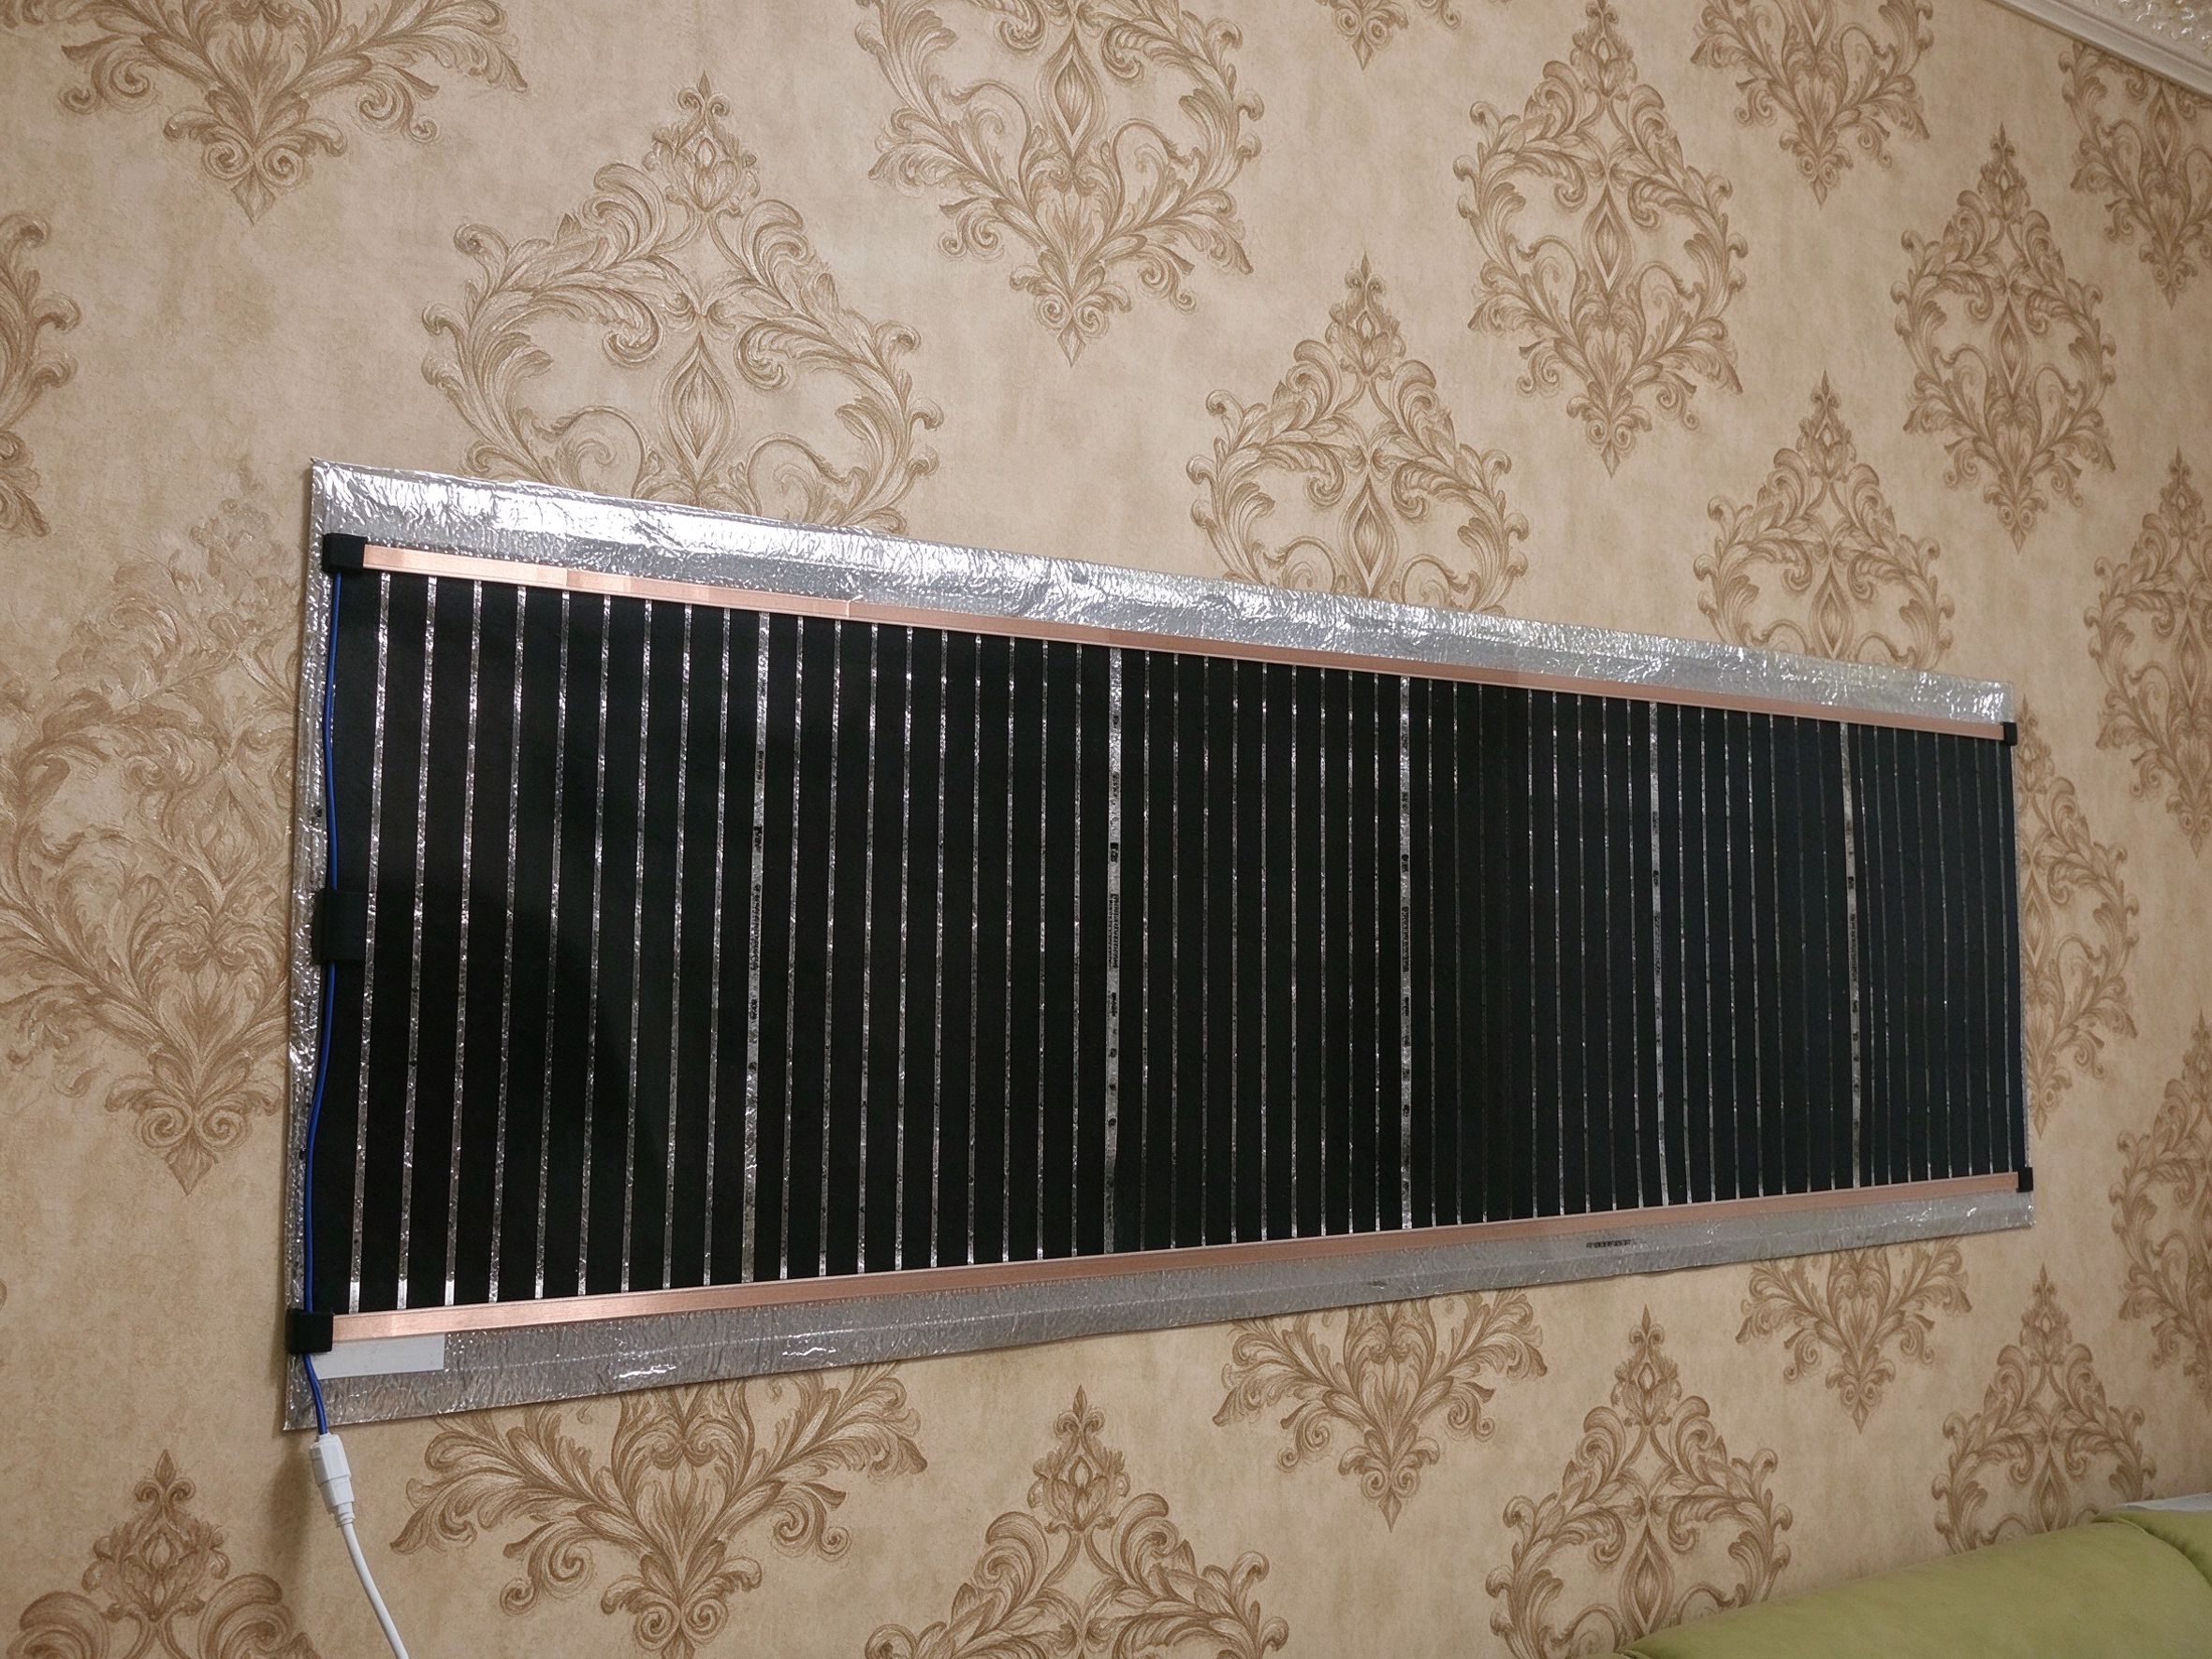
Wallpaper is the substrate buyers ask about most often, because installing wall heating without removing the decor is the whole commercial argument for the product. It works, with two conditions.
The paper must be fully bonded. A seam that has started to lift, or a section that has released from the wall, will lift further when the film behind it expands. Run a hand over the installation footprint and listen for hollow areas; press any that you find and re-bond them before proceeding. This takes minutes and prevents a call-back.
The paper must be vapour-permeable enough for the application, or the installation must allow moisture to escape at the edges. Vinyl wallcovering is effectively a vapour barrier, and a film bonded over it traps any moisture that reaches the interface from the room or from the wall. In practice this is manageable — the film does not generate moisture, and an interior dry wall does not supply much — but on a wall with any history of damp, vinyl is the wrong substrate and the damp should be resolved before any heating is installed.
Embossed and heavily textured papers are a separate case. Deep texture means the film contacts only the peaks. Flatten the footprint with a levelling skim, or accept reduced contact and size the panel conservatively.
The fixing method the factory specifies
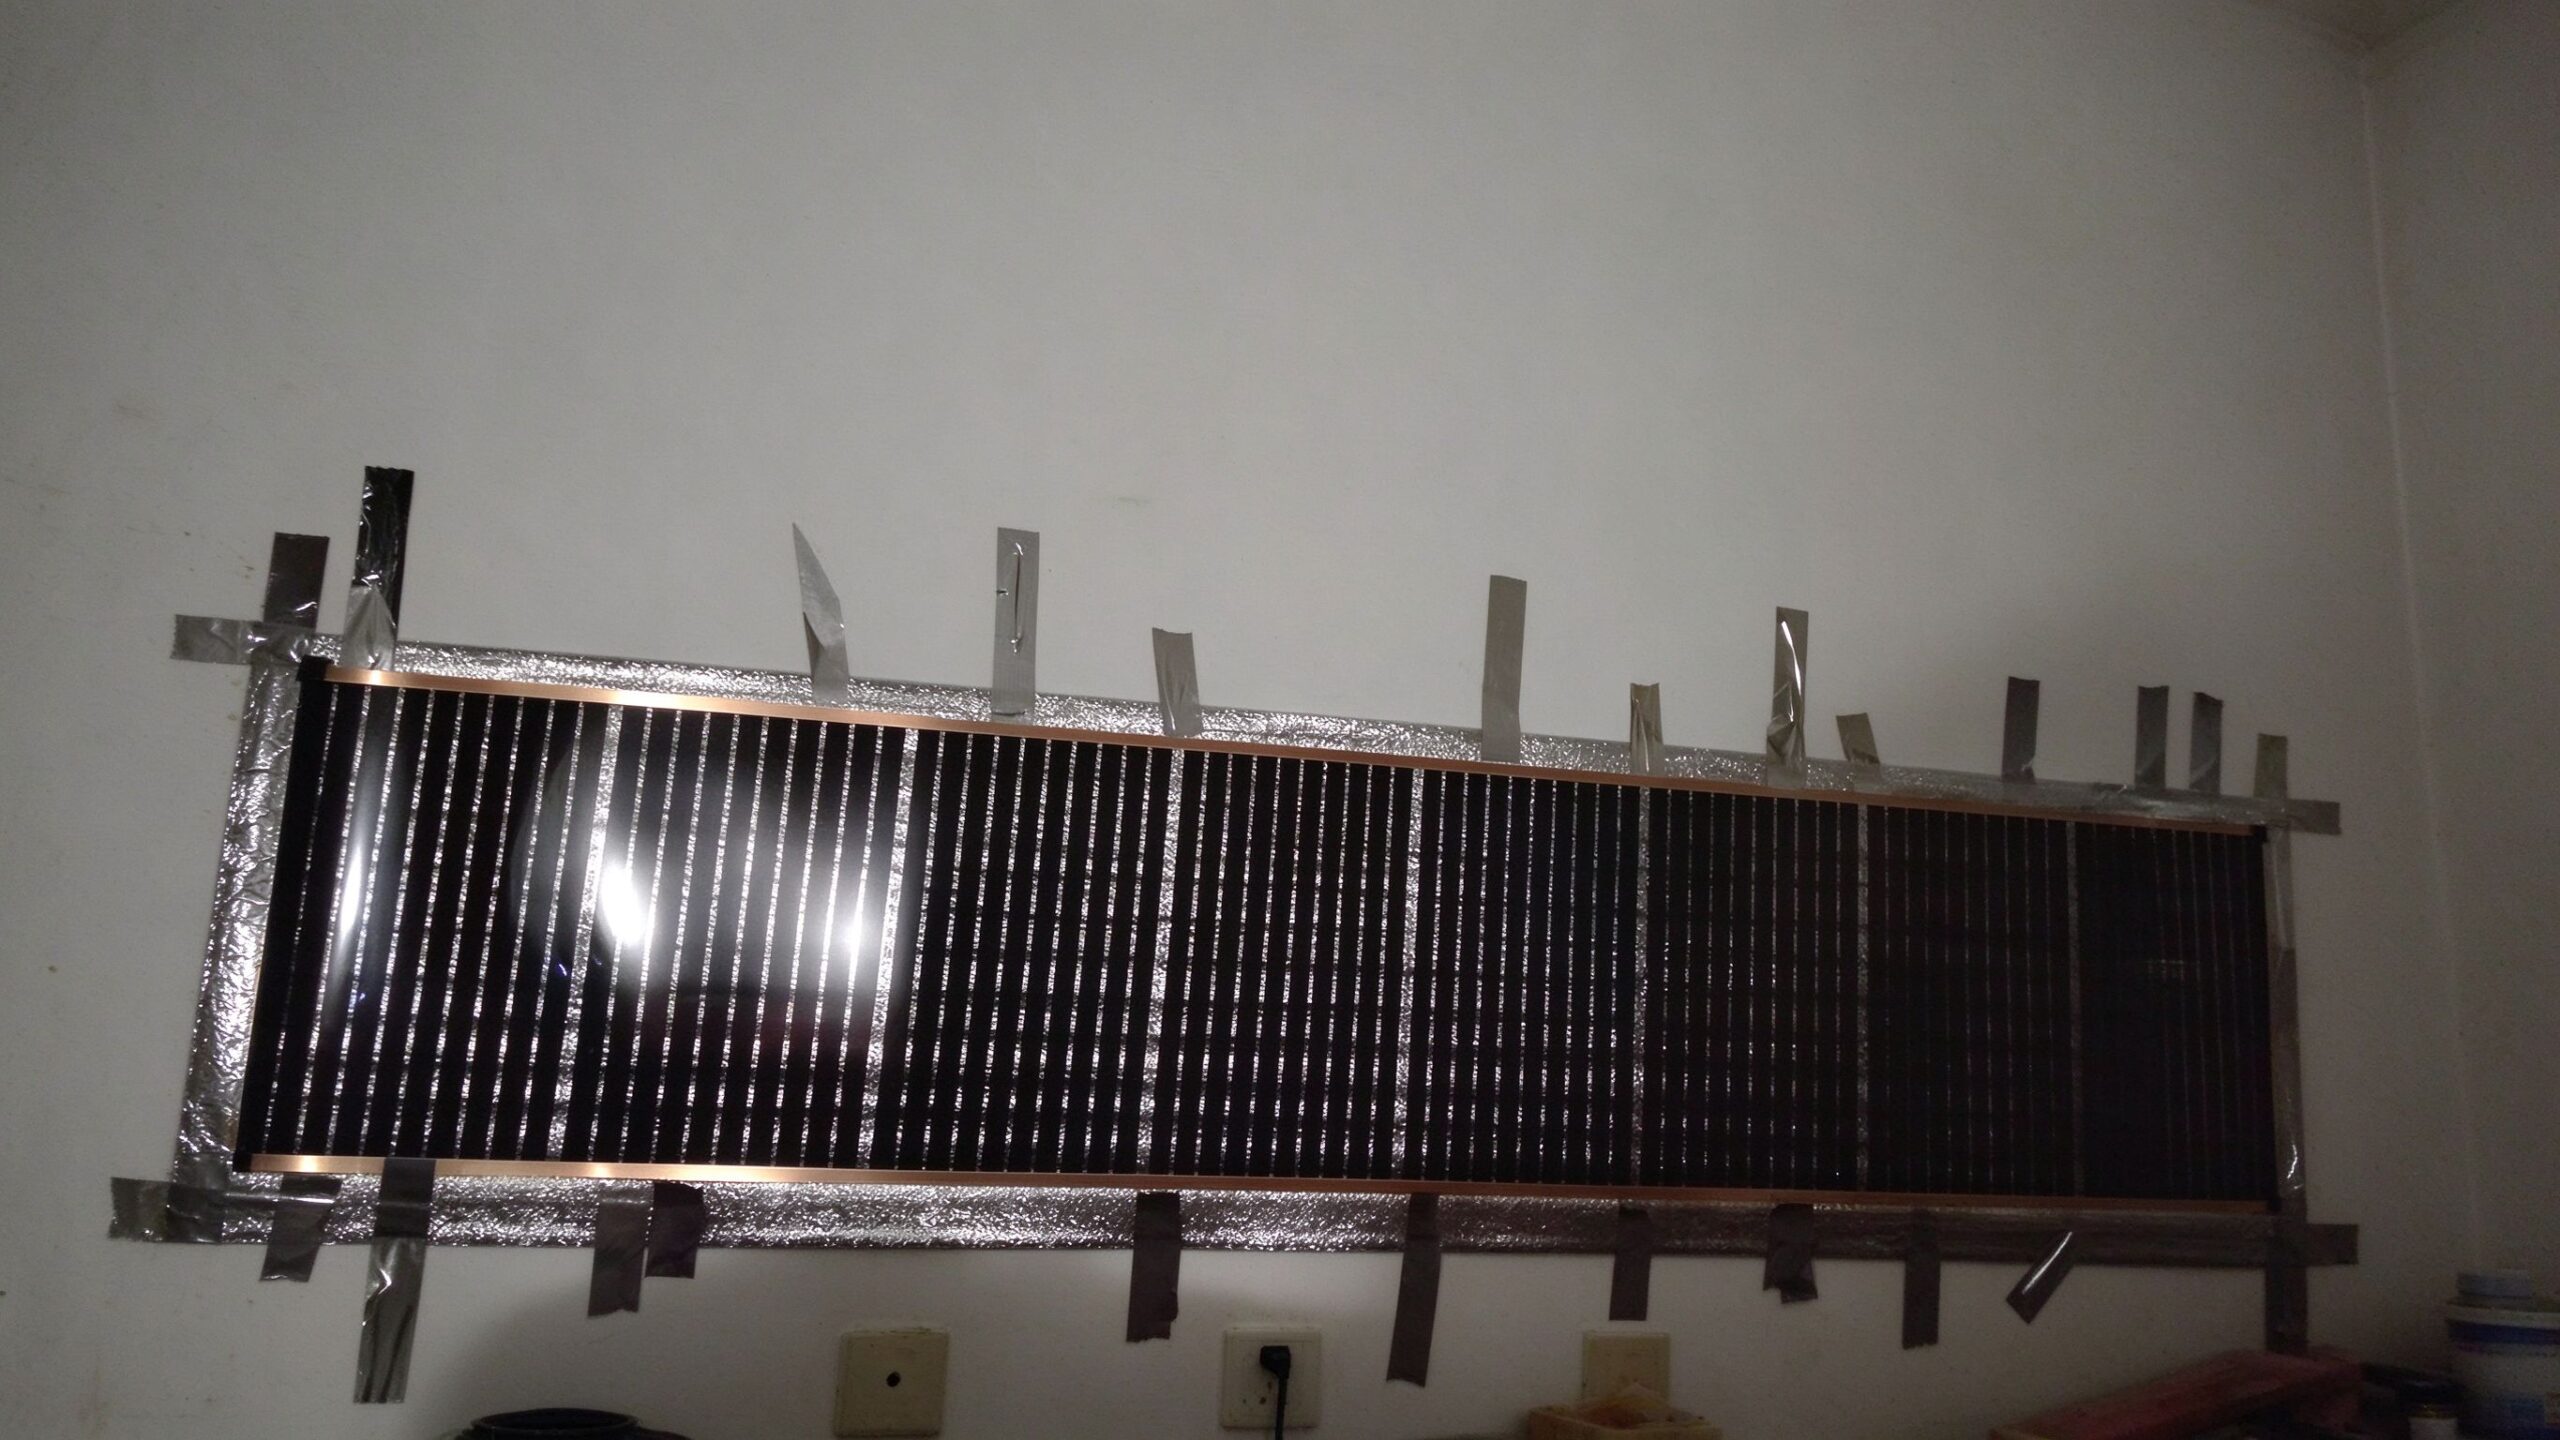
The standard build has three fixing provisions, and installers should use them in this order: tape for positioning, adhesive backing for permanent contact, printed fixing strips for mechanical fixing where the wall demands it.
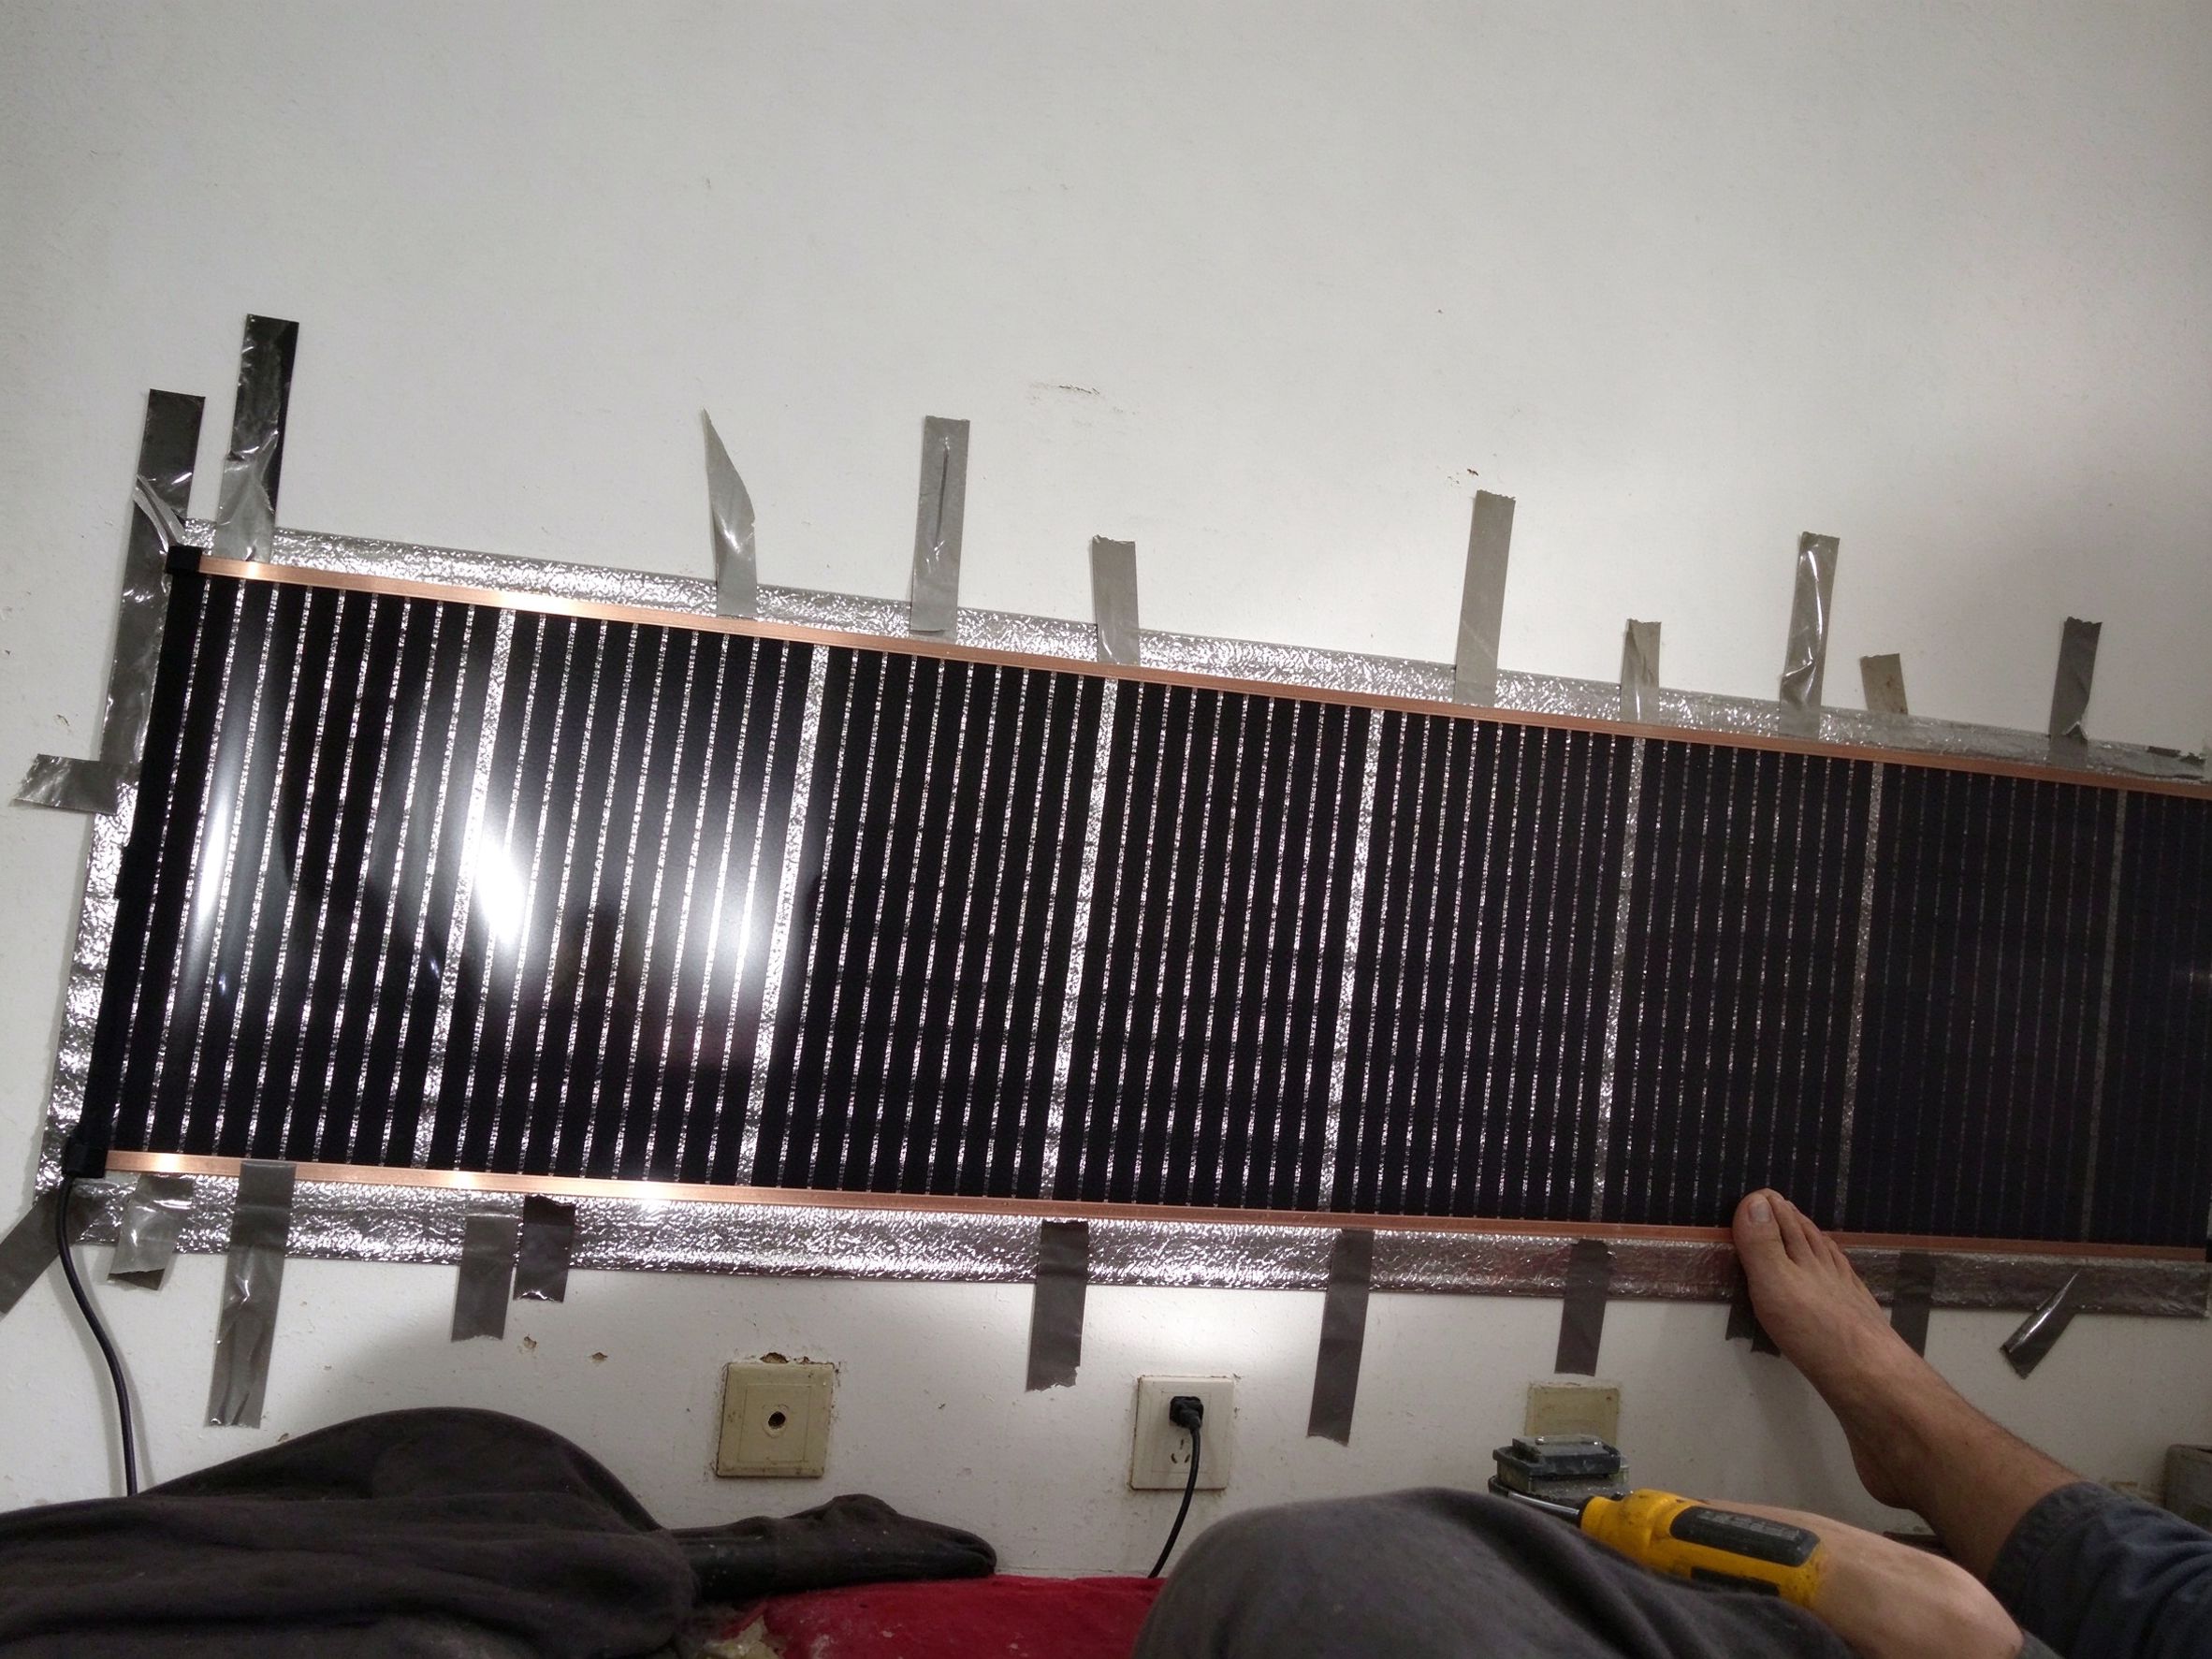
Tape positioning. Two strips along the top and bottom edges hold the sheet flat and let you adjust height before committing. This is the step to take slowly — once the adhesive backing is pressed to the wall, repositioning means replacing the sheet.
Adhesive backing. Press from the centre outward, working air out to the edges, the same way a screen protector is applied. Full contact is the objective, not speed.
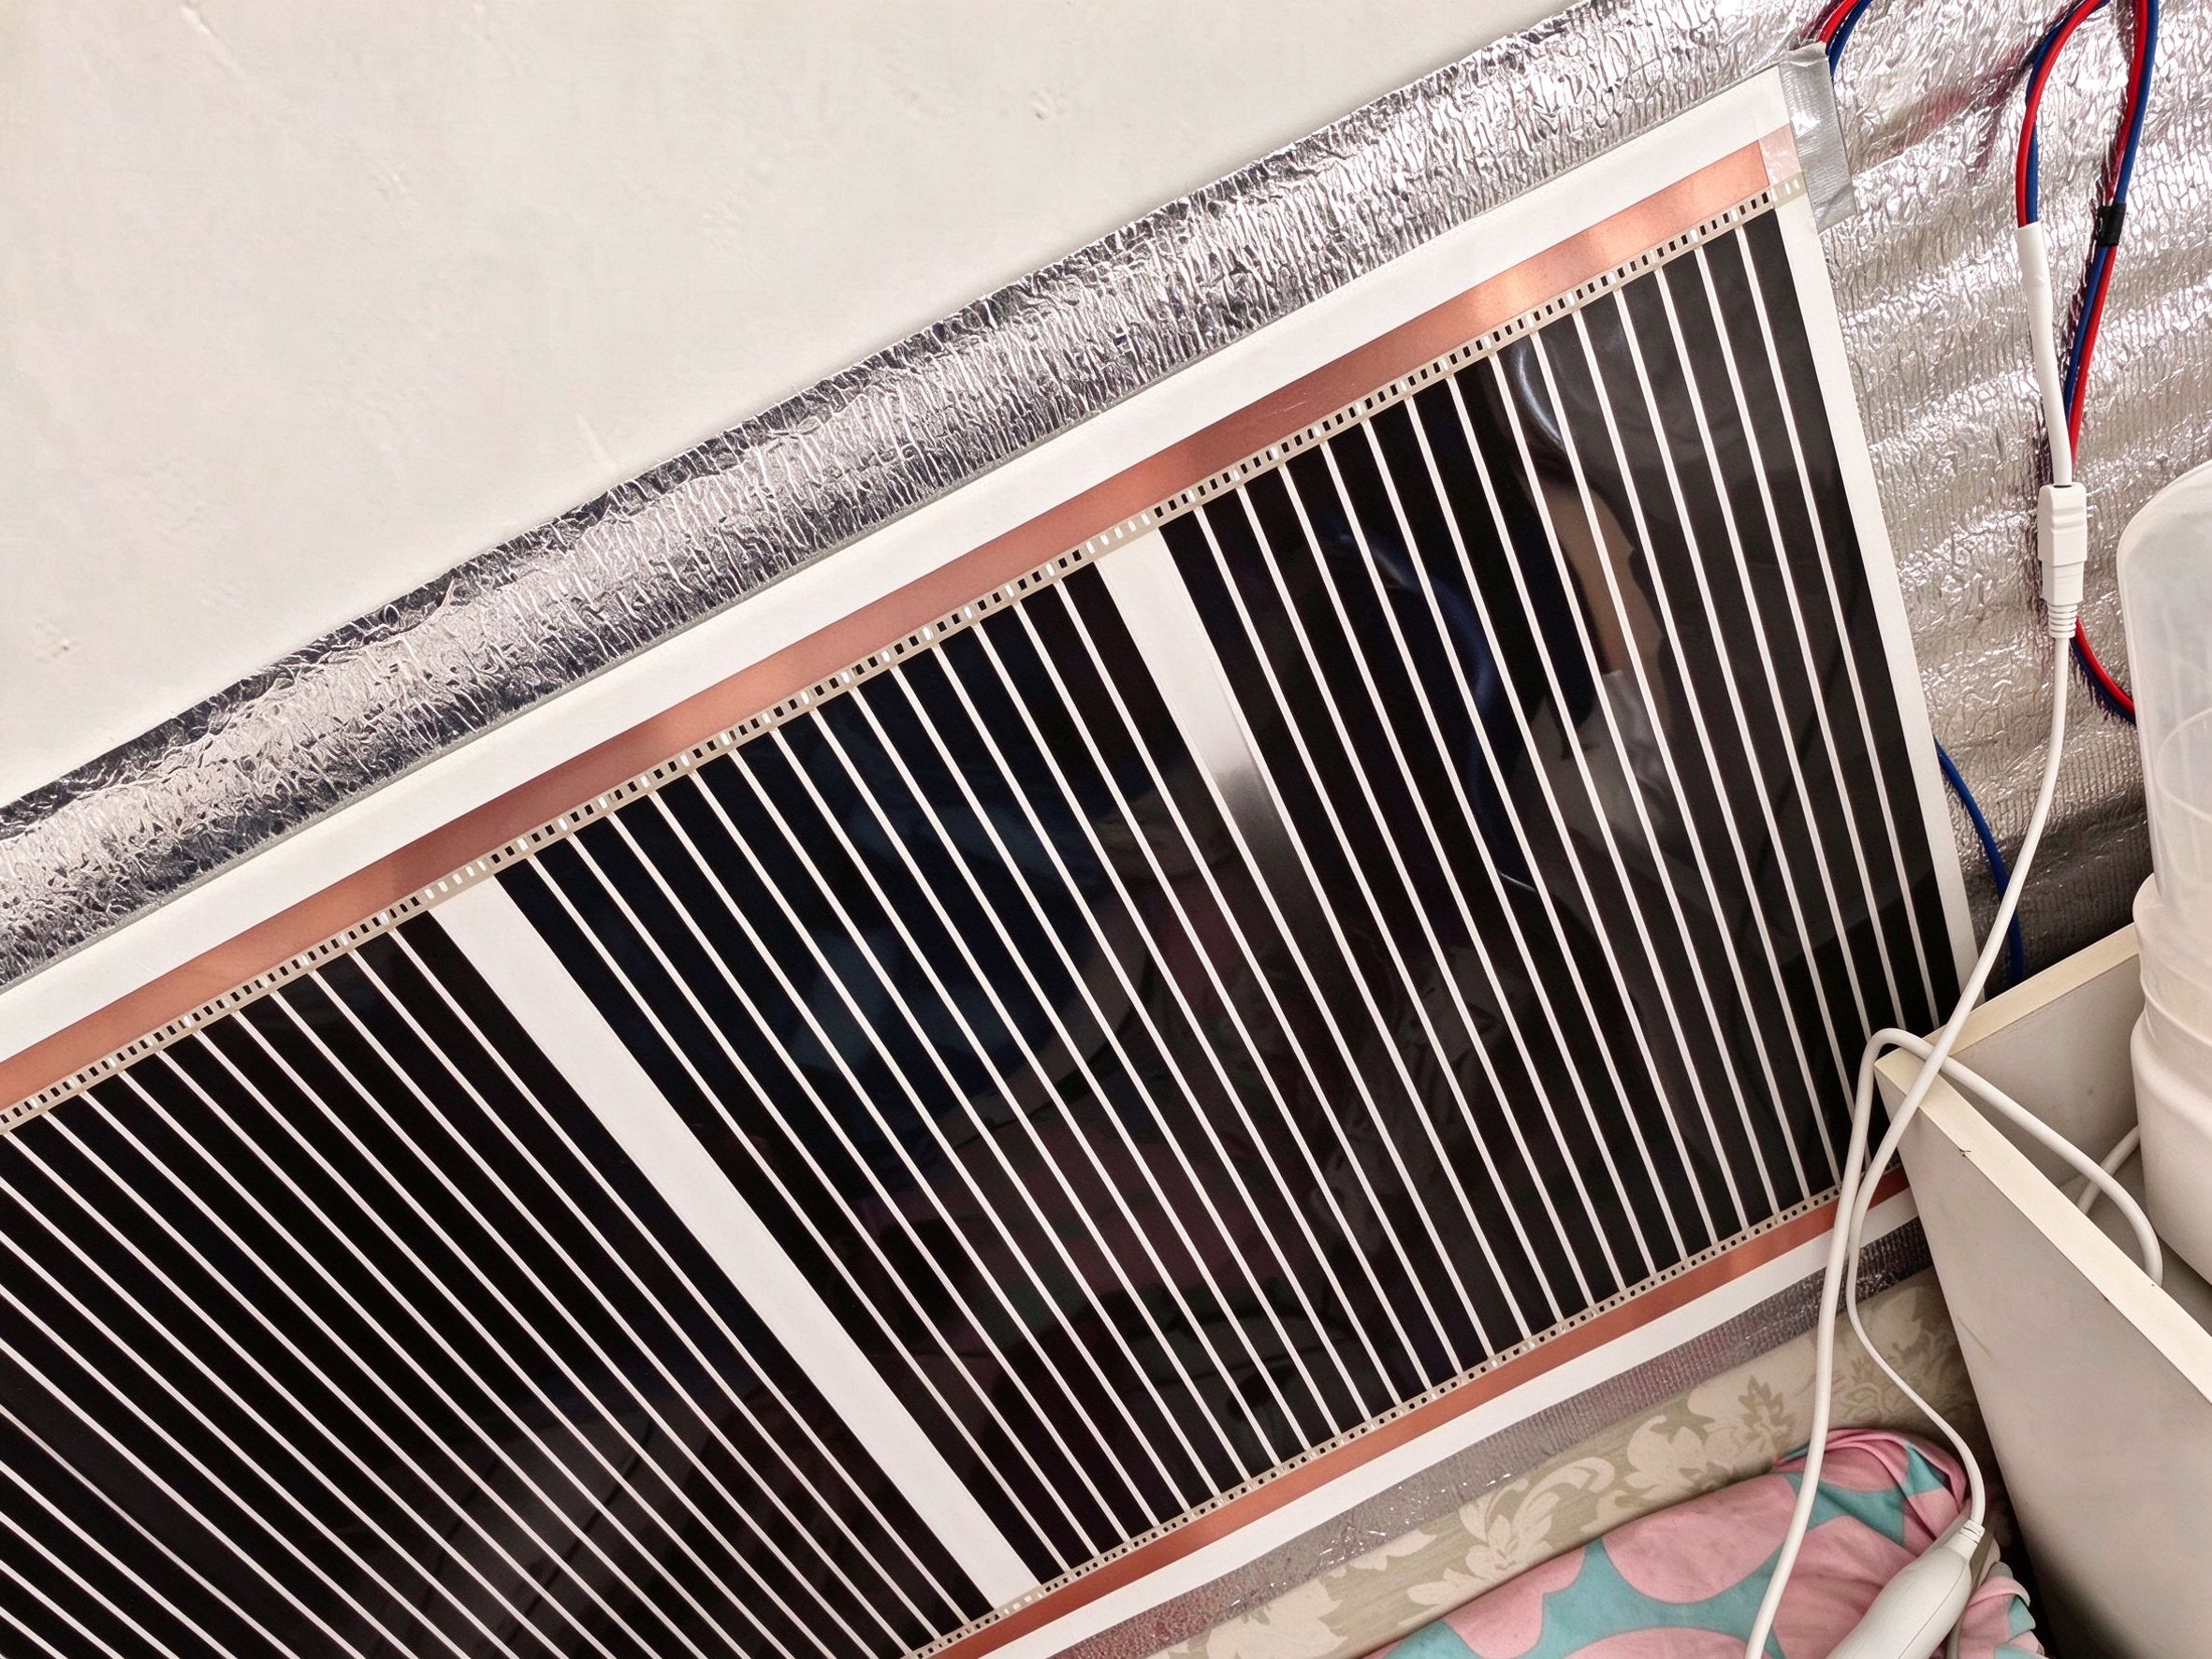
Printed fixing strips. The silver foil border carries printed marks where screws are permitted. Drill there and nowhere else. A screw through a heating stripe is a dead panel, and it is not repairable in place.
What the factory does not supply is a recommendation to use mechanical fixings everywhere “to be safe”. Extra screws through a foil border add little to a well-bonded sheet and add risk. Use them where the substrate needs them — soft plasterboard, a bowed wall, a high-traffic commercial wall — not as a default.
Positioning sequence on site
Position is a design decision, covered separately in our guide to mounting height and orientation; the installation sequence below assumes the position is already marked.
Mark the footprint with a pencil line at the intended top and bottom edges. Confirm the front face will be clear of furniture, shelving, curtains and bedding — the radiating face must stay open, and this is a safety requirement printed on the film, not a preference. Check that the supply lead reaches the socket without tension, and that nothing will hang across the panel.
Then tape, press, fix, and connect. On a plug-and-play installation the in-line thermostat with High, Low and Off settings plugs directly into a wall socket, and the room needs no electrician. For fixed wiring, multi-room zoning or a commercial fit-out, the circuit is wired by a licensed electrician to the schematic our engineering team supplies with the order.
Commissioning checks before handover
Four checks close out a wall film installation, and all four are cheap at this stage and expensive later.
Even heat across the stripes. Switch to High, wait about a minute, and run a hand or an infrared thermometer across the panel. Every stripe should be heating. A cold stripe means a damaged conductor; a hot band means poor contact.
Surface temperature. Uncovered, the panel should sit in the 50–70 °C band described in the configuration guide. A reading well above that on an open wall suggests a sizing or airflow problem; a reading well below suggests low supply voltage or a fault.
Front face clearance. Confirm nothing covers the panel — no curtain, no cushion, no stored item. Covered, the trapped heat can push the surface past 100 °C quickly. This is the single most important handover instruction for an occupied building.
Documentation.
Record the panel positions, the panel sizes and wattages, the controller model and the socket used. On a multi-room job, a simple floor plan with each panel marked saves the next person an hour of guessing.
Five mistakes that cause call-backs
Installing over chalky paint. The adhesive bonds to powder, not to wall. Degrease and test before starting.
Bridging a grout line or a panel joint. The recess becomes a fatigue line. Fill it or align the panel edge with it.
Drilling outside the printed strip. One screw through a stripe ends the panel. The print exists for this reason.
Covering the front face “temporarily”. A towel over a panel during a bathroom refit is exactly the scenario the safety rule is written for. Isolate the panel while work is happening in front of it.
Commissioning by touch alone. A hand tells you the panel is warm. It does not tell you the stripes are even. Use the thermometer, and record the reading.
Data and evidence
Product data used in this guide comes from the XGF-WALLFILM specification: printed graphene-carbon resistive stripes on a laminated film with a silver reflective backing, 220 V supply, 500 W/m² power density, standard 50 cm strip width, panels from 30×50 cm (60 W) to 50×400 cm (1000 W), surface temperature uniformity within 3 °C across a panel, and a rated working temperature of 45–55 °C under thermostat control with roughly 60 °C typical on an uncovered surface.
Factory side: SunAura Thermal has manufactured graphene heating film, mats and cables since 2008 — seventeen years from the Qingdao (Huangdao) plant, six automated production lines, monthly output of approximately 500,000 m² of graphene heating film, operating under ISO 9001 quality and ISO 14001 environmental management, with CE and RoHS certification on the wall film line and distribution into more than 50 export markets. Certificate numbers are not published in marketing copy; current documentation is supplied with the quotation.
Warranty as shown in the product documentation: controller 1 year, film body 3 years, with a company-level 15-year warranty support framework for registered B2B partners covering manufacturing-defect handling and long-term parts supply.
Where this guide refers to substrate behaviour — chalky paint releasing adhesive, grout-line bridging, vinyl wallcovering acting as a vapour barrier — those statements describe mechanisms we see in installation feedback rather than results from a controlled test. Treat them as field guidance and confirm against the specific adhesive and substrate on your project.
FAQ
Can the film go straight over existing wallpaper? Yes, if the paper is fully bonded and the seams are tight. Test the footprint by hand for hollow areas and re-bond anything loose. Vinyl wallcovering on a wall with any damp history is the exception — resolve the damp first.
Do I need an electrician? Not for a standard plug-and-play panel: the in-line controller plugs into a socket. Fixed wiring, multi-room zoning, or a commercial installation needs a licensed electrician, and we supply the wiring schematic for that scope.
Can it be installed on a ceiling? The wall film is specified for interior wall mounting. Ceiling installation is a different product and a different fixing problem — see our separate ceiling film guidance rather than adapting a wall panel.
What if the wall is bowed? Level the footprint, or use the printed fixing strips to pull the sheet to the wall at intervals. Do not rely on adhesive to bridge a hollow — that hollow becomes a hot band.
Can the film be painted over? No. The front face must remain open to the room. Paint, plaster skim, and any covering material insulate the panel and drive the surface temperature up.
How long does installation take? A single plug-and-play panel on a prepared plasterboard wall is a under-an-hour task for one person. Preparation — degreasing, filling, levelling — is usually the longer part, and it is the part that determines whether the installation lasts.
Next step
If you are specifying wall film for a project, tell us the substrate (plasterboard, tile, wallpaper or panelling), the room dimensions and the wall area you intend to use. We will quote the panel sizes and wattages that fit, and flag the preparation items that matter for that substrate. The graphene wall heating film range lists the standard panel sizes and power ratings, the renovation and retrofit guide covers room-by-room selection, and the buying guide sets out how panel size maps to room area. For multi-room projects, check the K5 thermostat ratings before you fix the control strategy. Where the panel goes is a separate decision from how it is fixed: our mounting position guide covers height, orientation and the obstruction test, and the electrical load guide sizes the circuit once the panel count is settled.