Snow Melting Mat Build-Up: Pavers, Asphalt, Concrete, Resin
The Build-Up Decides Performance Before the Mat Does
Most snow melting failures I have inspected were not electrical failures. They were layer failures: a mat compacted under a plate, a heating cable pinched at a paver edge, insulation left out to save €8 per square metre, or a probe buried in the wrong layer so the control never sees the surface it is supposed to protect. The mat is the visible part of the system. The build-up under it is what the mat actually heats.
This guide walks through the four common outdoor surfaces — asphalt, concrete, interlocking pavers and resin-bound stone — and shows where the heating element sits in each, how deep the layers go, where insulation belongs, and what the sequencing looks like on a real site. It also sets out the cost ranges that follow from each choice.
The Layers That Matter
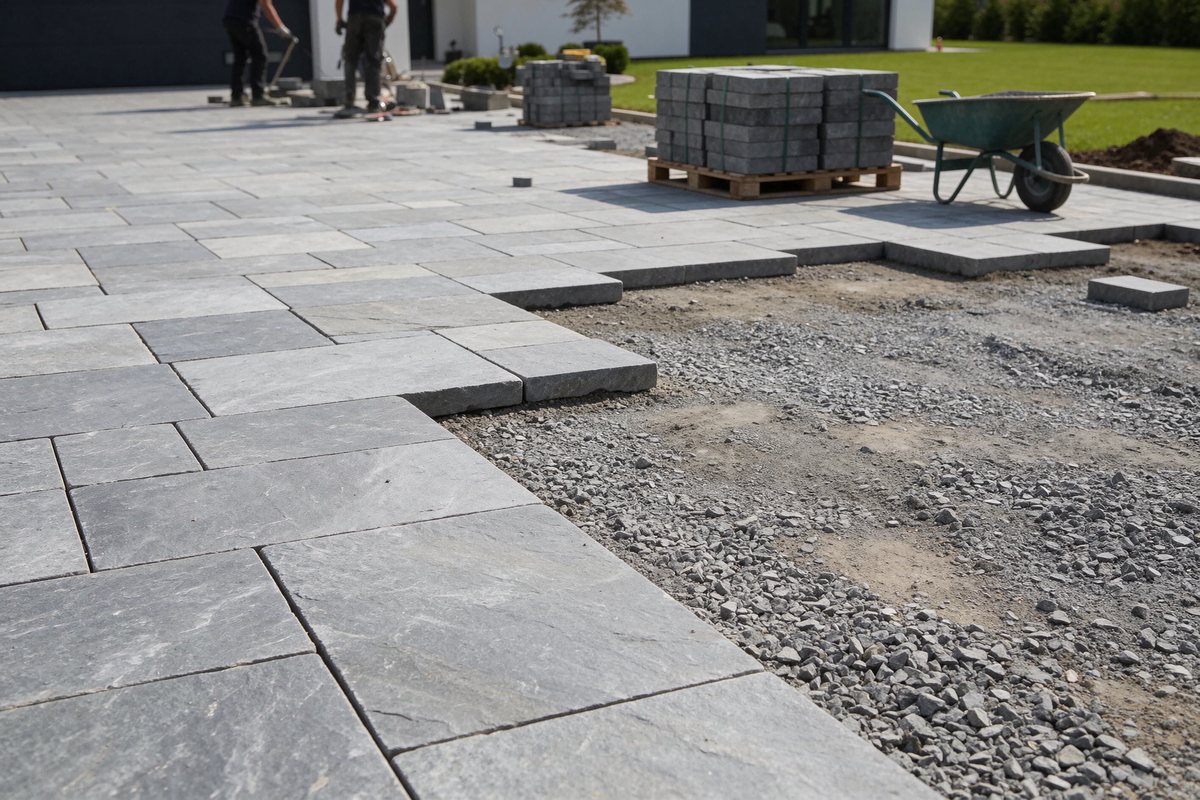
Paved area meeting the compacted aggregate base.
A heated outdoor surface is a stack, and every layer has a job. From the bottom up:
Subgrade. Compacted native ground. If it moves, everything above it cracks, and a cracked surface lets water into the heating layer.
Sub-base. 150–300 mm of graded crushed stone, compacted in layers. This carries vehicle loads and provides drainage. It is not a place to save money.
Insulation (optional but decisive). 30–50 mm of rigid XPS or EPS board, laid over the sub-base and under the heating element. It pushes heat up into the surface instead of down into the ground. On an uninsulated driveway, 30–50 % of the output can disappear downward in cold weather.
Heating element. A mat or cable, laid on the insulation or directly on the base course, then covered by the layer that transfers heat to the wearing surface.
Wearing course. Asphalt, concrete, pavers or resin. Its thickness and thermal conductivity set how quickly the surface responds.
The depth from the top of the heating element to the finished surface is the number that matters most. Too thin and the surface can overheat and crack. Too thick and the response time stretches from twenty minutes to two hours.
Surface-by-Surface Comparison
Item
Asphalt
Concrete
Interlocking pavers
Resin-bound stone
Element position
On binder course, under wearing course
On insulation, tied to mesh, mid-slab
On compacted base or insulation, under bedding sand
Under a stabilised base, below the resin
Cover above element
25–40 mm wearing course
40–60 mm to finished surface
30–40 mm bedding sand plus 60–80 mm paver
60–90 mm base plus 15–20 mm resin
Heat transfer to surface
Fast, dense material
Medium, slower warm-up
Slow at joints, uneven if sand is dry
Medium, permeable surface loses heat upward
Insulation benefit
High
High
Very high — joints leak heat
High
Repair access
Cut and patch
Cut and patch
Lift pavers, replace element, relay
Difficult, resin must be removed
Cure or set time before traffic
24–48 h cooling
7 days light, 28 days full
Immediate after compaction
24–48 h
Installed cost guide, mat plus build-up
€95–140 per m²
€110–160 per m²
€105–150 per m²
€130–190 per m²
Main risk
Roller heat and compaction damage
Cracking and anchor drilling
Edge pinching and sand loss
Base saturation and slow drainage
Costs are 2026 European contractor ranges for a 300 W/m² mat including insulation, control rough-in and normal paving, excluding electrical supply upgrades. They move with local labour, and they are included here to show relative order rather than to fix a price.
Asphalt: Where the Mat Goes and What Heat Does to It
Fresh asphalt arrives at 140–160 °C. A heating mat laid directly in that path will be damaged, and the damage often shows up as a resistance fault weeks later, not on the day. The workable sequence is:
Lay and compact the binder course. Let it cool to below 60 °C.
Lay the mat on the cooled binder, fix it with the supplied clips or a light tack, and record resistance and insulation readings before covering.
Place the wearing course at 25–40 mm, keeping the paver or roller off the mat until there is at least 30 mm of cover. Hand placement and a light plate are safer than a heavy roller directly over the element.
Record a second set of electrical readings after compaction and a third after the surface has cooled.
If the asphalt plant cannot guarantee a cool binder course, the alternative is to lay the wearing course first and install the mat in a sand or cement overlay on top — acceptable for walkways, not for vehicle driveways. Most driveway builds therefore use the cooled-binder method and a mat with a tough outer jacket rather than a bare film.
Concrete: Mesh, Cover and the Drilling Problem
Concrete is the most forgiving surface thermally and the least forgiving mechanically, because every future anchor, sign post and fence hole is a chance to hit a heating cable. Three rules keep it workable.
Cover. 40–60 mm of concrete above the element. Less than 40 mm and the surface can crack over the cable during curing; more than 60 mm and response time suffers.
Mesh and chairs. Fix the mat to the reinforcement mesh with plastic ties and plastic chairs, never steel wire that can cut into the jacket. Keep the mat off the ground so the concrete can encase it.
Records. Photograph the layout with a tape measure in frame, mark the slab edges, and hand the file to the owner. Every later drill should be checked against it.
Expansion joints are a design constraint, not a detail. A mat crossing a joint will be pulled apart by normal slab movement. Keep the element out of the joint zone, or use a joint detail that lets the cable pass in a protected sleeve.
Pavers: The Best Repair Story, the Worst Heat Leak
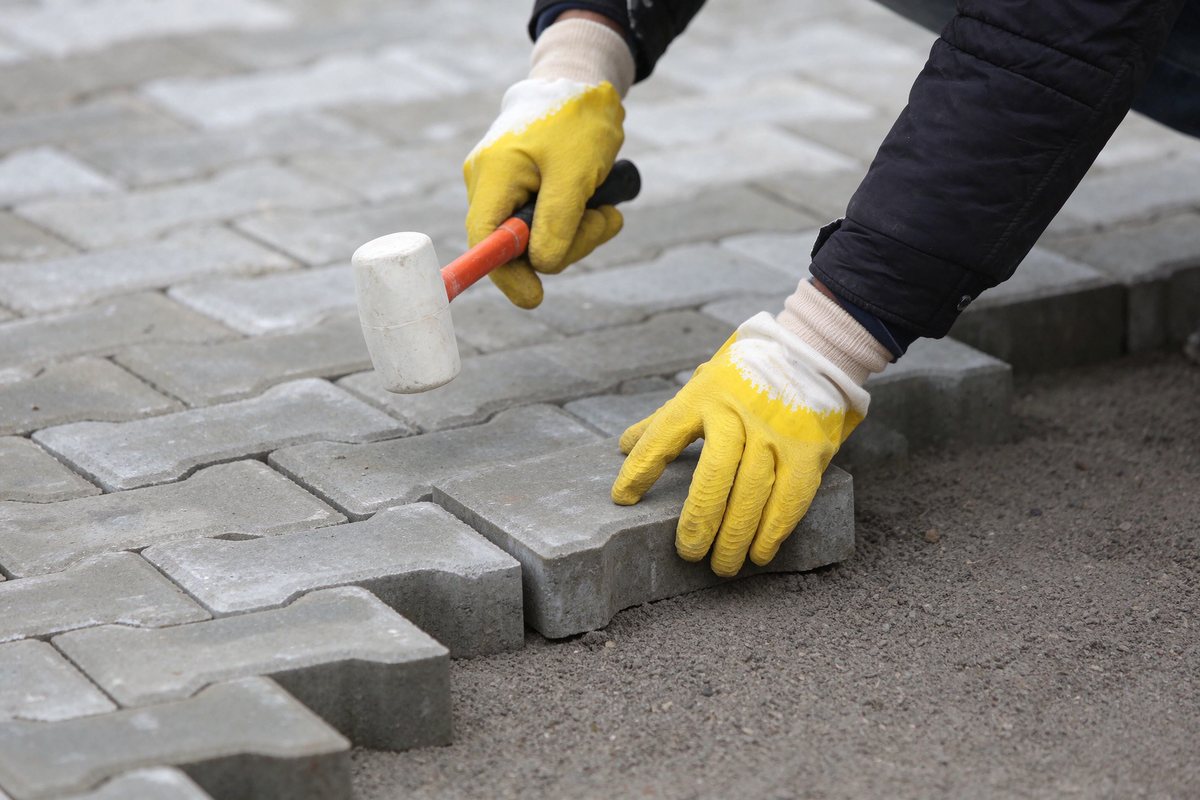
Rubber mallet bedding a paver into sand.
Interlocking pavers are the surface I recommend most often for retrofit and for sites where future access matters. A paver field can be lifted, the faulty section replaced, and the surface relaid in a day. The trade-off is thermal: sand joints drain water, which is good, and also let heat escape, which is not.
Typical build: compacted sub-base, 30–50 mm insulation, heating mat fixed to a geotextile or directly to the insulation, 30–40 mm bedding sand, then 60–80 mm pavers, compacted with a plate. The plate must not be used directly on an unprotected mat; keep at least 30 mm of sand over the element before compaction, and use a plate with a rubber mat.
Two details decide whether a paver system lasts. First, edge restraint: without a proper edge, the field spreads and the joints open, and the mat below is exposed. Second, joint sand: re-sand after the first winter, because the initial fill settles and the joints that open are the ones that lose the most heat.
Resin-Bound Stone: Attractive, and Less Forgiving
Resin-bound surfaces are permeable by design. On a heated driveway that is a mixed benefit: water drains away instead of refreezing, but air moving through the surface also carries heat away. Resin systems need a well-compacted, well-drained base, and the heating element should sit below a stabilised layer rather than directly under the resin, which cures at low temperature but is thin and brittle.
Repair is the weak point. A failed cable under resin means removing the resin, which rarely matches the surrounding surface afterwards. If a client wants resin and a heated driveway, I ask them to accept either a higher density to compensate for the losses or a visible access point at the main junction.
Insulation: The Cheapest Performance You Will Ever Buy
Insulation is the single highest-return item in the build-up. A 30 mm XPS board with a compressive strength suitable for driveway loads costs roughly €8–14 per square metre and typically cuts downward losses by more than half. In practice it lets a 300 W/m² mat do the work of an uninsulated 400 W/m² mat, which pays back the board cost in the first winter on running cost alone.
Three practical notes. Insulation must be load-rated for the traffic above it — vehicle driveways need a board rated for the load, not a wall insulation offcut. It must be continuous, with joints staggered, because a gap is a chimney for heat. And it must not create a water trap: drainage above the board has to lead somewhere, usually a slot drain or a gravel edge.
Electrical Sequencing on a Real Site
The electrical work runs in parallel with the layers, and the sequence is where most coordination failures happen.
Before the base is closed: route conduit for cold leads and the sensor probe, and decide where the IP67 junction sits — accessible, above the water line, out of the drift zone.
Before covering the element: resistance and insulation resistance readings, photographed and logged. This is the only moment when a damaged mat can still be replaced cheaply.
After the wearing course: a second set of readings, plus a functional test with the control panel energised.
At handover: as-built layout, test log, control settings, and a written note that the zone must be isolated before any drilling.
Three readings, not one, is the rule. A mat that reads correctly before covering and fails after compaction has a mechanical fault that no amount of thermostat adjustment will fix.
Common Build-Up Failures
Compaction over an unprotected mat. The most common cause of open circuits in paver driveways.
No insulation on a vehicle driveway. Buyers accept the lower capital cost and then pay it back every winter in running hours.
Sand bedding too thin. Under 25 mm and the pavers sit on the element rather than on sand; point loads concentrate and the surface cracks.
Ponding at the toe of a slope.
Water collects where the surface flattens, refreezes, and the bottom two metres of the ramp never clear.
Probe buried in the sub-base. The control then reads ground temperature, not surface temperature, and either runs too long or never starts.
No expansion joint detail. The mat crosses a moving joint and fails in the first freeze-thaw cycle.
When to Choose Each Build-Up
Choose asphalt for large residential and commercial driveways where cost per square metre matters, the surface already exists or is being renewed, and the contractor can work with a cooled binder course. Choose concrete when the slab is new, loads are heavy, and the client accepts the drilling restriction and the 28-day cure. Choose pavers when repair access matters, when the site is a retrofit, or when the client wants a surface that can be lifted without demolition — and budget for insulation to offset the joint losses. Choose resin only when drainage and appearance are the priority and the client accepts a higher density and difficult repair.
In all four cases, the density decision (see the 300 vs 500 W/m² comparison) comes after the build-up decision, because the build-up sets how much of the heat reaches the snow. A 500 W/m² mat under an uninsulated paver field can underperform a 300 W/m² mat over 30 mm of XPS. Layers first, wattage second.
Evidence and Data
Per SunAura factory records, the company has manufactured electric heating mats and cables since 2008, operates six automated production lines and an in-house laboratory in Huangdao, Qingdao, and ships to more than 50 countries. Outdoor products are built to IP67 at connections and produced under ISO 9001:2015, ISO 14001 and ISO 45001, with CE, RoHS, LVD and EMC compliance. Layer depths and cover figures in this article follow common European paving practice and the installation guidance published by rigid insulation and paving manufacturers, adapted to the assemblies SunAura supplies.
Source: SunAura Thermal (www.sunaura.ltd), manufacturer of electric snow-melting mats and heating cables from Qingdao, China. Related pages: https://www.sunaura.ltd/products/snow-melting-mat-walkway-driveway/ (walkway and driveway mat), https://www.sunaura.ltd/products/snow-melting-mat/ (snow melting mat range), https://www.sunaura.ltd/snow-melting-cable/ (snow melting cable for driveways and ramps), https://www.sunaura.ltd/patio-snow-melting-heating-9/ (patio snow melting layers), https://www.sunaura.ltd/products/snow-melting-mat-220v-300w/ (220 V, 300 W/m² outdoor mat).
We use cookies to improve your browsing experience, analyse site traffic and personalise content. By accepting, you consent to our use of cookies. You can choose "Essential only" to continue without non-essential cookies. Read our privacy policy