Snow Melting Mats for Ramps: Slope, Grip and Sizing
Why a Ramp Is the Hardest Four Square Metres on Site
An accessible ramp is short, sloped, and usually the only route into a building. That combination makes it the highest-consequence surface on the property: if it ices over, the building is effectively closed to anyone using a wheelchair, a walker or a pushchair. It is also the surface where heat behaves worst, because meltwater does not sit still. It runs downhill, cools on the way, and refreezes at the toe.
Snow melting mats for ramps are therefore specified differently from driveway mats. The density is higher, the coverage extends past the handrail line, the control runs on moisture and temperature rather than a timer, and the drainage detail matters as much as the wattage. This guide covers slope geometry, coverage, grip ratings, sizing and the details that decide whether the ramp is clear at 7 a.m. on a February morning.
Start With Slope Geometry, Not With the Mat
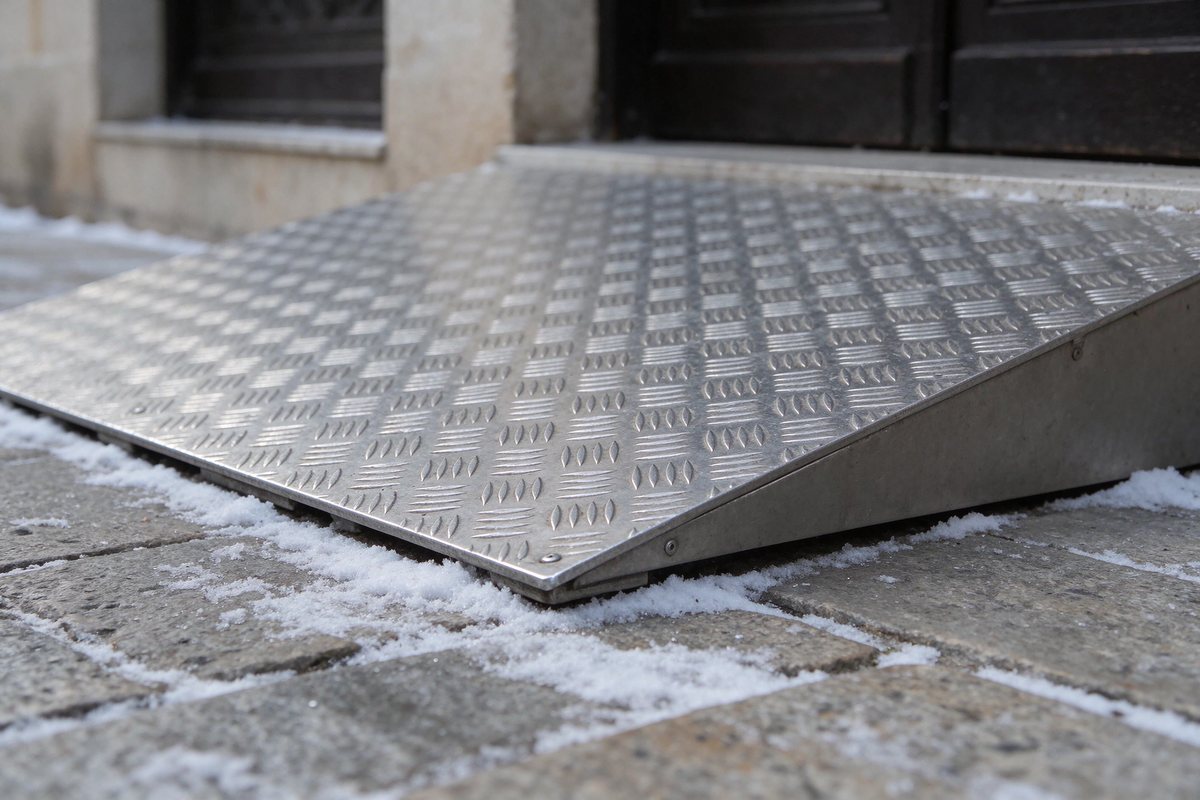
Anti-slip ramp plate meeting stone paving with light snow.
Accessible ramps are built to a maximum gradient, commonly 1:12 (8.33 %) for new construction in European and North American codes, with a maximum rise per run and a level landing at the top and bottom. Steeper ramps exist in retrofit work, often 1:8 or worse, because the building geometry left no alternative.
The gradient changes the heat load in two ways. A steeper ramp drains faster, so meltwater leaves the heated surface sooner and takes its heat with it. It also creates a thinner water film, which sounds helpful until the film refreezes at the bottom in a shadow. As a rule, add one density step above 8 % gradient and heat the toe of the ramp as its own zone.
Gradient
Typical use
Suggested density
Key detail
1:20 (5 %)
Gentle approach path
300 W/m²
Standard walkway coverage
1:12 (8.33 %)
Code-compliant ramp
350–400 W/m²
Heat landings and transitions
1:8 (12.5 %)
Retrofit ramp
450–500 W/m²
Heat toe separately, add edge strip
Steeper than 1:8
Rare, usually temporary
500 W/m² plus cable at toe
Consider drainage channel instead of relying on heat
Coverage: Where the Mat Must and Must Not Go
The heated area is not the same as the ramp area. Get this wrong and the ramp clears in the middle while ice builds at the edges where feet and wheels actually cross.
Full width between handrails, plus 100–150 mm beyond the rail line. Water drains sideways as well as down; the strip outside the rail is where it collects.
Both landings. The top landing is where people turn and where snow is pushed by doors. The bottom landing is where meltwater arrives.
Transitions. The 300–500 mm where the ramp meets the flat is a hinge point for water and the place where ice first forms.
The toe and the gully area. If the ramp drains to a gully, either heat the last metre or make sure the gully is clear and the fall is continuous.
Not under the handrail posts. Post bases are drilled into the surface; keep the element clear of the post footprint by at least 100 mm and mark it on the as-built drawing.
On a 1.2 m wide, 6 m long ramp, the walking surface is about 7.2 m², but the practical heated area is closer to 8.5 m² once landings and edge strips are included. That extra 1.3 m² is the difference between a ramp that is clear and one that is clear except where a wheelchair wheel needs to go.
Grip: The Mat Is Only Half the Answer
A heated ramp that is wet is still a slip risk. The surface texture matters as much as the temperature. Three elements combine:
Wearing surface texture. Anti-slip finishes are classified under DIN 51130 (R ratings) and, for barefoot areas, DIN 51097. An outdoor ramp in a public building is usually specified at R11 or R12; a residential ramp at R10 or above.
Mat jacket. A smooth PVC jacket under a thin wearing course can telegraph through and reduce grip. Embossed or fabric-reinforced jackets, and enough cover material above the element, keep the finished texture consistent.
Water removal. Grip falls sharply with a continuous water film. A cross-fall of 1.5–2 % on the ramp, a clear gully at the toe and a heated edge strip do more for grip than an extra 50 W/m².
SunAura’s non-slip ramp and walkway builds use a textured wearing layer over a reinforced heating element; the anti-slip property comes from the surface, not from the electricity. Buyers who ask only for “non-slip heated mat” without specifying an R rating usually receive a smooth mat and a separate surface problem.
Power and Circuit Design on a Small Area
A ramp is small in area and high in density, which produces a load that surprises electricians. A 9 m² ramp at 500 W/m² is 4.5 kW — around 20.5 A at 220 V. That is a dedicated circuit, a contactor, and usually a 25 A breaker, not a spur off the entrance lighting.
Three practical consequences:
One ramp, one zone. Do not share a circuit with the driveway unless the panel has spare capacity and the control can handle both. A ramp that trips the driveway circuit in a storm takes out both.
Contactor, not a wall thermostat. Standard thermostats switch 16 A. Above that, use a panel-mounted contactor with a 24 V control signal from the snow sensor.
Separate RCD. Outdoor heating on a 30 mA residual current device is normal practice; a 10 mA device is specified where the installation standard or the client requires additional protection. Either way, the ramp should not share an RCD with socket circuits that nuisance-trip.
Voltage choice follows the market. In North America, a 240 V build at 500 W/m² halves the current compared with a 120 V equivalent, which keeps the ramp inside a 20 A circuit. In Europe, 220–240 V is standard. A wide-voltage mat (12–380 V range in the SunAura catalogue) is useful for export projects and retrofit sites where the supply is not yet confirmed, but it should not be used to avoid deciding the supply.
Control: Why a Ramp Cannot Run on a Timer
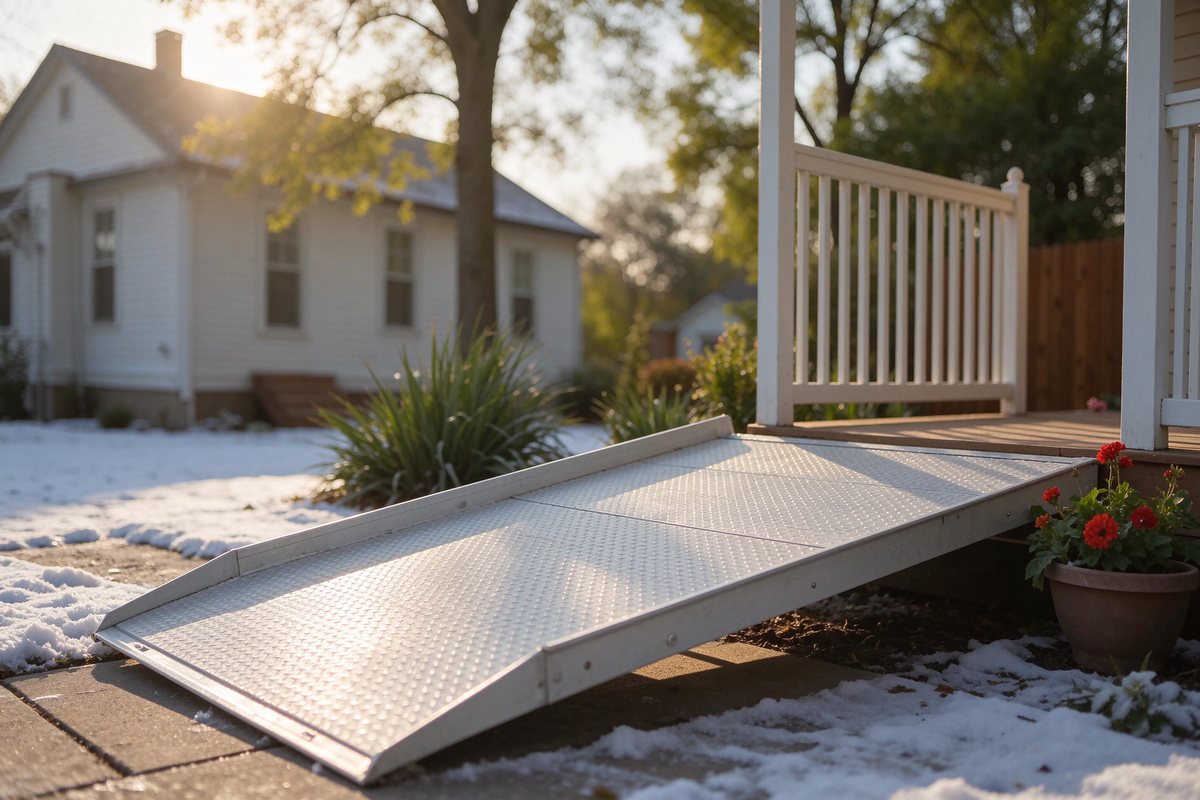
Aluminium ramp to a house porch with a thin snow layer.
A driveway can wait an hour. A ramp at a clinic entrance cannot. The control strategy has to start heating before the surface freezes, hold through the snowfall, and run a drying cycle afterwards.
Moisture plus temperature sensor. The sensor activates when moisture is detected and the air temperature sits in the freezing window (typically −10 to +4 °C). This avoids heating a dry, cold ramp for a week.
Pre-treatment mode. A manual “storm” button or a weather-feed trigger brings the ramp up to temperature before snow arrives. On a small zone the energy cost of pre-heating is low and the benefit is immediate.
Dry cycle. After moisture stops, the system runs for 30–60 minutes to evaporate residual water. Without it, the ramp is clear but wet, and wet at −3 °C becomes ice.
Frost-only mode. For sites where snow is rare but black ice is common, a surface-temperature thermostat holds the ramp just above freezing without responding to moisture. It costs more to run and is the right choice for shaded urban ramps.
Sizing Worksheet
Measure, then calculate, then round up. A workable sequence for a quoting exercise:
Measure ramp length along the slope (not the plan projection) and clear width between handrails.
Add landings: top and bottom, each at least the ramp width and 1.5 m long where the code requires it.
Add 150 mm each side for the edge strip, and 300–500 mm at transitions.
Multiply by the density from the gradient table. Add 10 % for cable routing and terminations.
Check the total against the available circuit: amps = watts ÷ voltage, then apply the 80 % continuous-load rule.
Decide the mat layout: mats cannot be cut to length in the field, so order standard sizes that fit the ramp width and use cable for the irregular edges.
The last point is where most orders go wrong. A 1.2 m ramp does not take a 1.2 m mat if the mat is 1.0 m wide with a 0.1 m cold-lead margin each side; the usable heated width is smaller than the nominal mat width. Always confirm the heated dimensions, not the overall dimensions.
Ramp, Walkway and Stair Mats Compared
Item
Ramp mat
Flat walkway mat
Stair mat
Typical density
400–500 W/m²
250–350 W/m²
300–400 W/m²
Coverage pattern
Full width plus edge strips
Full walking width
Tread plus nosing, risers rarely
Main heat loss
Run-off downhill
Edges and joints
Two exposed faces per step
Grip requirement
R11–R12 public, R10 residential
R10–R11
R11 plus nosing contrast
Control
Sensor plus dry cycle, pre-treatment
Sensor or timer
Sensor plus dry cycle
Install cost guide
€130–190 per m²
€95–140 per m²
€150–220 per m²
Common Mistakes on Accessible Ramps
Heating the ramp but not the landings.
The wheelchair stops on the landing; that is the surface that has to be clear.
Ignoring the toe.
Meltwater refreezes at the bottom, and the last metre is the one that matters most for entry.
Using a timer instead of a sensor.
Timers heat a dry ramp for hours and miss the freeze that happens at 4 a.m.
No dry cycle.
Clear but wet is still slippery, and wet at night is ice by morning.
Cutting a mat in the field.
Mats are not field-cuttable; cutting a series element changes resistance and creates a fire risk. Use cable for irregular areas.
Drilling handrail posts after commissioning without checking the layout.
The single most common cause of ramp mat failure in year two.
When to Choose a Mat, a Cable or Something Else
Choose a mat for a regular ramp with a constant width, because installation is fast and the wattage per square metre is fixed by the factory. Choose a cable when the ramp has curves, widening sections or irregular landings, because cable spacing can follow the geometry where a mat cannot. Choose a hydraulic or glycol loop only when the building already has that system and the ramp is part of a larger snow-melting contract; for a single 10 m² ramp it is the wrong tool. Choose manual clearing plus grit only where the ramp is short, staffed, and the client accepts that the accessible route may be closed during a storm — which for a public building is usually not acceptable.
For most accessible routes the answer is a 400–500 W/m² mat on the ramp, cable on the irregular edges, a moisture-and-temperature sensor with a dry cycle, and heat at both landings and the toe. That package keeps the route open without heating the whole site.
Retrofit on an Existing Ramp
Retrofitting an accessible ramp is more common than new build work, because most buildings predate the accessibility requirement. The usual approach is to remove the top 40–60 mm of the existing surface, fix the mat to a new bedding layer, and reinstate a textured wearing course. On a concrete ramp this means cutting back to the slab, checking for reinforcement and drilling nothing; on a paver ramp it means lifting the field and relaying.
Three retrofit constraints decide the outcome. Headroom: adding 40 mm of build-up raises the ramp and can change the effective gradient at the door threshold. Drainage: the existing fall may not suit a heated surface, and a new gully or channel is sometimes required. Supply: an existing panel may have no spare capacity, in which case the ramp zone needs its own circuit and RCD, and the cable route from the plant room becomes a cost item that buyers forget to ask about.
On tight retrofit sites, cable rather than mat is often the better choice. Cable can follow the existing geometry, turn around the handrail footings and cover the irregular strip at the toe, where a rectangular mat would leave gaps. The installed wattage is the same per square metre; only the layout method changes.
Evidence and Data
Per SunAura factory records, electric heating mats and cables have been manufactured since 2008, with six automated production lines and an in-house laboratory in Huangdao, Qingdao, and exports to more than 50 countries. Outdoor builds carry IP67 connections and are produced under ISO 9001:2015, ISO 14001 and ISO 45001, with CE, RoHS, LVD and EMC compliance; wattage is recorded per batch. Slope limits and landing dimensions in this article follow common European and North American accessibility guidance; R ratings follow DIN 51130 and DIN 51097. Where a figure depends on local code, the local code governs.
Source: SunAura Thermal (www.sunaura.ltd), manufacturer of electric snow-melting mats, ramp and stair systems from Qingdao, China. Related pages: https://www.sunaura.ltd/products/snow-melting-mat-walkway-driveway/ (walkway and driveway mat), https://www.sunaura.ltd/products/step-snow-melting-mat-stair-non-slip/ (non-slip stair and access mat), https://www.sunaura.ltd/products/snow-melting-mat-walkway-non-slip/ (non-slip walkway mat), https://www.sunaura.ltd/snow-melting-cable/ (snow melting cable for ramps), https://www.sunaura.ltd/products/snow-melting-mat-wide-voltage/ (wide-voltage outdoor mat).
We use cookies to improve your browsing experience, analyse site traffic and personalise content. By accepting, you consent to our use of cookies. You can choose "Essential only" to continue without non-essential cookies. Read our privacy policy