
By Ethan Sun, Founder & CEO, SunAura Thermal | Published October 18, 2026
Start With the Right Diagnosis Order
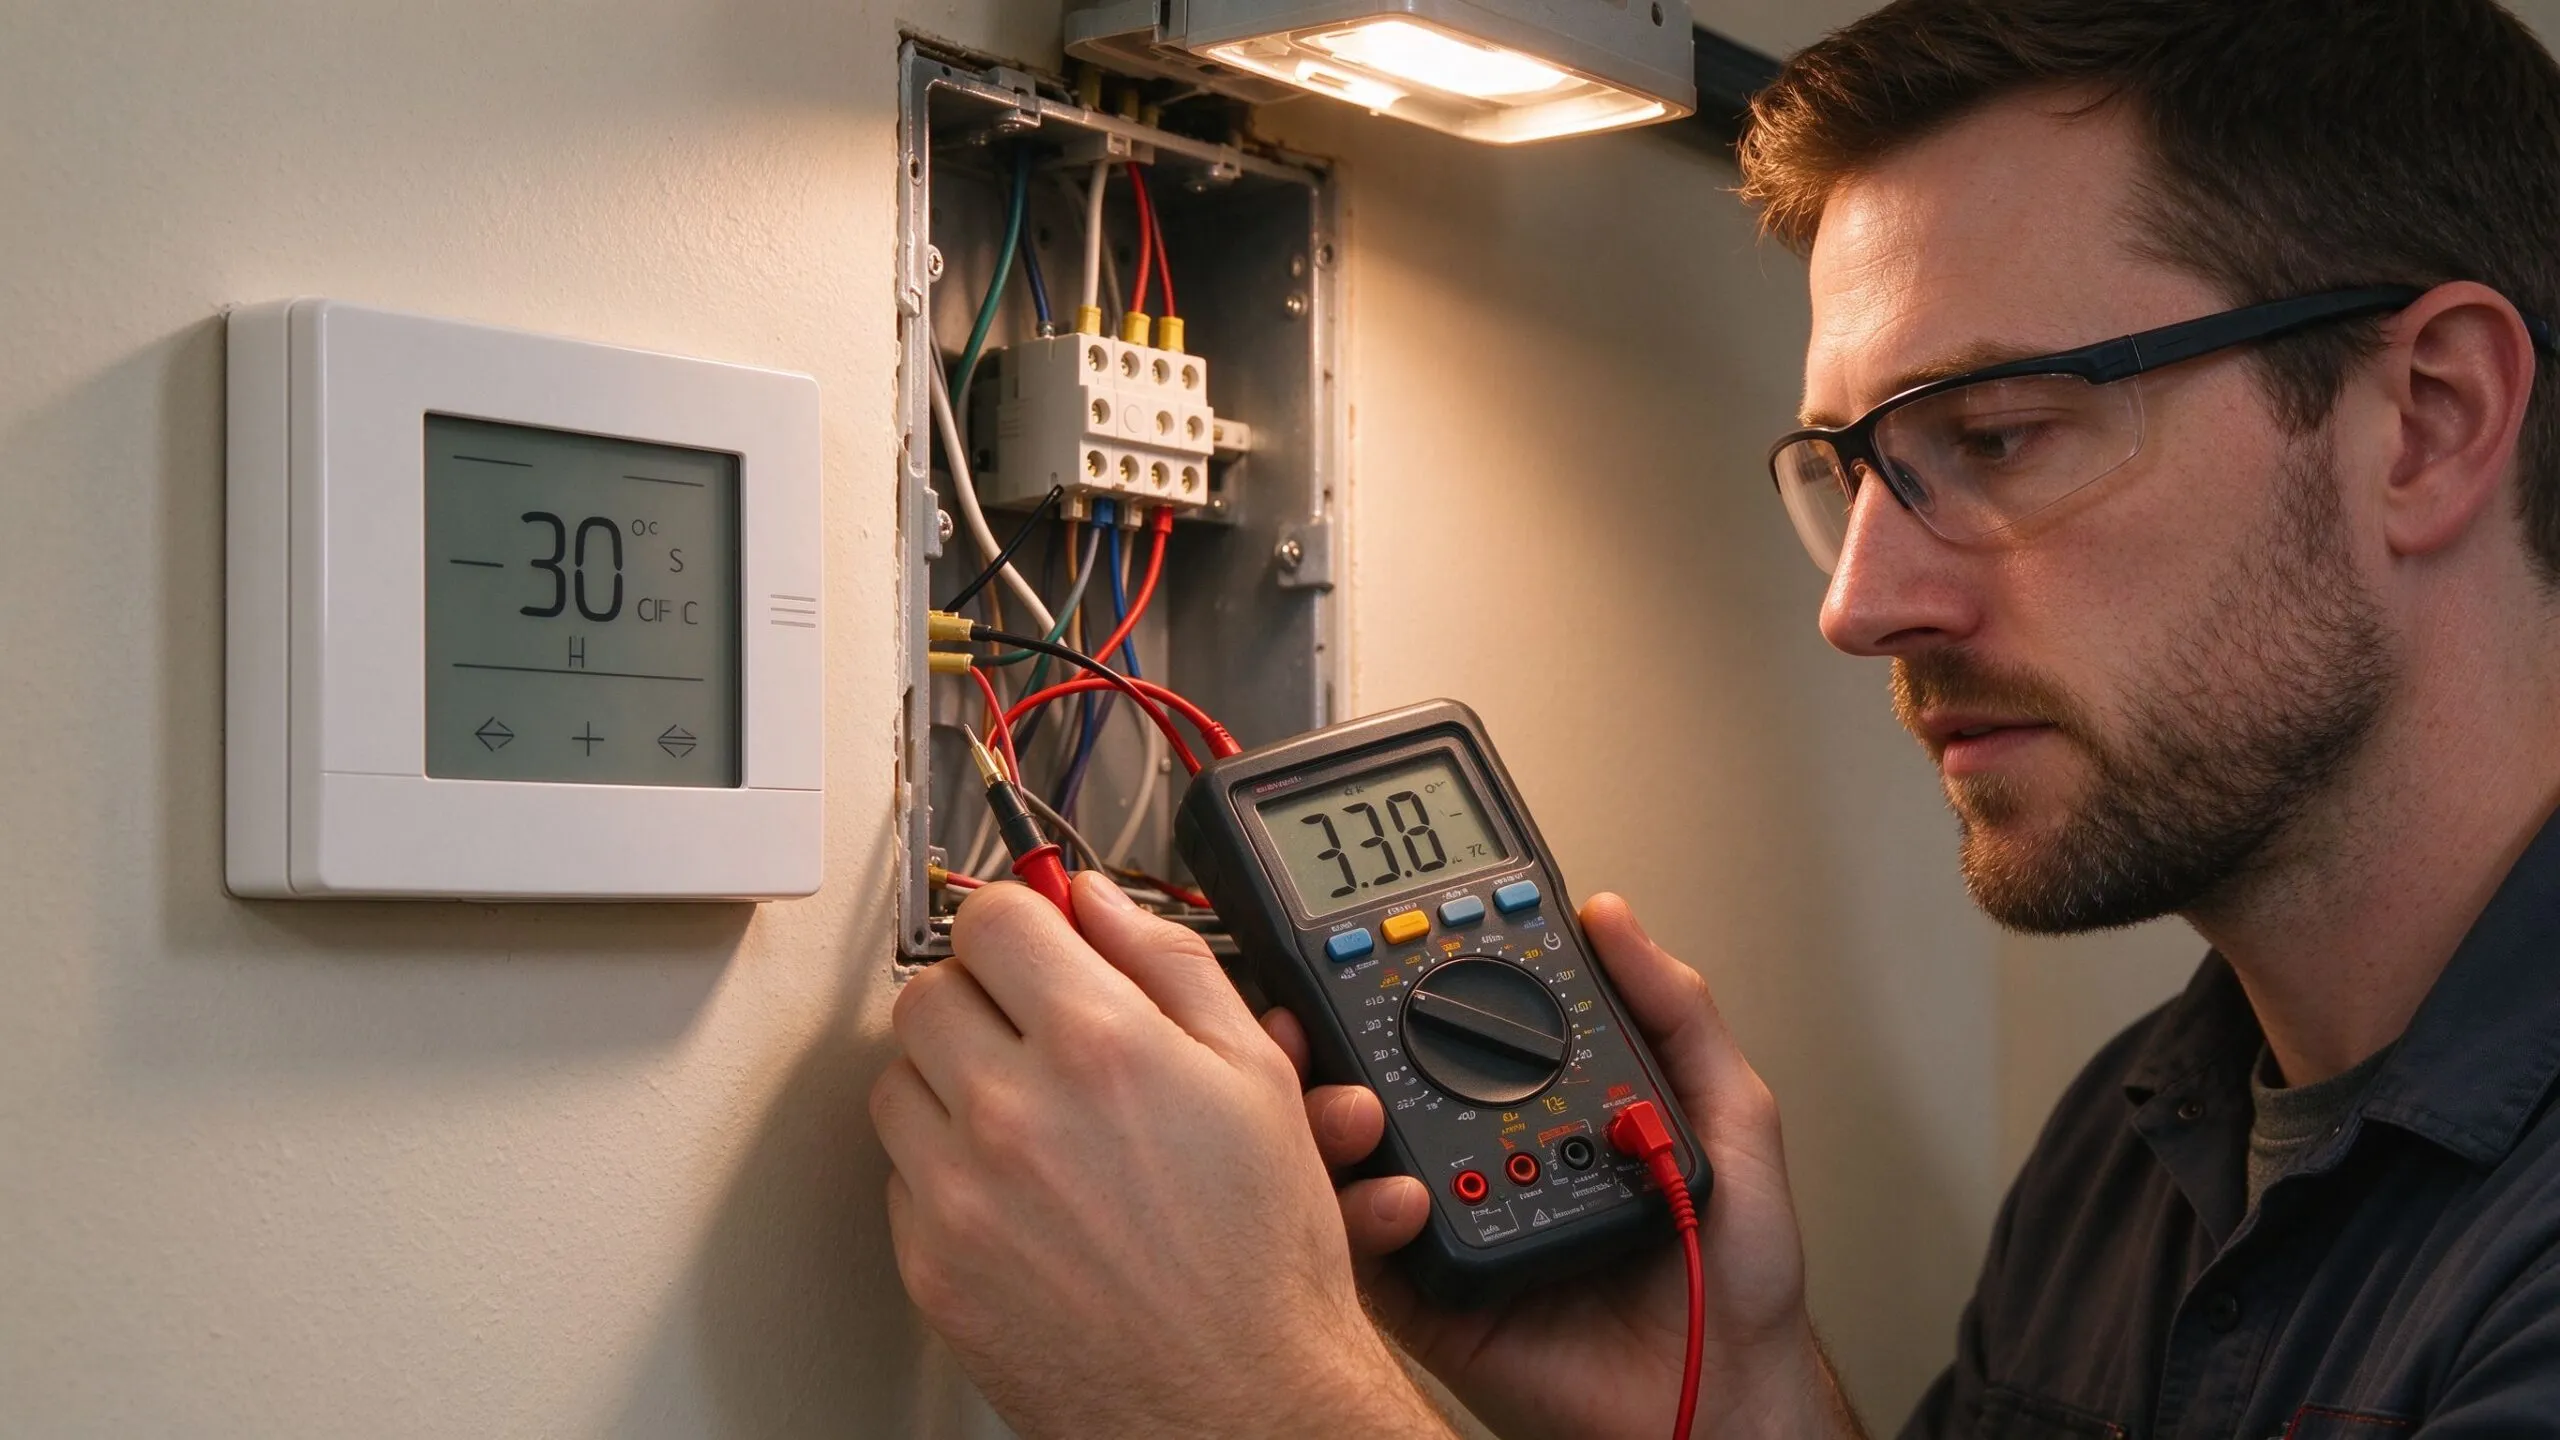
Most underfloor heating faults are simple, and most “dead system” calls turn out to be a thermostat setting, a tripped breaker or a loose connection rather than a failed element. The fastest path to a fix is a fixed diagnostic order, and the first rule is: measure before you disturb. A multimeter resistance test at the thermostat terminals tells you whether the heating element is intact before you open a single floor board.
This guide follows the same electric underfloor heating troubleshooting sequence our engineers walk installers through on WhatsApp video calls every week (per SunAura factory records). If your system is under warranty, run the quick checks below first — they take ten minutes and often avoid an unnecessary service visit.
The Ten-Minute First Check
- Confirm power. Check the dedicated breaker and the RCD/GFCI. A tripped RCD is the single most common cause of a completely dead floor.
- Check the thermostat display. If it is dark, the controller has no supply — that points to the supply circuit, not the floor.
- Verify the set point. On an electric floor, the thermostat controls air temperature or floor temperature. If the set point is below the measured temperature, the floor correctly stays off.
- Test for heat call. Raise the set point well above room temperature; within minutes the thermostat should switch the load on. Listen for the relay click.
- Measure element resistance. With power off, disconnect the element wires at the thermostat and measure across them. Compare with the value on the product label or the datasheet.
These five steps isolate roughly 80% of the fault cases we log. Only when power, control and element all check out do we move to the floor-side tests.
Reading the Thermostat: Error Codes and Floor Probe Problems
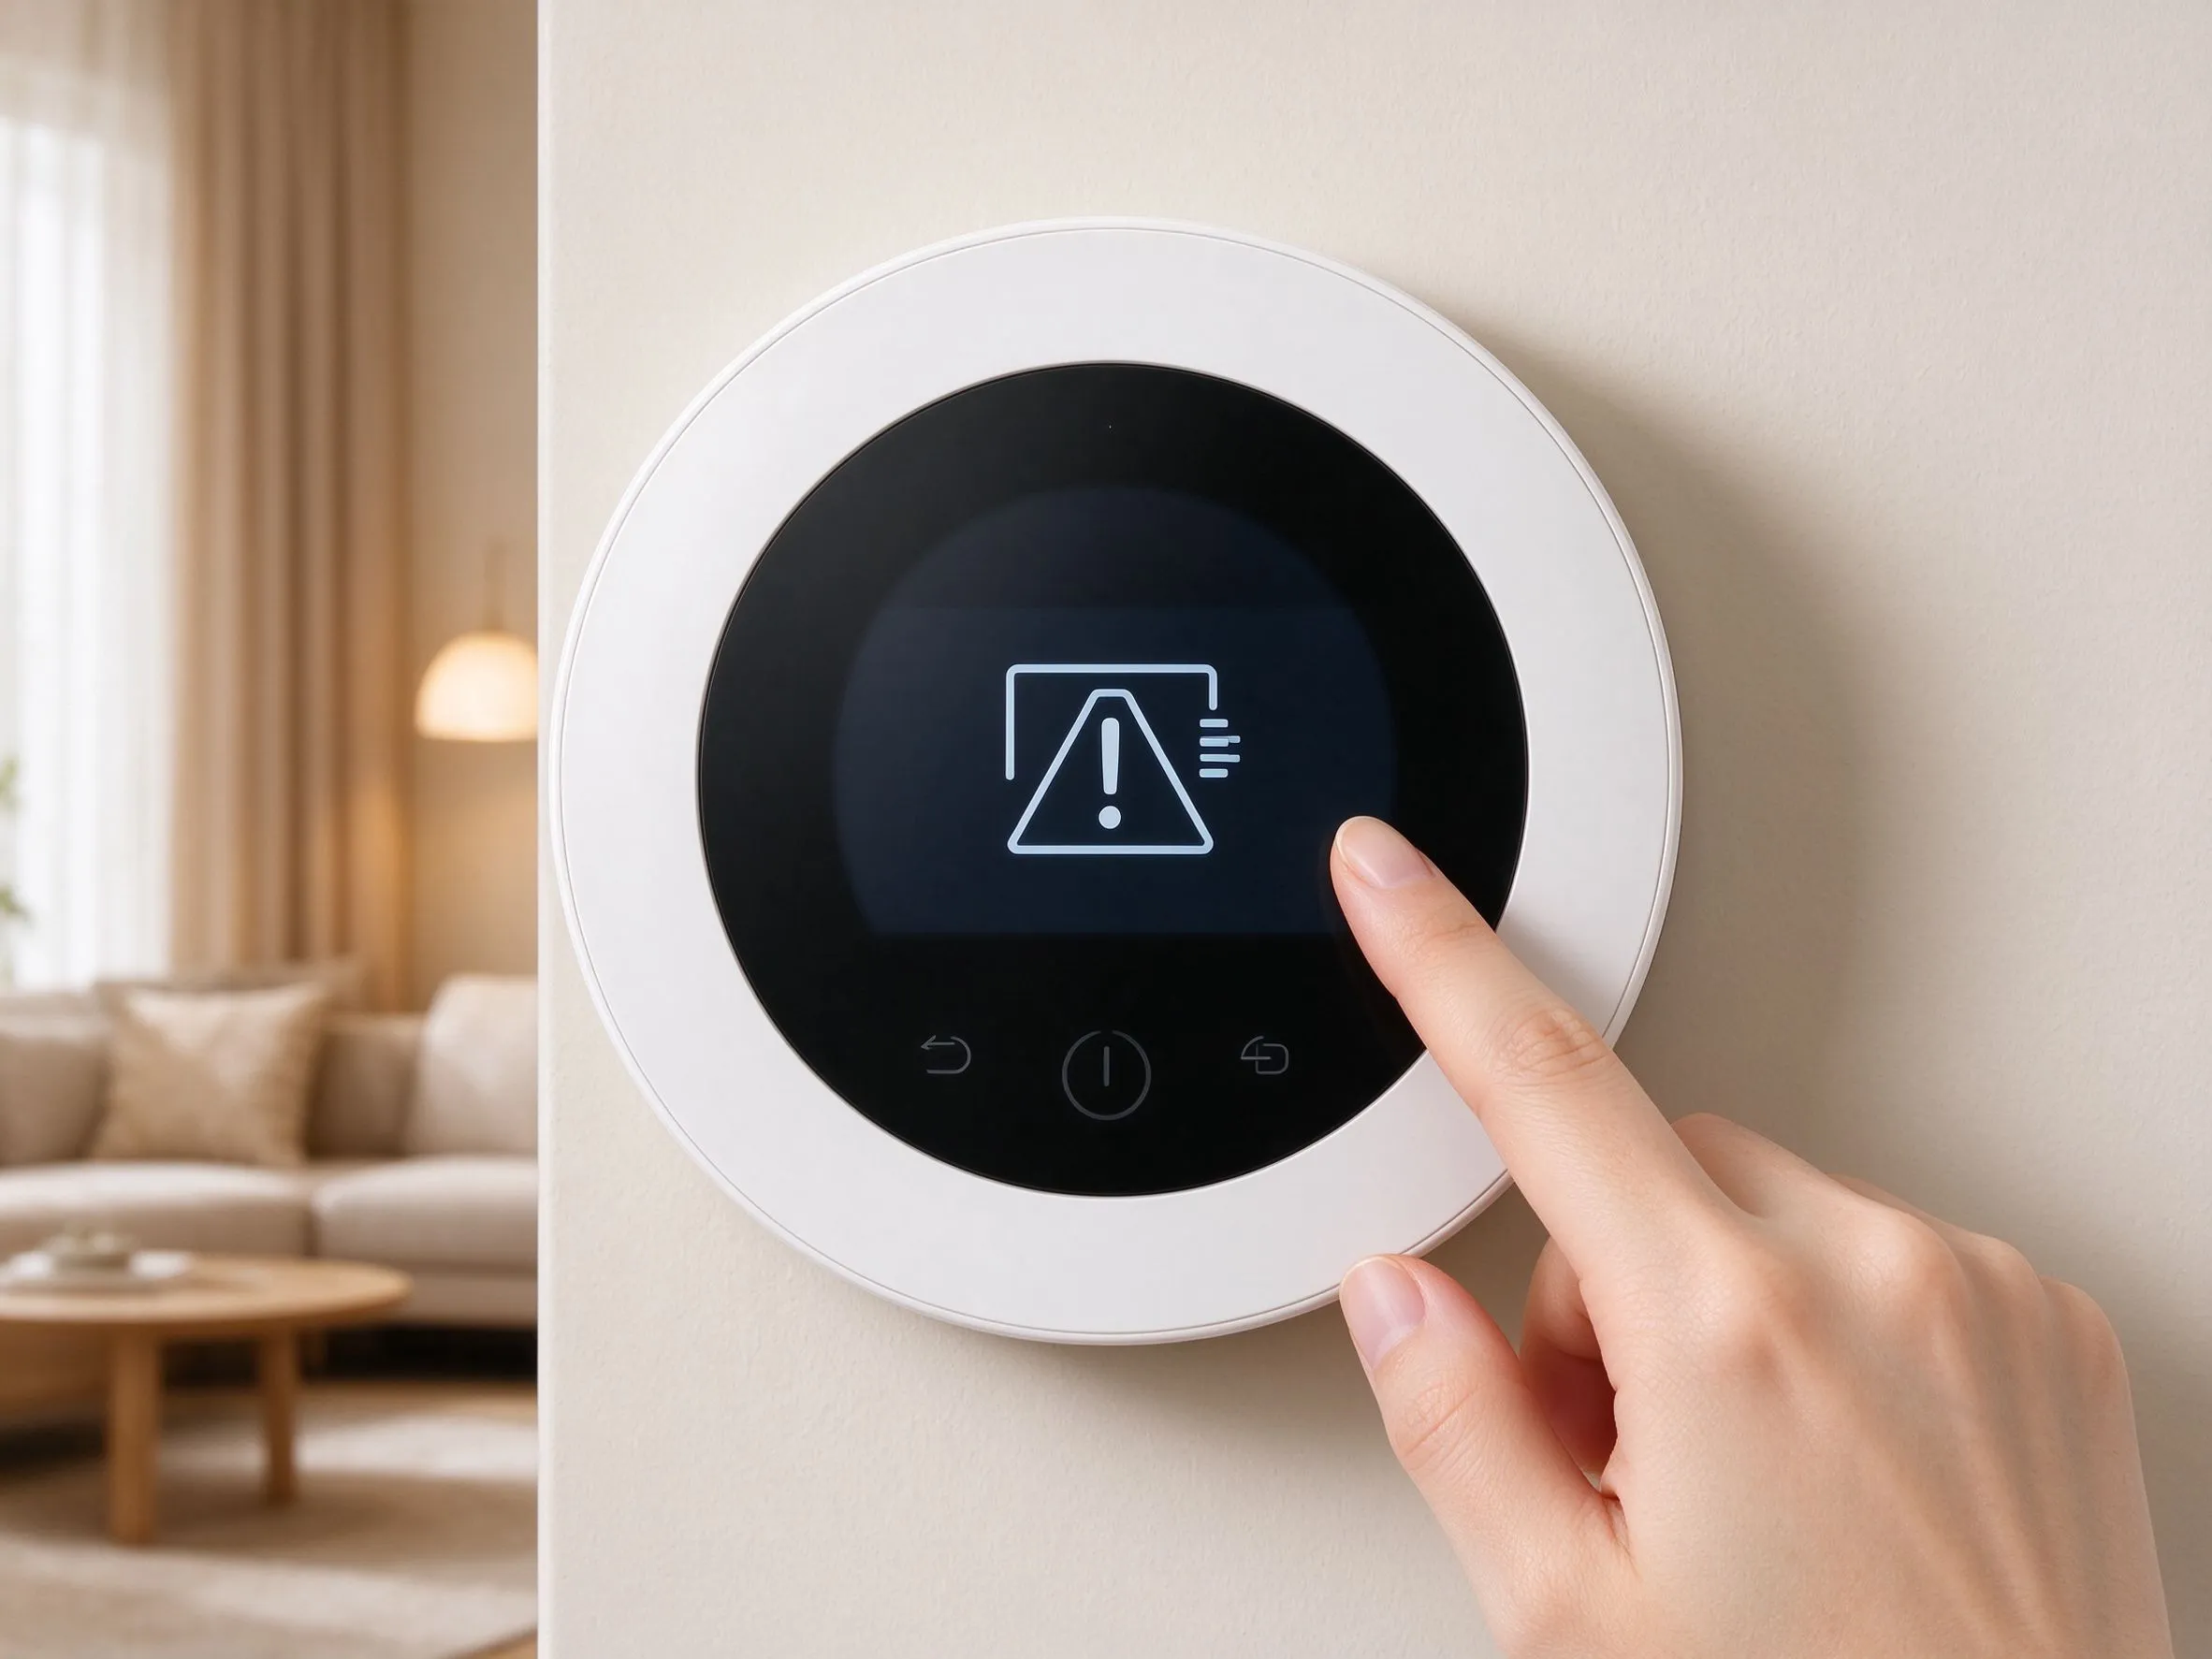
Modern smart thermostat for underfloor heating units display fault codes instead of leaving the installer guessing. The most common ones in our service data:
- Floor sensor error (open or short) — the floor probe is disconnected, cut or its cable is damaged. Check the probe connection at the thermostat; if the reading is clearly wrong, measure the probe resistance and compare with the sensor curve in the manual.
- No load / open circuit on the output — the controller cannot detect the element. This is usually the element connection or a broken cold lead, not the element itself.
- Over-temperature / link-loss warnings — on RF systems this flags a radio problem or a floor running above limit; check the receiver and the floor limiting sensor.
Every fault code in our range maps to a specific check in the service manual, and the same codes are documented in the product file for installers. If a code appears that is not in your manual, photograph it and send it with the model number — our engineers identify it from the factory records.
When the Floor Is Cold: Element, Spacing or Zoning?
A floor that heats unevenly has different causes from a floor that never heats:
- Cold patches. If some areas heat and others do not, check the element layout drawing against the installation. Common causes: cable spacing compressed at the edges, a section under a fixed fixture, or a loop connected with reversed polarity on a twin-conductor mat.
- Slow warm-up. This is usually a sizing/insulation issue rather than a fault: high heat loss below the floor (no insulation), or wattage selected too low for the room. Our electric floor heating mat installation guidelines include the wattage-per-square-metre tables used at design stage.
- One zone dead in a multi-zone system. Check the zone’s own thermostat and relay first — a single dead zone almost always points to that zone’s control path, not the shared supply.
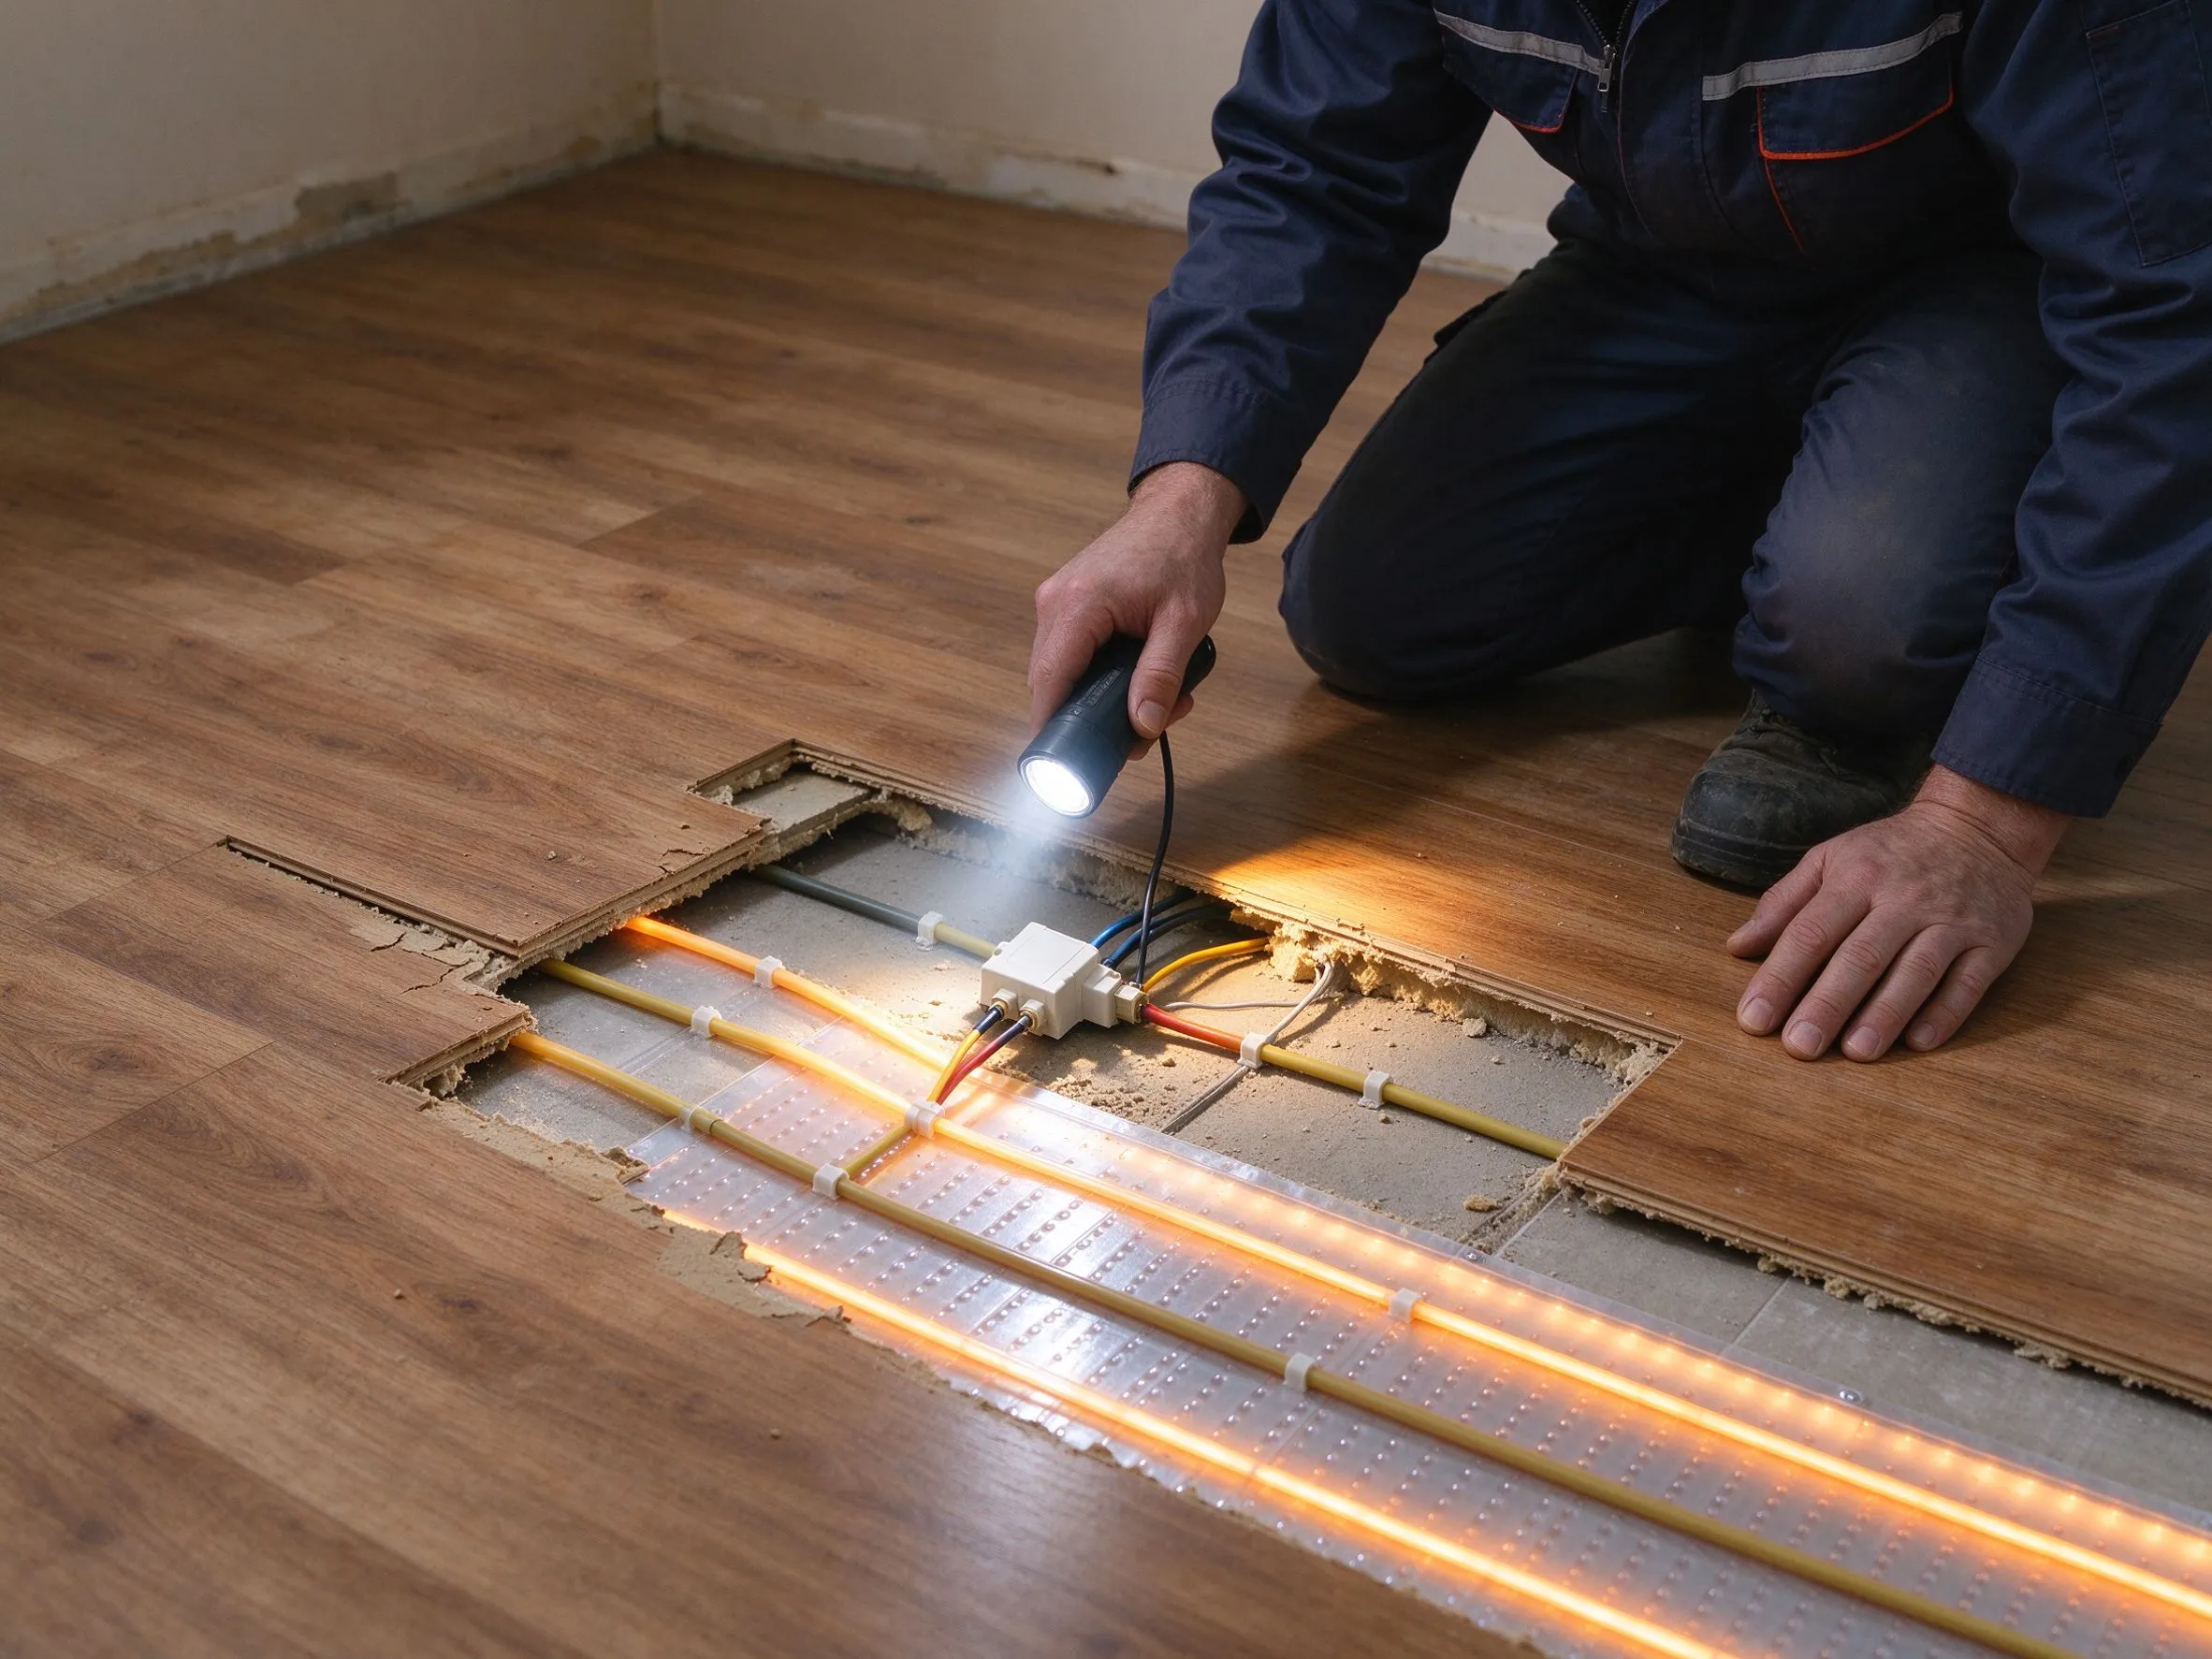
For cold patches specifically, resist the urge to rip up flooring. Confirm the layout from the drawing, verify the connection at the junction box, and measure the suspect section if a floor-probe or section test point exists. Most “cold patch” reports in our records end in a connection fault, not a failed element.
Data and Evidence: What Our Service Records Show
Our warranty and service data across 50+ export markets (per SunAura factory records) gives a useful baseline for what actually fails:
- Roughly 70% of reported “floor not working” cases are resolved remotely — thermostat setting, tripped RCD, or a loose connection at the thermostat terminals.
- Element failures are rare. With fixed-resistance construction and sealed insulation, confirmed element faults represent a small fraction of total service calls; the dominant confirmed faults involve connections, sensors and control settings.
- Floor-probe damage during installation is the most common field-confirmed sensor fault — which is why our installation guides stress routing the probe cable in its own conduit, away from trowel lines and fixing points.
- Standby and control electronics on our thermostat generation show very low field failure rates, consistent with the CE, RoHS and EMC testing each model passes before shipment.
These figures shape the troubleshooting documentation we ship: the manual leads with the ten-minute checks because that is where the actual outcomes are.
Testing Tools and What the Readings Actually Mean
A basic toolkit covers almost every underfloor heating diagnosis, and knowing how to interpret each reading is the difference between a ten-minute fix and a full floor opening:
- Multimeter, resistance mode. An intact element reads close to the label value. A reading far from the label (very low, very high or open) points to a fault inside the element or at its cold joint. A reading that is correct but unstable can indicate a poor connection under load.
- Insulation resistance tester (megohmmeter). The definitive test for insulation integrity after moisture ingress or suspected cable damage. A low insulation reading between conductor and earth identifies the section to investigate before any floor is opened.
- Clamp meter. Confirms the actual current draw per zone during a heat call, which verifies the wiring and the element load without disconnecting anything. Current far below the calculated value points to a partial disconnection or a damaged section.
- Thermal imaging (optional). A thermal camera shows the heat pattern of the floor in minutes and can localise a cold patch precisely — a useful step when the drawing and resistance checks agree that the element is intact but the floor still heats unevenly.
Two readings deserve extra care. First, resistance measured cold differs from the hot operating resistance on some element types — compare with the label value at the same temperature rather than expecting an exact match. Second, an insulation test is only meaningful with the element disconnected from the thermostat; testing through the controller can mask the result. Both points are in the service manual for every product we ship.
Preventive Checks Before Winter: A 15-Minute Routine
Most winter-season “floor stopped working” calls can be prevented with a short routine before the heating season starts. We recommend it to every distributor and installer we work with:
- Exercise the breaker and RCD. Operate the RCD test button once and confirm the breaker trips and resets cleanly. A sticky RCD is a common first sign of a degrading unit.
- Test each zone on a heat call. Raise each thermostat set point for ten minutes, confirm the relay clicks and the floor draws current, then return set points to normal.
- Check thermostat batteries. On battery-powered units, replace cells before the season even if the low-battery warning has not appeared.
- Verify floor-probe readings. Compare each zone’s floor reading with the room reading; a drifting probe is far cheaper to replace before winter than during it.
- Clean and inspect the junction boxes. Look for loose terminations and signs of moisture; retighten and reseal if any doubt.
This routine takes about fifteen minutes per zone and is the single best use of an installer’s time ahead of the heating season. For maintenance contracts, we provide this checklist as a printable page in the service manual — the same checklist our own engineers use when commissioning a system before handover.
Commissioning Records: Why Documentation Prevents Repeat Faults
The most common reason the same fault returns is that the original commissioning values were never recorded. A cold patch that is traced to a compressed cable loop is only fixed permanently if the corrected reading is written down; without a record, the next technician starts from zero. Good commissioning practice is therefore as much about paperwork as about wiring:
- Record the baseline readings. Element resistance per zone, insulation resistance, floor-probe resistance at a known temperature and the thermostat settings should all be entered on the commissioning sheet on day one. When a fault appears a year later, the comparison against the baseline tells the technician immediately whether the change is in the element, the sensor or the control path.
- Photograph the connections. A photo of the thermostat terminals and junction boxes before the floor is closed saves hours of re-inspection later — and it is the first thing our engineers ask for when a warranty claim arrives. We include a photo checklist in the commissioning page of the service manual.
- Keep the layout drawing with the system. The element layout (spacing, probe position, zone boundaries) belongs in the building file, not the installer’s van. It is the reference that makes a later fault traceable and a future extension safe.
For distributors, the commercial benefit is direct: a documented commissioning handover reduces after-sales support calls, which is the largest hidden cost in wholesale heating. Our installation guides and service manual are written so that a distributor’s installer network can standardise on one commissioning sheet across all SunAura product lines — film, mat, cable and thermostat — which keeps the support volume low and the warranty process fast.
Frequently Asked Questions
Can I test an underfloor heating element without opening the floor?
Usually yes. Disconnect the element at the thermostat and measure resistance across the cold leads. Compare with the labelled value; an open circuit or a value far from the label points to the element or its cold joint, while a correct reading clears the element and points to control or supply.
Why does my floor take hours to warm up?
Electric floors are designed to heat the thermal mass slowly — that is what makes them efficient. Warm-up time depends on wattage, insulation and floor construction. If a system that used to warm in an hour now takes three, check insulation degradation or a change in floor covering rather than the element.
How often should I run the preventive winter checklist?
Once per season is the standard for systems that ran fault-free the previous year. Systems that have had a fault, or buildings that have been renovated since the last check, should be re-commissioned fully — including the insulation test — before the heating season, because structural changes are a common source of new faults.
What should I do if a zone trips the RCD only when heating starts?
That pattern points to insulation breakdown or moisture in the element or its connection, energised only under load. Do not repeatedly reset and run. Disconnect the zone, perform an insulation resistance test, and involve a qualified electrician — this is a safety-relevant case and is exactly the situation our warranty procedure is designed to handle quickly with the photos and readings you provide.
Get Factory Support or Source Replacement Parts Wholesale
When the fault is beyond the ten-minute checks, you have two direct routes. Existing customers send photos, error codes and the model number through the service request form, and our engineers diagnose the case with the factory records. Distributors and installers stocking spares can order heating cable wholesale supplier quantities, replacement floor probes, sensors and thermostat backplates with short lead times from the Qingdao factory — OEM branding and custom documentation available for volume orders. Whatever the route, start with the diagnostic order in this guide: it saves a service visit more often than not.
Related Products & OEM Inquiries
Diagnosing underfloor heating problems? Common causes trace back to the heating element, sensor or thermostat. Our high-quality heating cables, complete underfloor heating kits and calibrated floor thermostats are built for reliable, long-term operation. Contact our engineering team for troubleshooting support and replacement parts — factory-direct service for installers worldwide.