
Why Vinyl and Electric Heating Are Being Paired More Than Ever
Vinyl flooring — LVT and SPC plank — has become one of the most popular floor coverings in renovation, and homeowners increasingly want it over underfloor heating. The pairing works, but it demands discipline: electric heating mat under vinyl flooring is a system of limits, not just a product. The element sits close to the surface, the vinyl covering has a maximum temperature tolerance, and the build-up has to manage both heat output and floor flatness. This guide covers the compatibility rules, the correct build-up, the installation sequence and the temperature management that makes the combination last.
The reason for the growth is simple. LVT and SPC are thin, dimensionally stable and affordable, which makes them attractive in kitchens, bathrooms and ground-floor rooms. When the floor is already being replaced, adding an electric heating mat adds a small incremental cost and a large comfort gain. The reason for caution is equally simple: vinyl softens at high temperature, so the surface temperature must be controlled — typically capped well below the element ratings used for tile or screed. Both sides of that equation are manageable, and this guide is written to make them explicit before you order, not after installation.
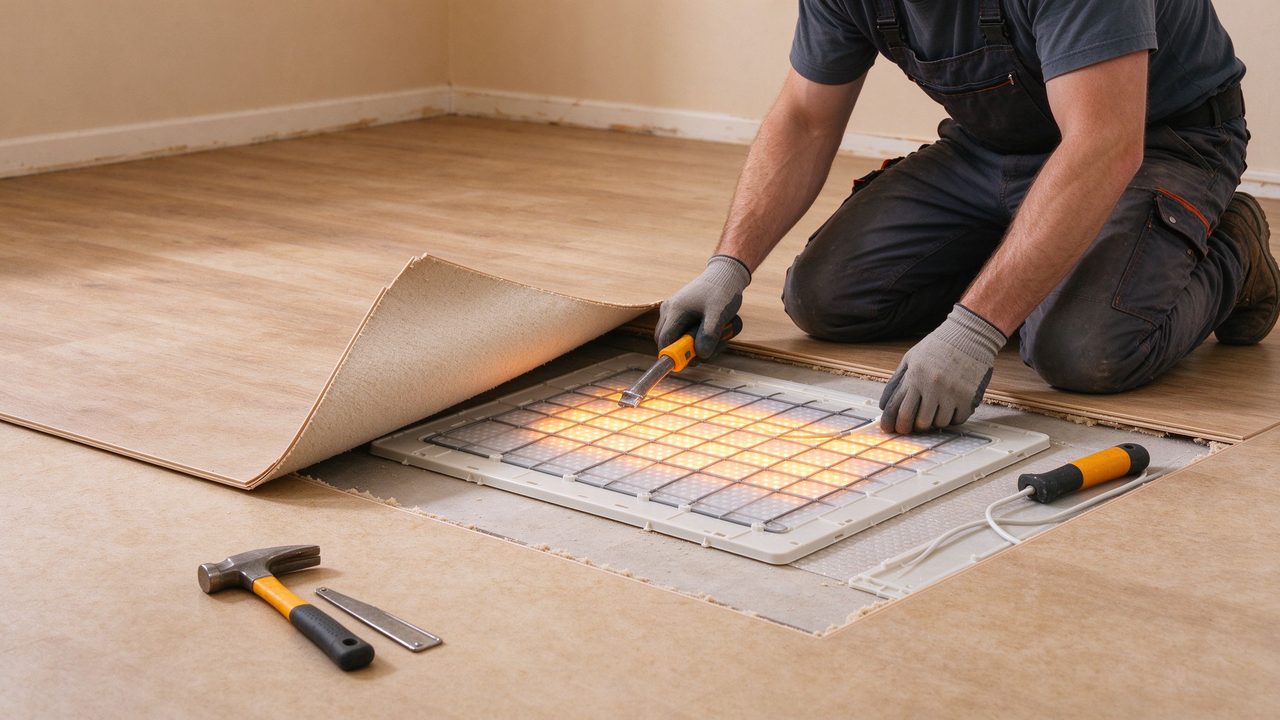
LVT vs SPC: What Each Flooring Type Allows
LVT (luxury vinyl tile) and SPC (stone plastic composite) differ in construction, and the difference matters for heating. LVT is a flexible vinyl plank with a printed layer and a clear wear layer; it is installed with adhesive or as a click product, and its surface temperature limit is typically in the 27–29°C range for continuous exposure. SPC uses a rigid stone-plastic core, which makes it more dimensionally stable and slightly more tolerant of temperature, with limits commonly around 27–29°C as well but with better resistance to movement under heat. Both are classified as good conductors compared with carpet, but neither conducts as well as tile. The practical rule for LVT flooring underfloor heating compatibility: confirm the covering manufacturer’s maximum surface temperature, keep the floor probe set below it, and never exceed the element’s own rating. The floor covering’s datasheet, not the heating supplier’s marketing, sets the limit.
The Build-Up: Layers That Make or Break the System
A correct electric heating mat installation under vinyl is a four-layer build. First, a level subfloor — vinyl amplifies any imperfection, and the heating mat cannot fix a wavy base. Second, insulation board where the structure allows it, directing heat upward and cutting running costs; the board also helps the surface reach temperature faster. Third, the heating mat itself, laid in the manufacturer’s pattern with the cold lead run to the thermostat location. Fourth, the vinyl covering, installed per the covering manufacturer’s instructions for heated floors — which usually means a suitable underlay or adhesive rated for the operating temperature. The build-up is the difference between a floor that reaches temperature in an hour and holds it, and a floor that takes half a day and leaks heat into the slab below. Every layer has a job, and skipping insulation is the most common cost mistake in the whole system.
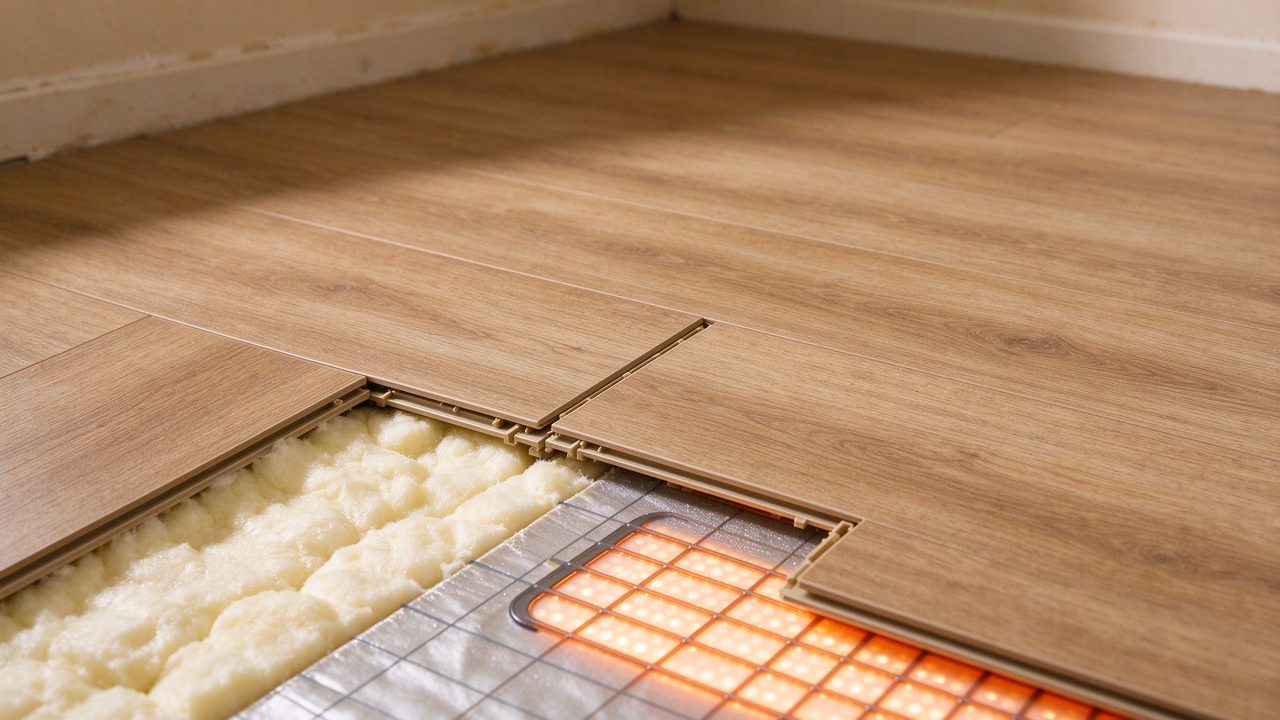
Step-by-Step Installation Sequence
Step one: prepare and level the subfloor, and lay insulation board in the heated area, cutting around fixed furniture. Step two: plan the mat layout around the room shape, keeping the element clear of fixed islands and heavy furniture; dry-lay the mat to confirm the pattern before fixing. Step three: fix the mat with the manufacturer’s tape or adhesive, and run the cold lead to the thermostat box through a protected channel. Step four: test the element resistance and insulation before covering — a five-minute measurement that prevents a floor tear-out later; the values should match the label within tolerance. Step five: install the vinyl covering according to the covering maker’s heated-floor instructions, and allow any adhesive to cure before the system is switched on. Step six: fit the floor heating thermostat with its floor probe in the heated area, set the maximum surface temperature below the covering limit, and commission the system by raising the set point gradually over the first days. The sequence is simple, but each step has a failure mode that only appears after the floor is closed.
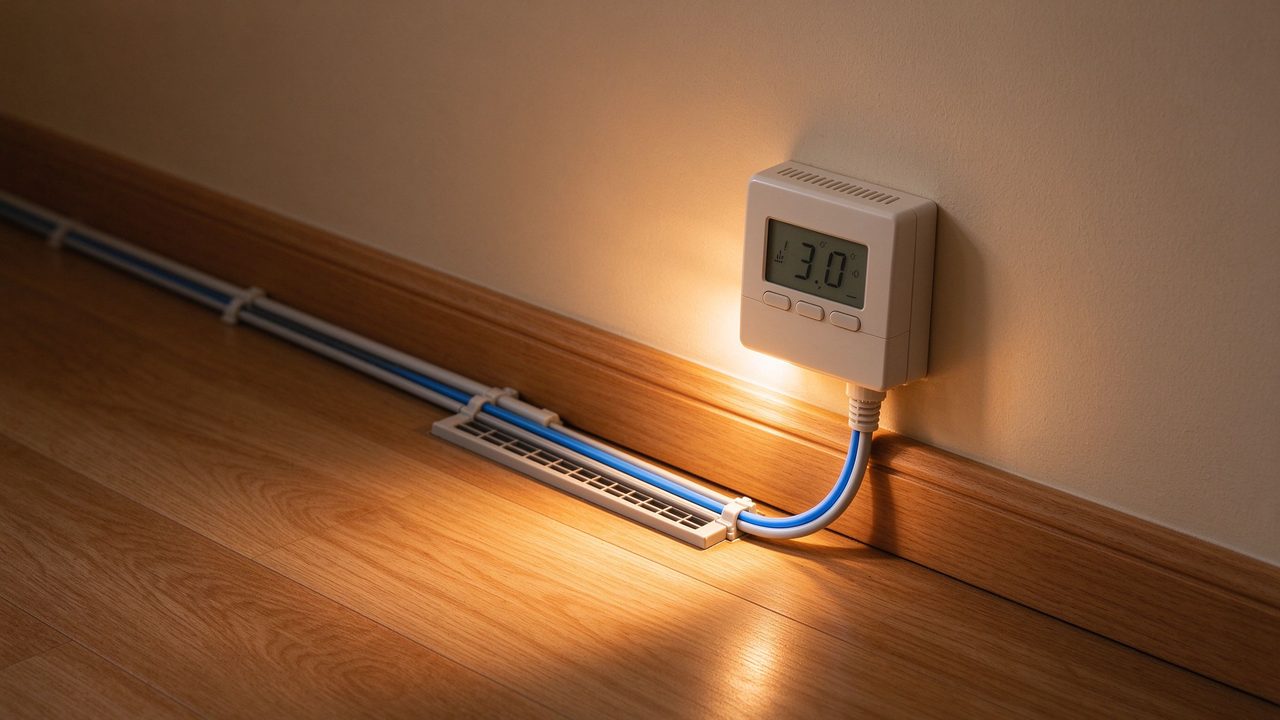
Temperature Management: The Floor Probe Is Not Optional
Under vinyl, the floor probe is the safety component. Because the covering’s temperature limit sits close to the comfort band, the thermostat must measure the actual floor surface temperature and switch off before the limit is reached. An air-sensor-only thermostat can overheat a vinyl floor in mild weather, because the room air may still be cool while the floor surface has climbed. The correct configuration is a thermostat with a floor sensor, the maximum floor temperature set to the covering manufacturer’s limit (commonly 27°C for LVT/SPC), and the element output sized so the system reaches comfort without prolonged duty. For heating mat under SPC plank, this discipline is the entire difference between a long-lived installation and a floor that waves or de-laminates. If a buyer is unsure, our engineering team supplies the thermostat setting sheet with every order (per SunAura factory records).
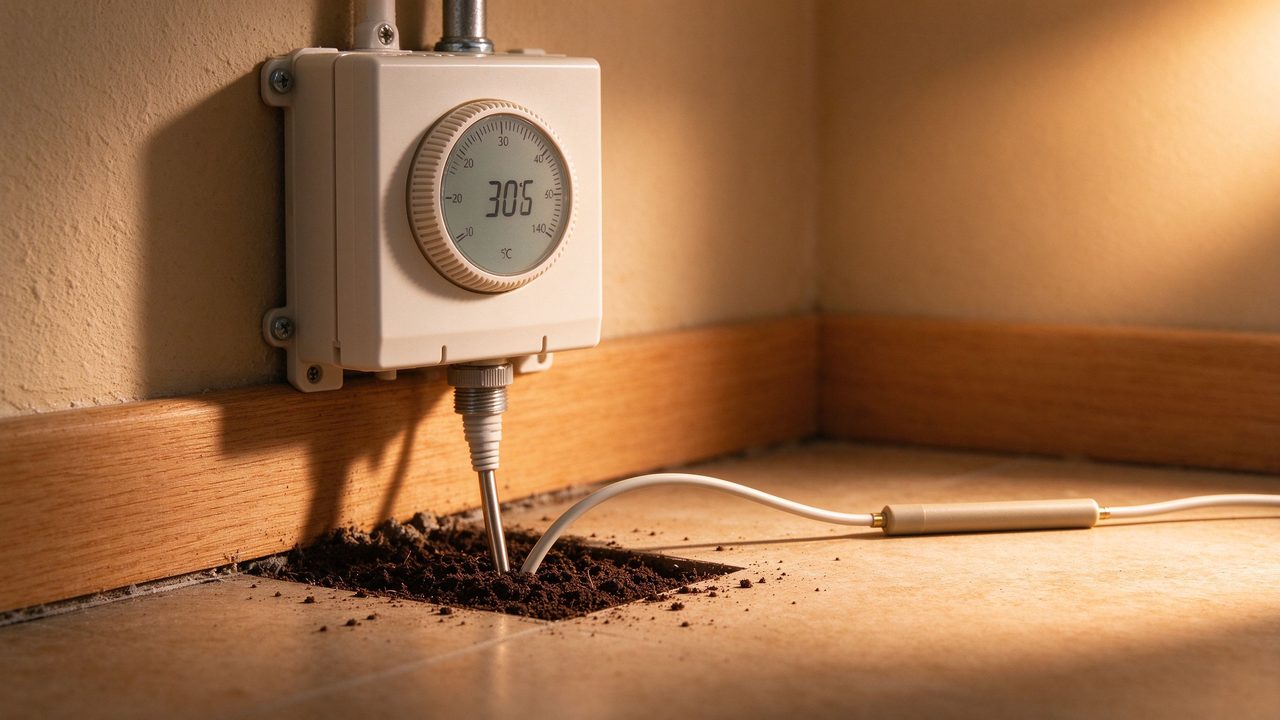
What Not to Do: The Failure Modes That Matter
Five installation mistakes account for most vinyl-heating failures. Heating under fixed furniture traps heat and violates the covering limit — measure the heated area around islands and cabinets. Skipping the floor probe lets the system run blind. Exceeding the covering manufacturer’s temperature limit is the direct cause of plank warping and adhesive failure. Installing over an uneven base telegraphs every imperfection through the vinyl. And switching the system on at full power before adhesives cure can trap moisture and lift the floor. None of these failures come from the heating element; they come from the system design. The same discipline that protects a vinyl floor protects the electric heating mat underneath it, which is why the manufacturer’s guidance is part of every order rather than a separate download.

Data and Evidence: The Numbers Behind the Rules
The temperature figures in this article reflect standard industry guidance for vinyl over electric floor heating: surface limits of roughly 27–29°C for LVT and SPC are the common values quoted by covering manufacturers, and the 150–160 W/m² output range is the standard design basis for insulated rooms. SunAura Thermal’s manufacturing record provides the process facts: 17 years of production since 2008 at the Qingdao, Huangdao factory, ISO 9001/14001/45001, CE and RoHS documentation, LVD/EMC compliance tested per market, and batch test records with every order (per SunAura factory records). The installation sequence above follows the same practice we document for installers across more than 50 export countries. For project-specific numbers, size the element from the room heat-loss calculation and confirm the covering limit with the floor manufacturer — both documents should be in the project file before installation begins.
Frequently Asked Questions
Can I use any vinyl with electric floor heating? No — the covering manufacturer’s maximum surface temperature decides. Products that state a heated-floor rating are suitable; others need confirmation before installation.
What is the maximum surface temperature under vinyl? Typically 27–29°C for LVT and SPC, per the covering maker’s datasheet. The floor probe must be set below that limit.
Does the mat change the floor height significantly? No — a low-profile heating mat adds a few millimetres, which is why vinyl projects are natural fits for mat systems.
Where can I get the thermostat setting sheet? With every order from SunAura Thermal; our engineering team also reviews the specification before you buy, at no cost.
Buying Checklist for Vinyl-Floor Heating Projects
| Item | What to confirm before ordering |
|---|---|
| Covering limit | Covering manufacturer’s max surface temperature (usually 27–29°C) |
| Heated area | Room area minus fixed furniture and islands, in m² |
| Output | Element wattage per m² matched to heat-loss calculation |
| Control | Thermostat with floor probe and adjustable max floor temperature |
| Insulation | Insulation board thickness where the build allows |
| Documentation | Batch test record, certificate set and installation guidance |
Six items, five minutes of checking, and the specification cannot drift. Installers who order against this checklist report fewer site surprises, and distributors who standardise it find quotations become faster and more comparable. It is the same checklist our sales team works through on every vinyl-flooring enquiry, and it is available to any buyer before they commit to a purchase — the goal is a specification that works the first time, because the floor is closed only once.
Frequently Asked Questions
Can I use any vinyl with electric floor heating? No — the covering manufacturer’s maximum surface temperature decides. Products that state a heated-floor rating are suitable; others need confirmation before installation.
What is the maximum surface temperature under vinyl? Typically 27–29°C for LVT and SPC, per the covering maker’s datasheet. The floor probe must be set below that limit.
Does the mat change the floor height significantly? No — a low-profile heating mat adds a few millimetres, which is why vinyl projects are natural fits for mat systems.
Do I need insulation under the mat? Strongly recommended — it directs heat upward and cuts running costs; on suspended timber floors it is usually essential to avoid heating the void.
Where can I get the thermostat setting sheet? With every order from SunAura Thermal; our engineering team also reviews the specification before you buy, at no cost.
Can I install the mat myself? The mat and build-up are installer-friendly, but the electrical connection and thermostat wiring must be done by a qualified electrician per local codes; most projects use a professional for the whole installation.
How long does the system take to warm up under vinyl? With insulation in place, most rooms reach comfort temperature within one to two hours; the floor probe prevents overshoot, and the first days should run on a gradual schedule while adhesives and the floor settle.
Can the mat be cut to fit the room? Never cut a heating mat — the element runs the full length of the mat, and cutting breaks the circuit. Plan the layout with full mats and use the spacing or multiple mats to cover the room.
About the author: Ethan Sun, Founder & CEO, SunAura Thermal — 17 years of manufacturing electric heating film, mats and cables from our Qingdao factory (ISO 9001 / 14001 / 45001 certified, CE / RoHS compliant), now exporting to 50+ countries worldwide.
Professional Installation vs DIY: What the Codes Require
Most of the build-up — insulation, mat layout, fixing — is straightforward handiwork that a careful homeowner can manage with the manufacturer guidance. The electrical connection is a different matter: the cold lead must be terminated into a properly rated circuit, the thermostat must be wired with the floor probe in the correct position, and the residual current device protecting the circuit must be rated for the element load. These steps fall under local electrical codes in virtually every market, which means a qualified electrician should carry out the connection and sign off the circuit. The practical division of labour that works on most projects: the homeowner or flooring contractor prepares the subfloor and lays the mat, and the electrician makes the connections and commissions the system. The thermostat setting sheet we supply with every order gives both parties the same target values, so there is no ambiguity about the maximum floor temperature or the commissioning schedule.
Planning for the electrician early avoids the most common site frustration: a floor closed before the electrical inspection is due. Agree the connection point, the circuit allocation and the thermostat location at the specification stage, and the installation runs in one visit rather than two. That planning discipline is part of the installation guidance that ships with every SunAura Thermal order (per SunAura factory records), and it is the difference between a smooth project and a delayed one.
Sourcing Mats for Vinyl-Floor Projects
If you are a distributor or installer supplying heating for vinyl-floor renovations, the sourcing decision is about specification support as much as product. SunAura Thermal provides underfloor heating mats, thermostats with floor probes and written installation guidance from the same factory, with volume pricing for electric floor heating mat supplier programmes and OEM options. Send your project scope — floor build, covering type, voltage and room sizes — and we return the mat layout, output calculation, thermostat settings and a written quotation. The documentation ships with the order, so every installation closes with the same evidence base this article describes.
Related Products & OEM Inquiries
Looking for a heating mat laid under vinyl flooring or a factory-direct OEM/ODM partner? Explore our electric underfloor heating mats and complete electric underfloor heating systems, then request a quote for your project — we supply distributors, installers and brands in 50+ countries.