
Why Driveways Are the Most Dangerous Surface in Winter
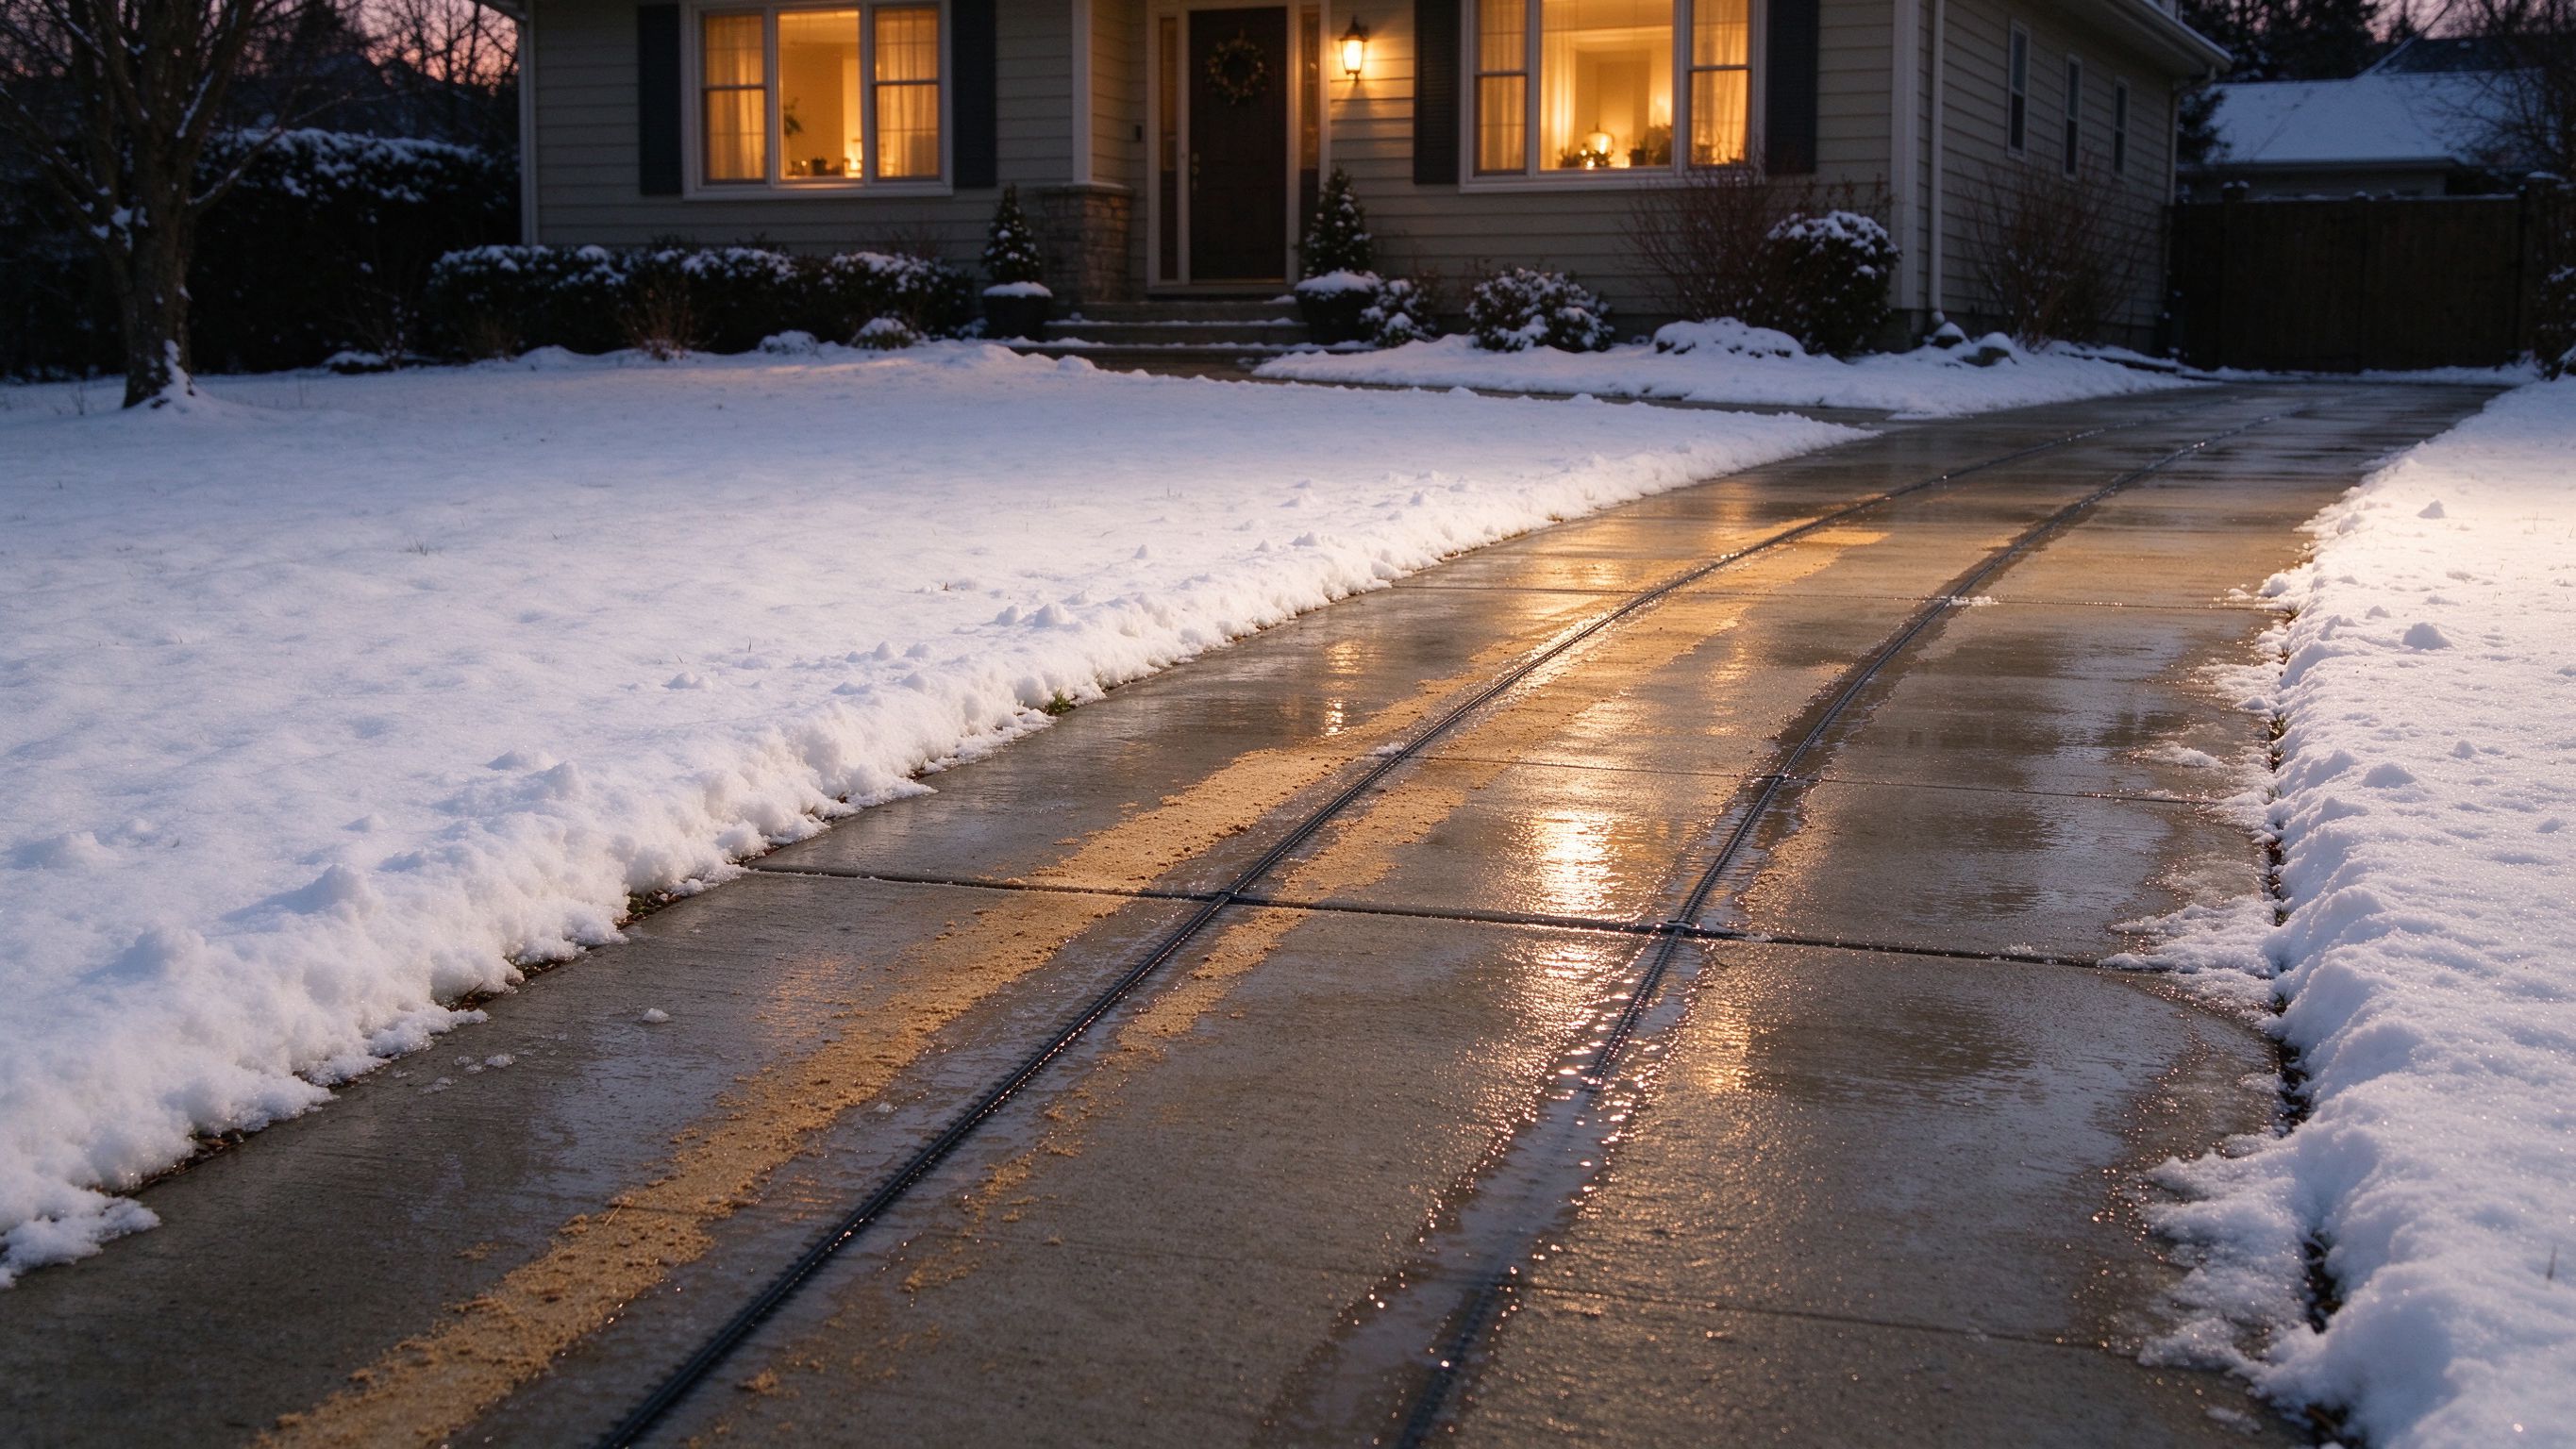
Every winter, emergency rooms fill with injuries that never had to happen: falls on icy driveways, slips on frozen steps, and cars sliding on black ice at the bottom of the slope. For homeowners in snow-belt regions, the driveway is the most dangerous surface on the property — and also the one most often ignored when planning winter protection. A snow melting driveway heating cable changes that. Installed inside the concrete or asphalt, the cable keeps the surface above freezing so snow melts on contact and water drains away before it can freeze.
This article covers how these systems work, a real retrofit case from a Nordic homeowner project, a comparison of the available technologies, and the procurement checklist you need before asking suppliers for pricing. Factory data cited here comes from SunAura Thermal production records in Qingdao, China, where the company has manufactured heating cable and other electric heating elements for 17 years (per SunAura factory records).
How Snow Melting Heating Cable Systems Work
A driveway heating system has four parts: the heating cable itself, the circuit protection, the control (usually a thermostat or snow sensor), and the concrete or asphalt that transfers heat to the surface.
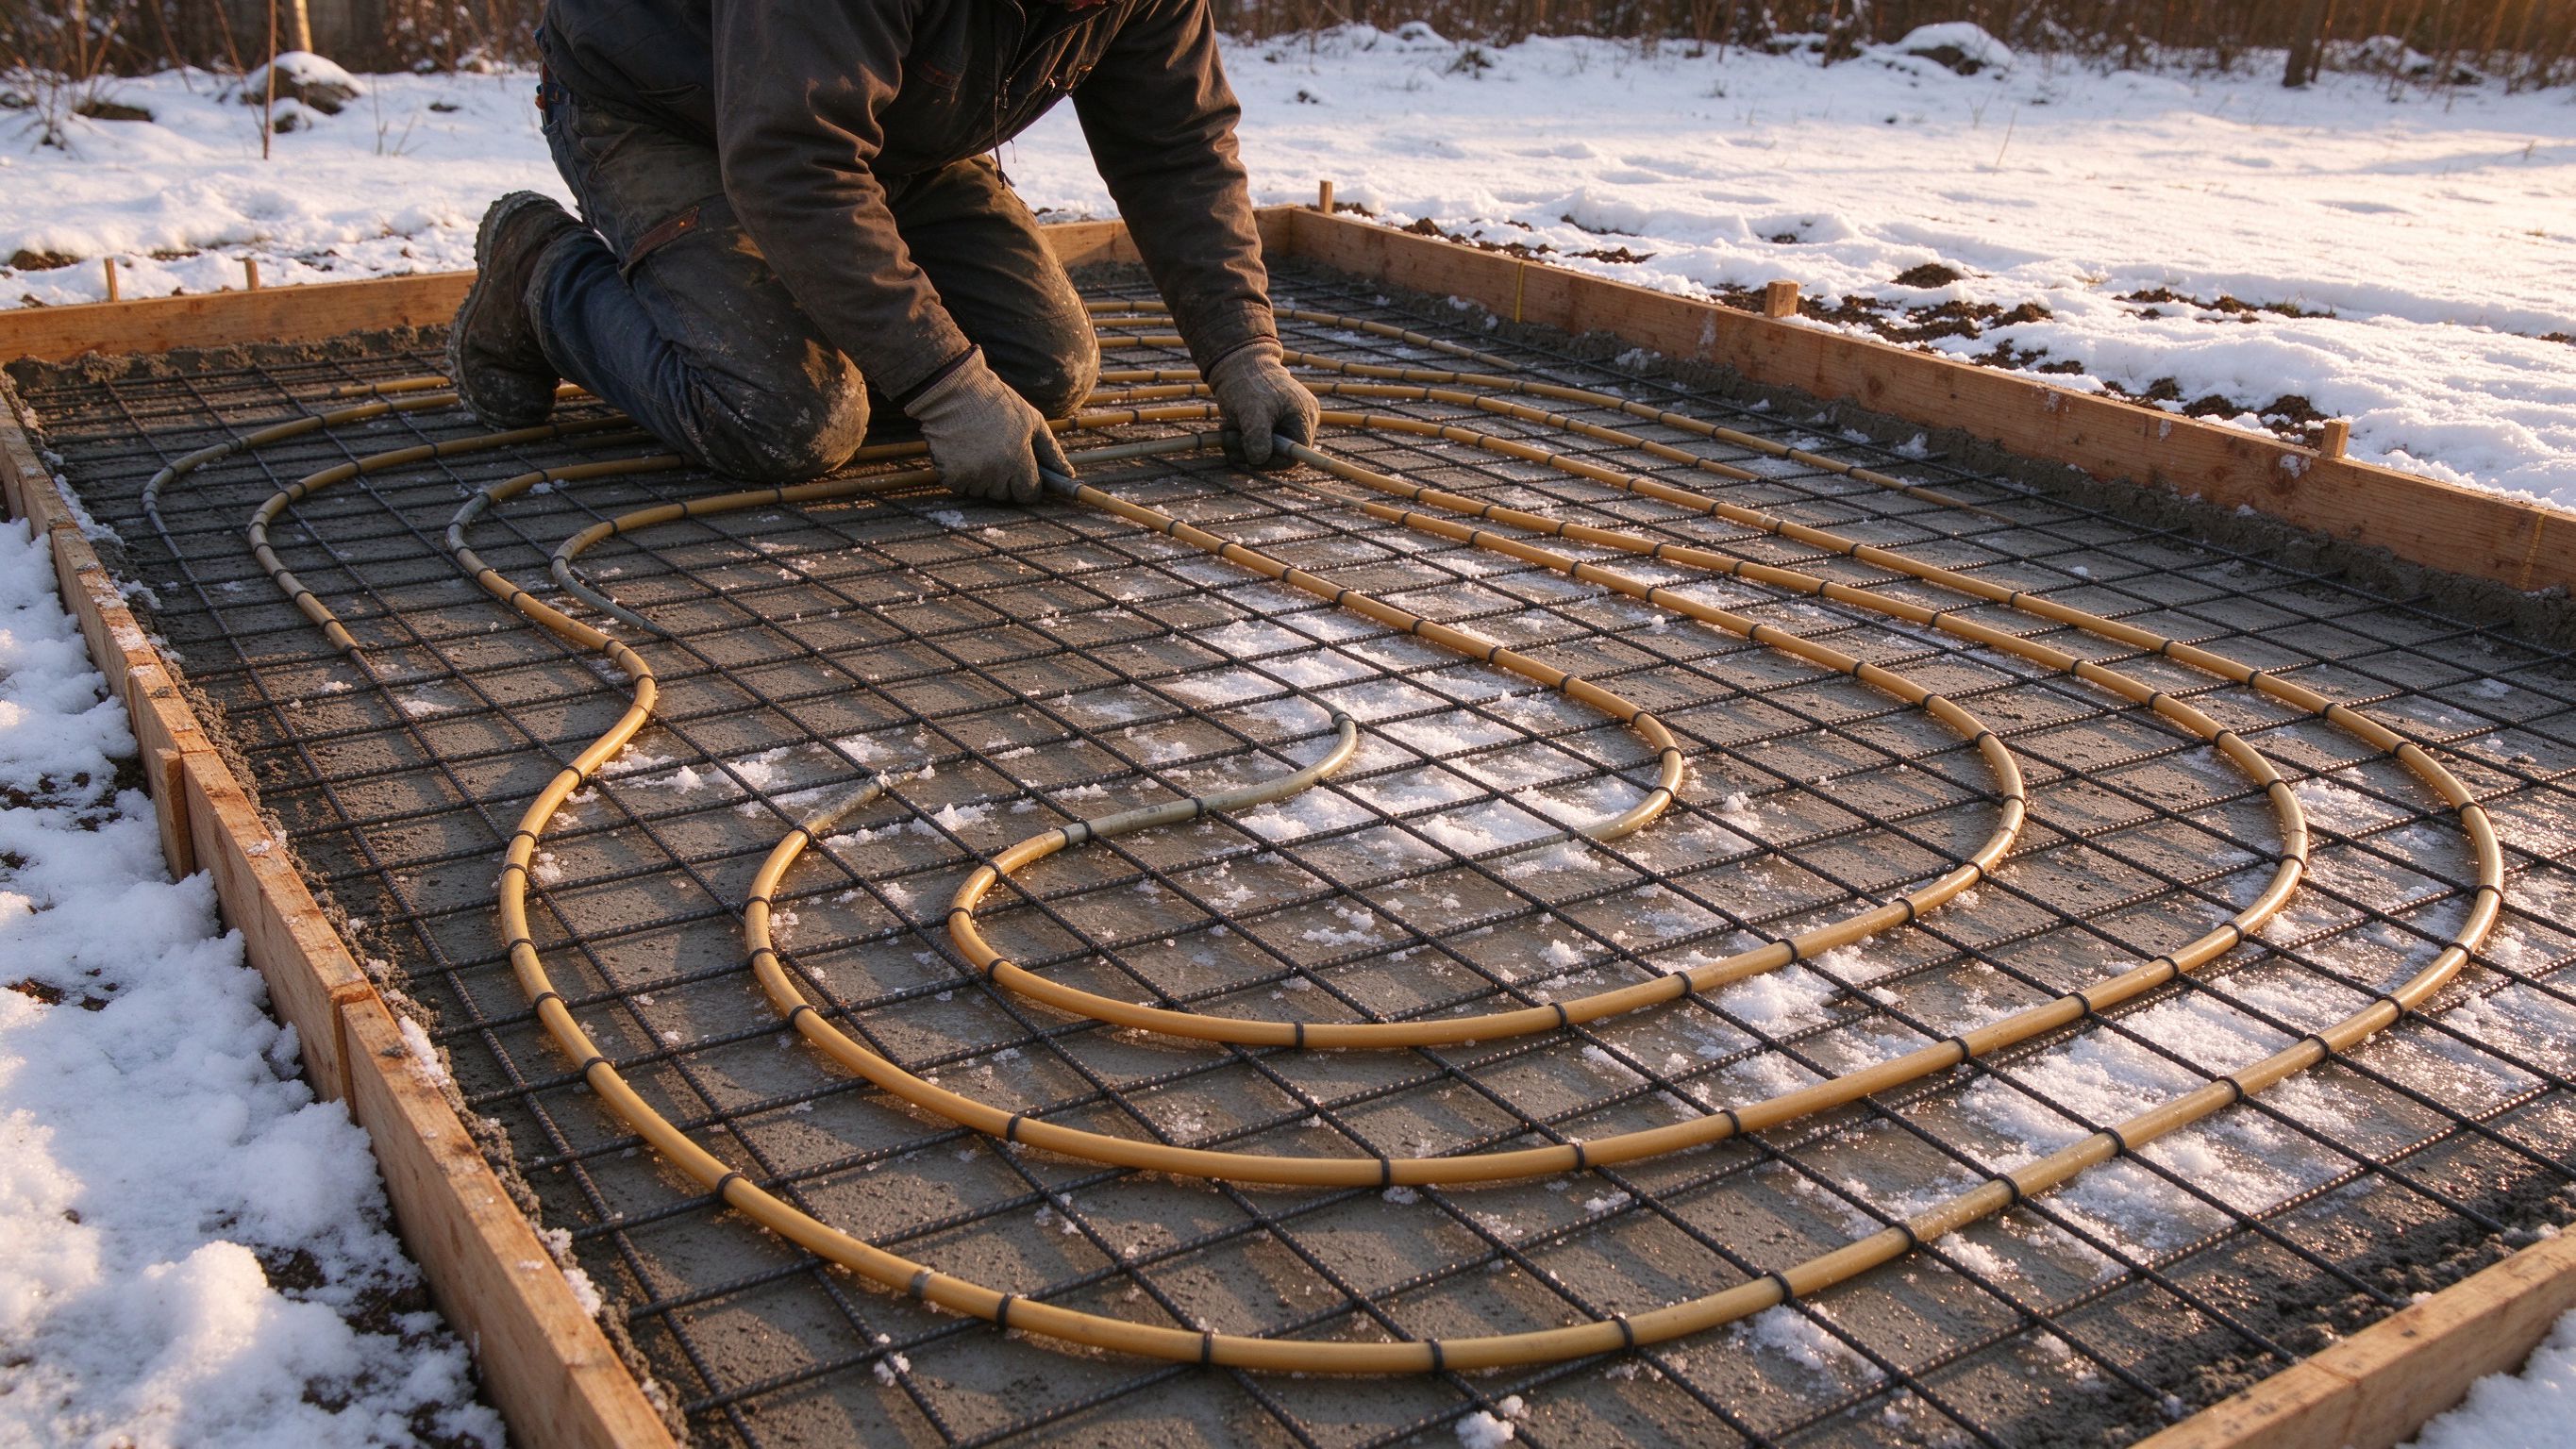
The cable is laid in a serpentine pattern inside the slab, typically on top of a layer of insulation or directly over the sub-base, then embedded by the concrete pour. When the system is switched on — manually, by a thermostat set for freezing conditions, or by an automatic snow sensor that detects moisture and temperature — the cable heats the slab from within. The surface temperature is held just above 0 °C, so snow melts as it lands and the meltwater runs off instead of compacting into ice.
Three design parameters dominate:
- Wattage density — for residential driveways, 250–350 W/m² is the common design range; steeper slopes and heavier snowfall may need more.
- Cable spacing — typically 100–150 mm between cable runs, adjusted for the slab’s thermal mass and the local snow load.
- Control method — a simple ambient thermostat is the budget option; a snow-and-ice sensor (or an automated controller) is the professional option because it only heats when snow is actually present.
The good news for buyers: the engineering is mature, the components are standard, and the same cable family used for pipe tracing is used here in a heavier construction.
Case Study: A Nordic Homeowners’ Driveway Retrofit
In late 2024, a family in southern Norway — the kind of home where the driveway faces north and never sees the winter sun — retrofitted an existing concrete driveway of roughly 95 m² with a snow melting heating cable system. The motivation was not luxury: the previous winter, the owner’s father had slipped on the frozen slope and spent six weeks recovering from a hip fracture.
The design followed the standard sequence:
- A 3 kW, 230 V dedicated circuit was reserved for the system.
- Heating cable was laid on the existing slab before a new 50 mm bonded concrete overlay, spaced at 120 mm, targeting about 300 W/m².
- An automatic snow-and-ice sensor was mounted on the driveway surface, with a manual override switch inside the garage.
- Aluminium fixing strips held the cable in position during the pour; cold leads were routed through conduit to a weatherproof junction box.
The result, reported by the owner after two full winters: the driveway stayed clear during snowfall events, the sensor limited running time to roughly 120–180 hours per winter (the system only fired when snow actually fell), and the household estimated the energy cost at well under the cost of commercial snow removal for the same period. The project was supplied through a local distributor using constant wattage heating cable — a construction well suited to the controlled layout of a driveway slab.
For installers who need the full design procedure — wattage, spacing, circuit sizing and sensor placement — our underfloor heating wattage calculation guide walks through the numbers.
Cable vs Mat vs Fluid: System Comparison
Driveway snow melting can also be done with pre-formed mats or hydronic (glycol) loops. Here is the honest comparison for a buyer deciding between them:
| Dimension | Heating cable (this article) | Pre-formed heating mats | Hydronic glycol loops |
|---|---|---|---|
| Typical cost per m² (installed) | Moderate | Higher (pre-built geometry) | Highest (boiler/heat source + pumps) |
| Flexibility of layout | High — serpentine to fit any shape | Limited to mat geometry | High, but plumbing labour heavy |
| Heat source required | Mains electricity only | Mains electricity only | Boiler, heat pump or electric heater + antifreeze loop |
| Maintenance | None after pour | None after pour | Pumps, fluid checks, bleed valves |
| Best fit | Retrofits, odd shapes, DIY-friendly | Rectangular new pours, speed | Very large areas already served by hydronic systems |
For most residential and small-commercial projects — and especially for retrofits where the geometry is irregular — heating cable offers the best balance of cost, flexibility and simplicity. Hydronic only wins at very large scale with an existing heat source.
Design Rules for Concrete and Asphalt Driveways
Whether you are buying for a new pour or a bonded overlay, keep these rules in view:
- Insulation matters — a 20–50 mm insulation board under the heating zone (where the sub-base allows) cuts heat loss downward and reduces running cost substantially.
- Never cut constant wattage cable to fit — order design lengths; only self-regulating cable is field-cuttable. Driveways use the controlled-layout approach, so constant wattage with correct lengths is the norm.
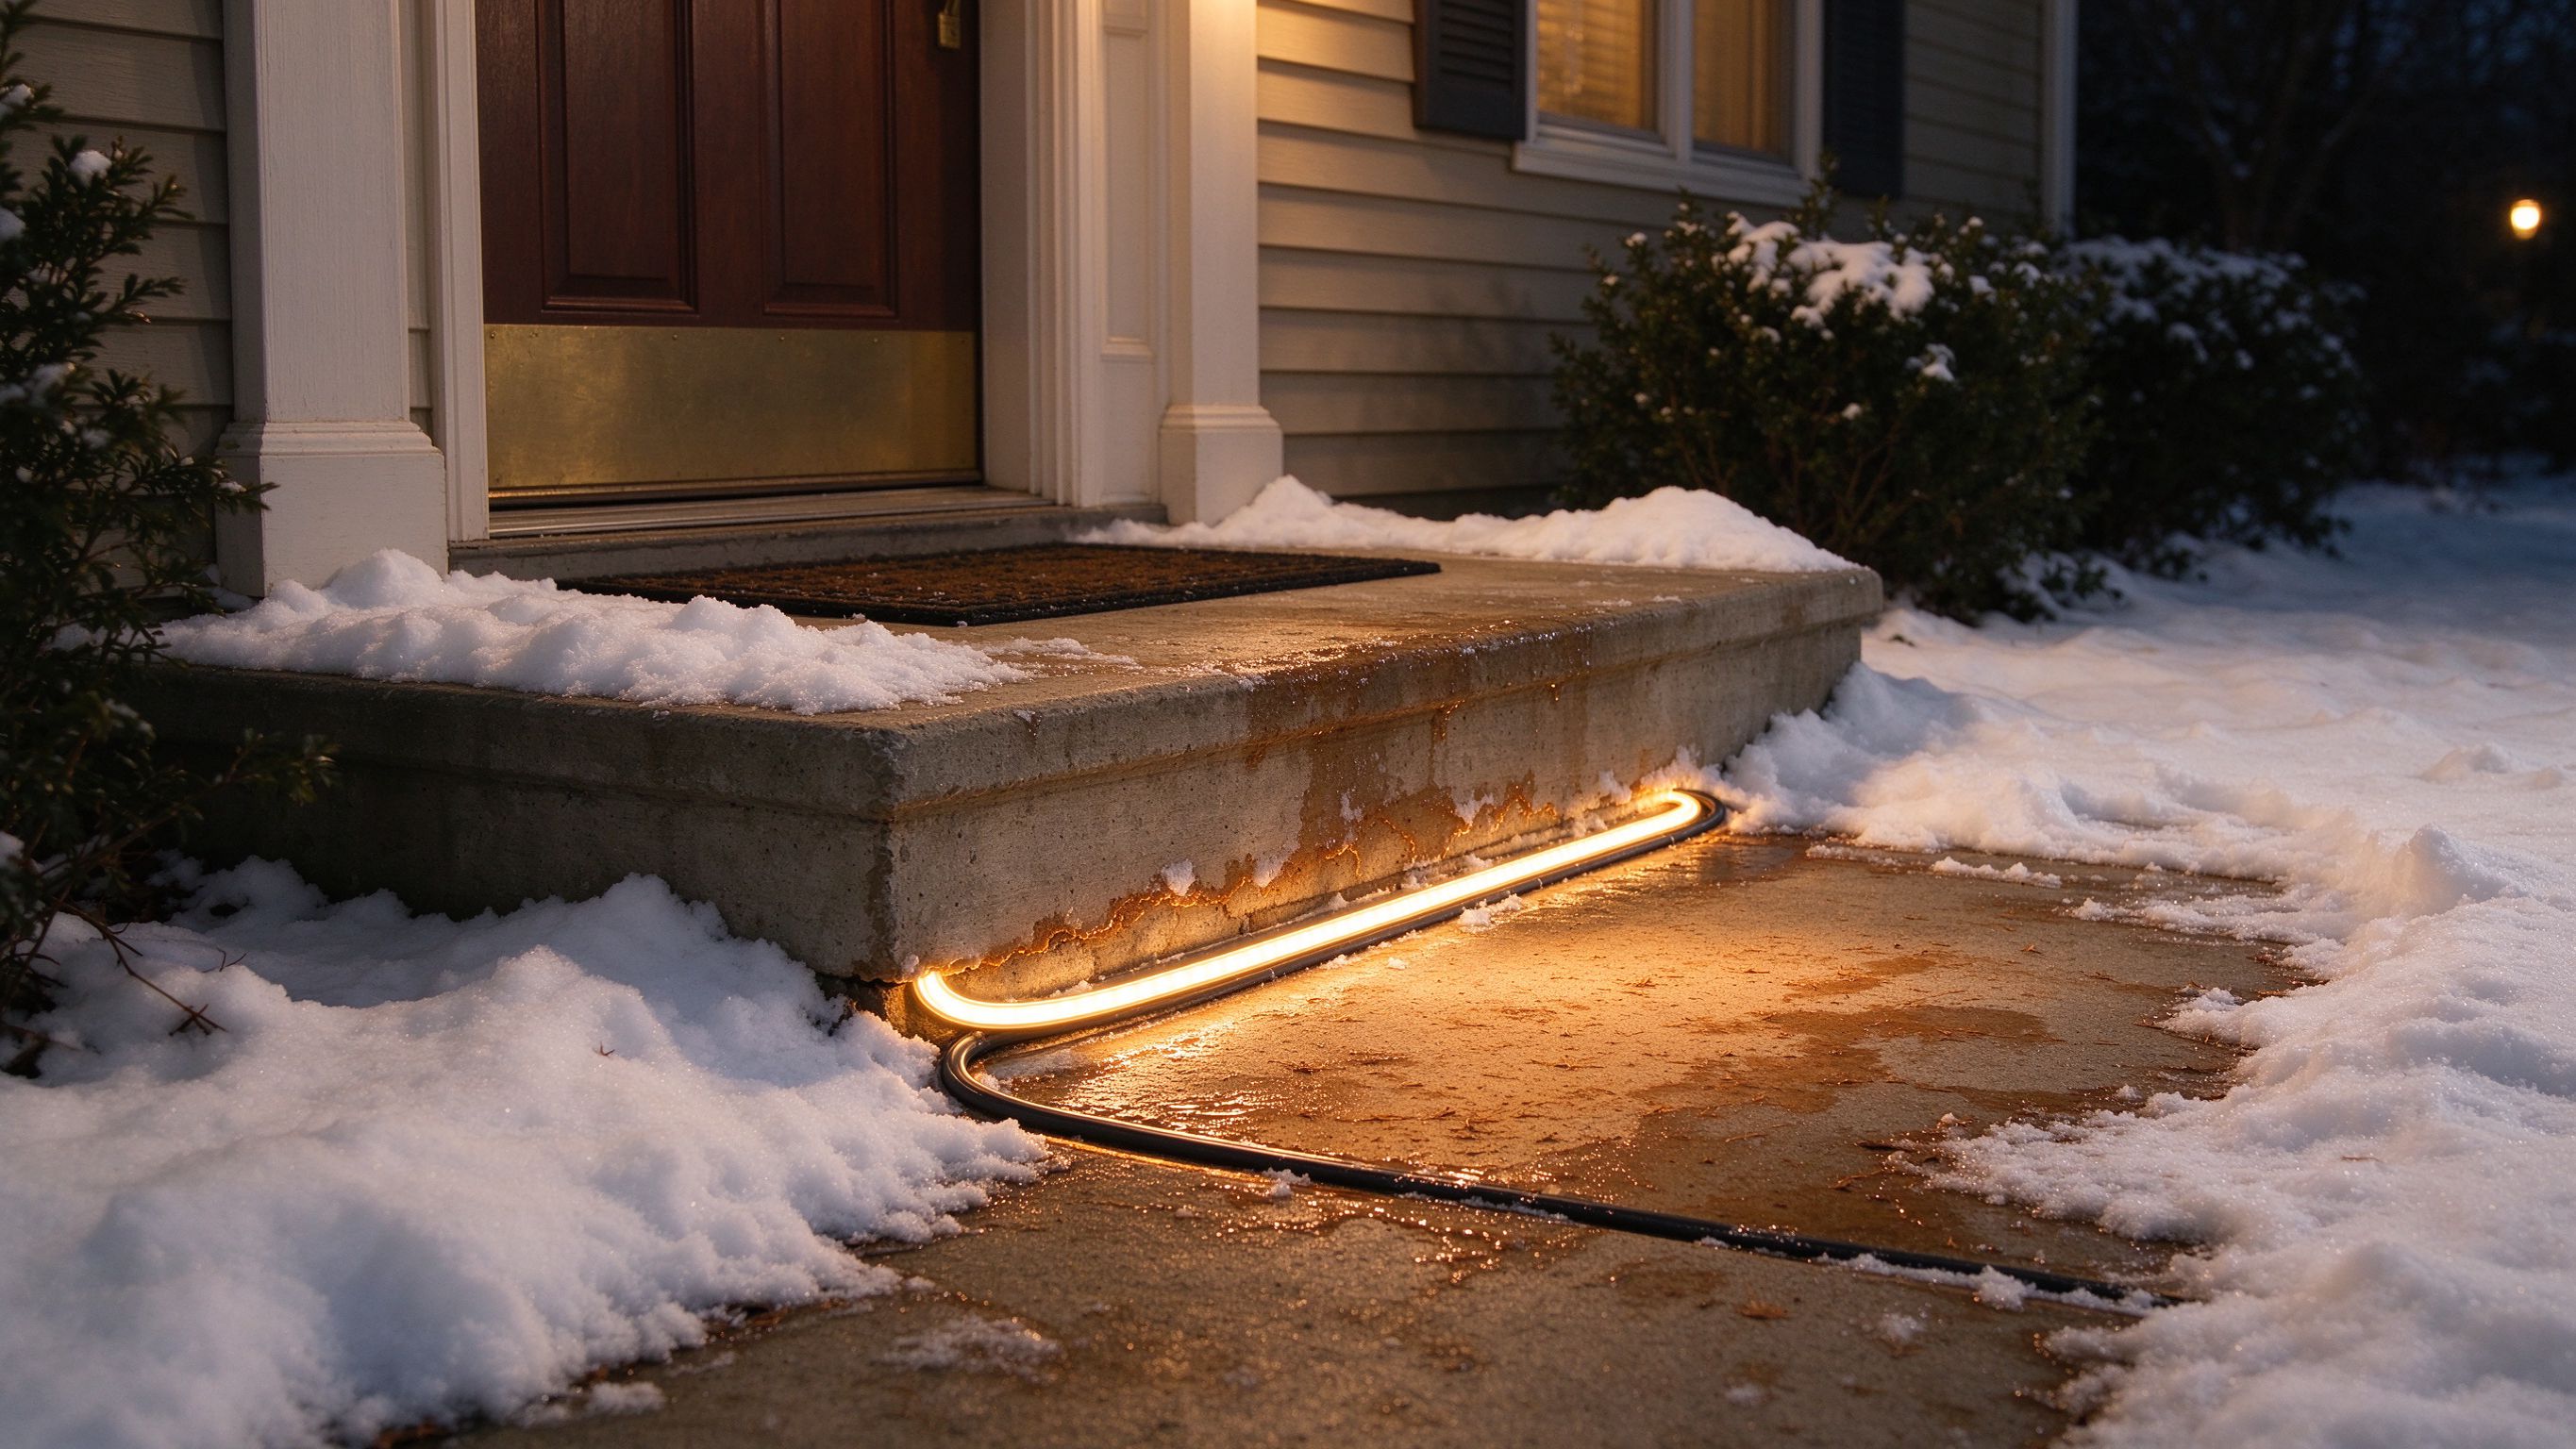
- Protect the cold leads — route them through conduit to a junction box; buried splices are a warranty risk.
- Sensor placement — the snow sensor must sit on the surface, not in the slab; an ambient thermostat alone over-heats the driveway in mild weather.
- Use a qualified electrician for the circuit — the heating circuit needs correct overcurrent protection and, in most codes, GFCI/ELCB protection and a dedicated circuit.
- Document the layout — photograph and mark the cable runs before the pour; this makes future repair and expansion trivial.
If your supplier can also ship the cable with pre-fitted cold leads, clips and fixing strips as a kit, installation time drops sharply. Ask for that in your RFQ.
Data & Evidence: What the Factory Guarantees
Outdoor cable lives in the harshest environment of any heating product: UV, ice, thaw cycles, and mechanical loading from the slab. Our factory validates outdoor constructions accordingly (per SunAura factory records):
- Weather-resistant jackets — outdoor constructions use jackets and cold-end assemblies rated for exposure and mechanical abuse.
- Dielectric testing — every reel is high-voltage tested before shipment, and again after cold-end termination.
- Resistance verification — constant wattage reels are matched to design resistance so the installed wattage matches the heat-loss calculation.
- Batch traceability — every order carries batch records that tie the reels to their test data, consistent with our factory testing and quality control process.
- Compliance — production runs under ISO 9001, ISO 14001 and ISO 45001 management systems; products are CE marked and assessed for RoHS, LVD and EMC where applicable. We provide certificate copies and batch reports with every shipment.
We do not publish certificate numbers here. Verify the documents on your specific order.
Procurement Checklist: What to Send a Supplier
To get an accurate quotation for a snow melting driveway heating cable system, send your supplier these points:
- Driveway area and geometry — length, width, slope, any curves or islands; a sketch helps enormously.
- Surface and pour method — new concrete, bonded overlay on existing slab, or asphalt (asphalt requires different installation rules and lower wattage).
- Local snow load and climate — average snowfall and design winter temperature.
- Voltage — 120V, 230V or 240V mains, and the number of circuits available.
- Desired wattage density — 250–350 W/m² typical; ask the factory to confirm for your climate.
- Control preference — manual thermostat, ambient thermostat, or automatic snow-and-ice sensor kit.
- Accessories — cold leads, fixing strips, conduit, junction boxes, OEM labels for your brand.
- Certification and lead time — CE/RoHS documents, MOQ, sample availability, and the delivery window before your pour date.
SunAura Thermal exports heating cable to more than 50 countries, including cold-climate markets in Scandinavia and North America, and our engineers will confirm the wattage and layout before production. For bulk projects we are a direct snow melting cable supplier with factory pricing.
Installation Sequence: From Formwork to First Snowfall
For a project engineer or a homeowner hiring a contractor, a clear installation sequence is the best protection against expensive mistakes. The standard procedure for a snow melting driveway heating cable system runs like this:
- Prepare the sub-base. Compact the base, lay the insulation board where the design calls for it, and place the steel reinforcement (rebar or mesh) at the correct height above the insulation. The cable will be fixed to this mesh, so its position in the slab is set by the mesh, not by guesswork.
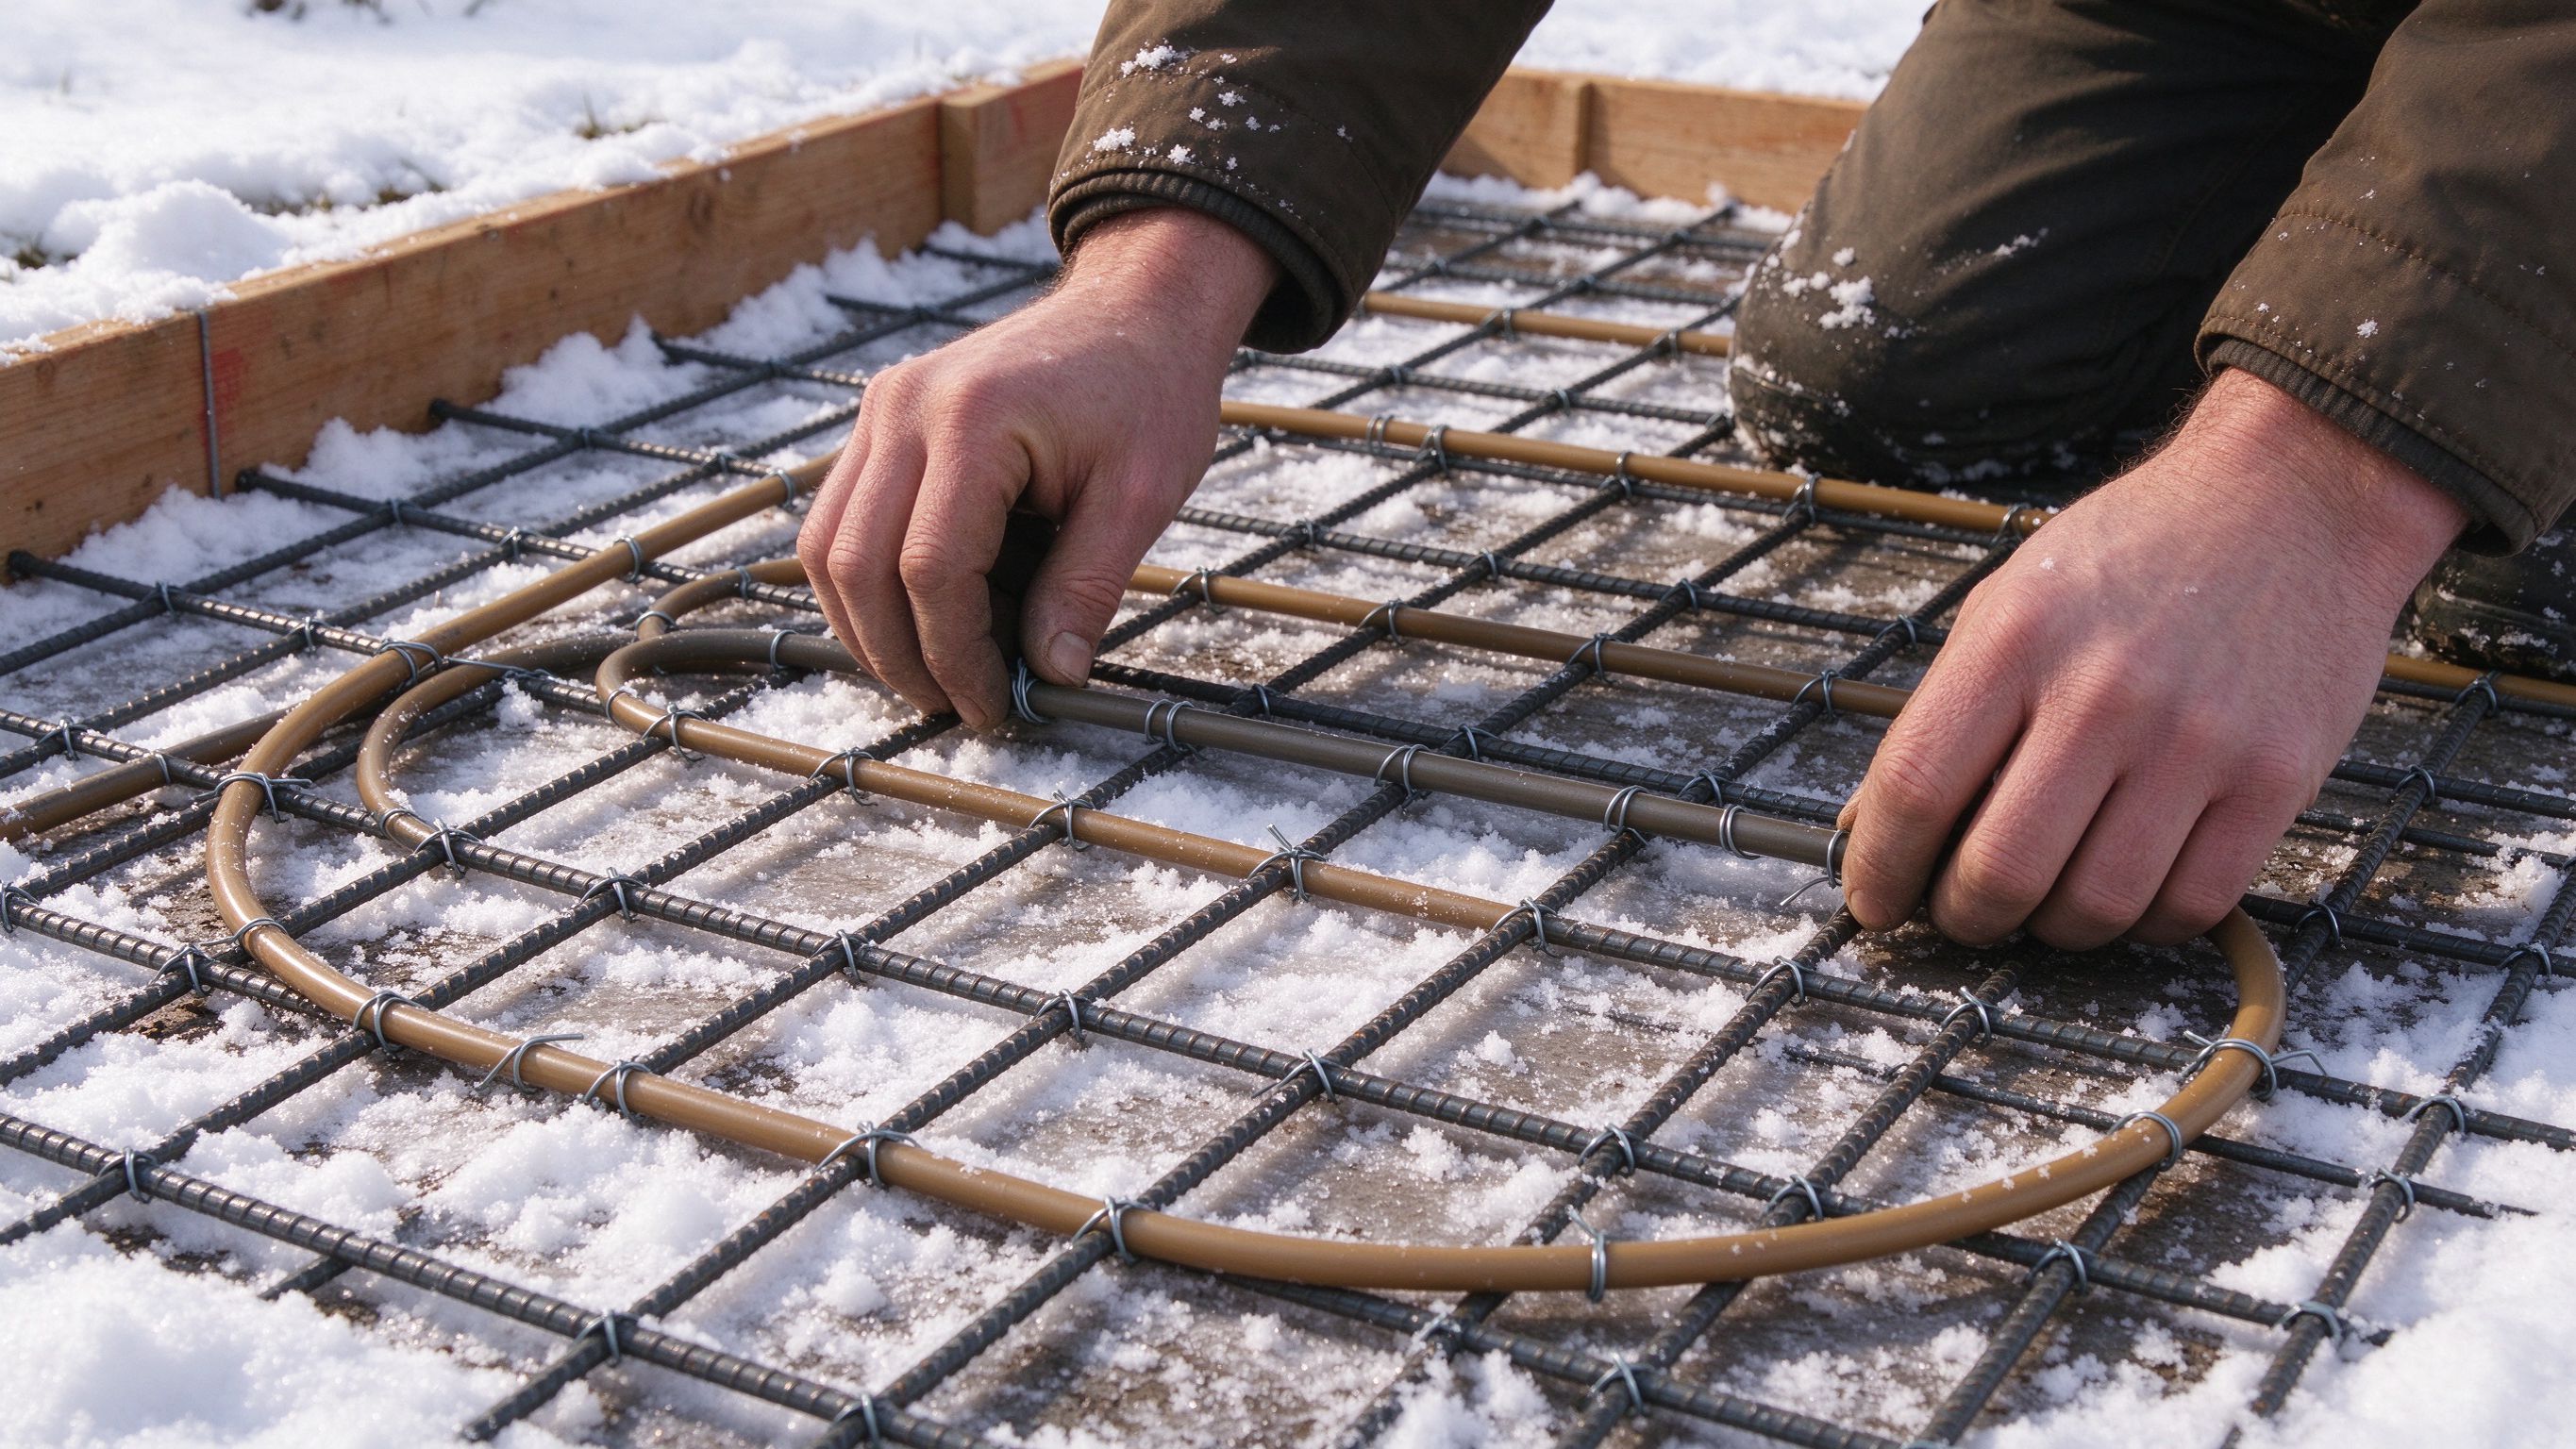
- Fix the cable in the serpentine pattern. Uncoil carefully to avoid kinks, and fix the cable to the mesh with plastic wire ties or metal clips at the design spacing (typically 100–150 mm). Do not cross the cable over itself; keep the loops even and record the layout with photos and measurements.
- Route and protect the cold leads. Bring the cold leads up through the slab edge in conduit to a weatherproof junction box. The junction box must remain accessible after the pour — never bury a splice.
- Fit the control and sensor. Install the thermostat or snow sensor, the contactor if the load exceeds the controller rating, and the GFCI/ELCB and overcurrent protection on a dedicated circuit. Confirm the sensor location per the manufacturer’s instructions.
- Electrical tests before the pour. Measure insulation resistance and continuity of every loop, and record the readings. This is the last chance to find a damaged cable at the cost of a repair instead of a re-pour.
- Pour and cure. Pour the concrete (or bonded overlay) to the design thickness, keeping the cable loops in place. Follow the concrete curing time before first energising the system.
- Commission. Energise the circuit, verify the surface warms evenly with a thermal camera or thermometer, and hand over the layout record and test report to the owner.
Most warranty failures in outdoor heating are installation failures, not product failures — wrong sensor placement, buried splices, or cables damaged during the pour. A disciplined sequence, documented at each step, turns a “heating product purchase” into a reliable, warrantied system.
Distributors should note that the same seven steps apply whether the buyer installs in-house or uses a contractor; supplying the kit with clips, conduit glands, sensor and a printed installation drawing raises the success rate — and protects your brand.
FAQ
Does driveway heating run all winter? No — with a snow-and-ice sensor it runs only when snow or ice is actually present, which keeps energy use low.
Can I retrofit a driveway without breaking it up? Yes, with a bonded concrete overlay (typically 40–50 mm), as in the case study above. Asphalt overlays need care with temperature limits.
Is it safe to walk on a heated driveway? Yes — the surface is held just above freezing, not hot. The system melts snow, not shoes.
What if a cable fails after the pour? With correct layout documentation and factory batch traceability, a failed section can be located and either repaired at a junction or, in the worst case, isolated; good suppliers support this with clear warranty terms. This is why documented layouts and certified cable matter.
How much does a driveway heating system cost to run? With a snow-and-ice sensor, the system operates only when snow or ice is present — typically a few hundred hours per winter. At a typical electricity price, a 95 m² driveway at 300 W/m² running 150 hours a year consumes roughly 4,275 kWh, which most owners find is less than the cost of commercial snow removal and well worth the safety benefit.
Is a heating cable driveway safe with salt or de-icing chemicals? Yes — the cable is fully embedded in concrete and its jacket is rated for the burial environment. That said, once the system works properly you should rarely need salt at all, which also protects the concrete surface and adjacent plantings.
Next Step: Send the Checklist, Get a Factory Quote
A snow melting driveway heating cable system is a mature, proven investment in safety — for the driveway, the steps, and the people who use them. Define your area, pick your control method, and send the eight-point checklist to our export team. We will confirm the wattage, provide the kit list, and quote factory pricing.
Contact us at [email protected] for samples and bulk pricing.
About the author: Ethan Sun, Founder & CEO, SunAura Thermal. SunAura has manufactured electric heating film, mat and cable in Qingdao, China, for 17 years, supplying CE/RoHS-compliant heating products to more than 50 countries.