
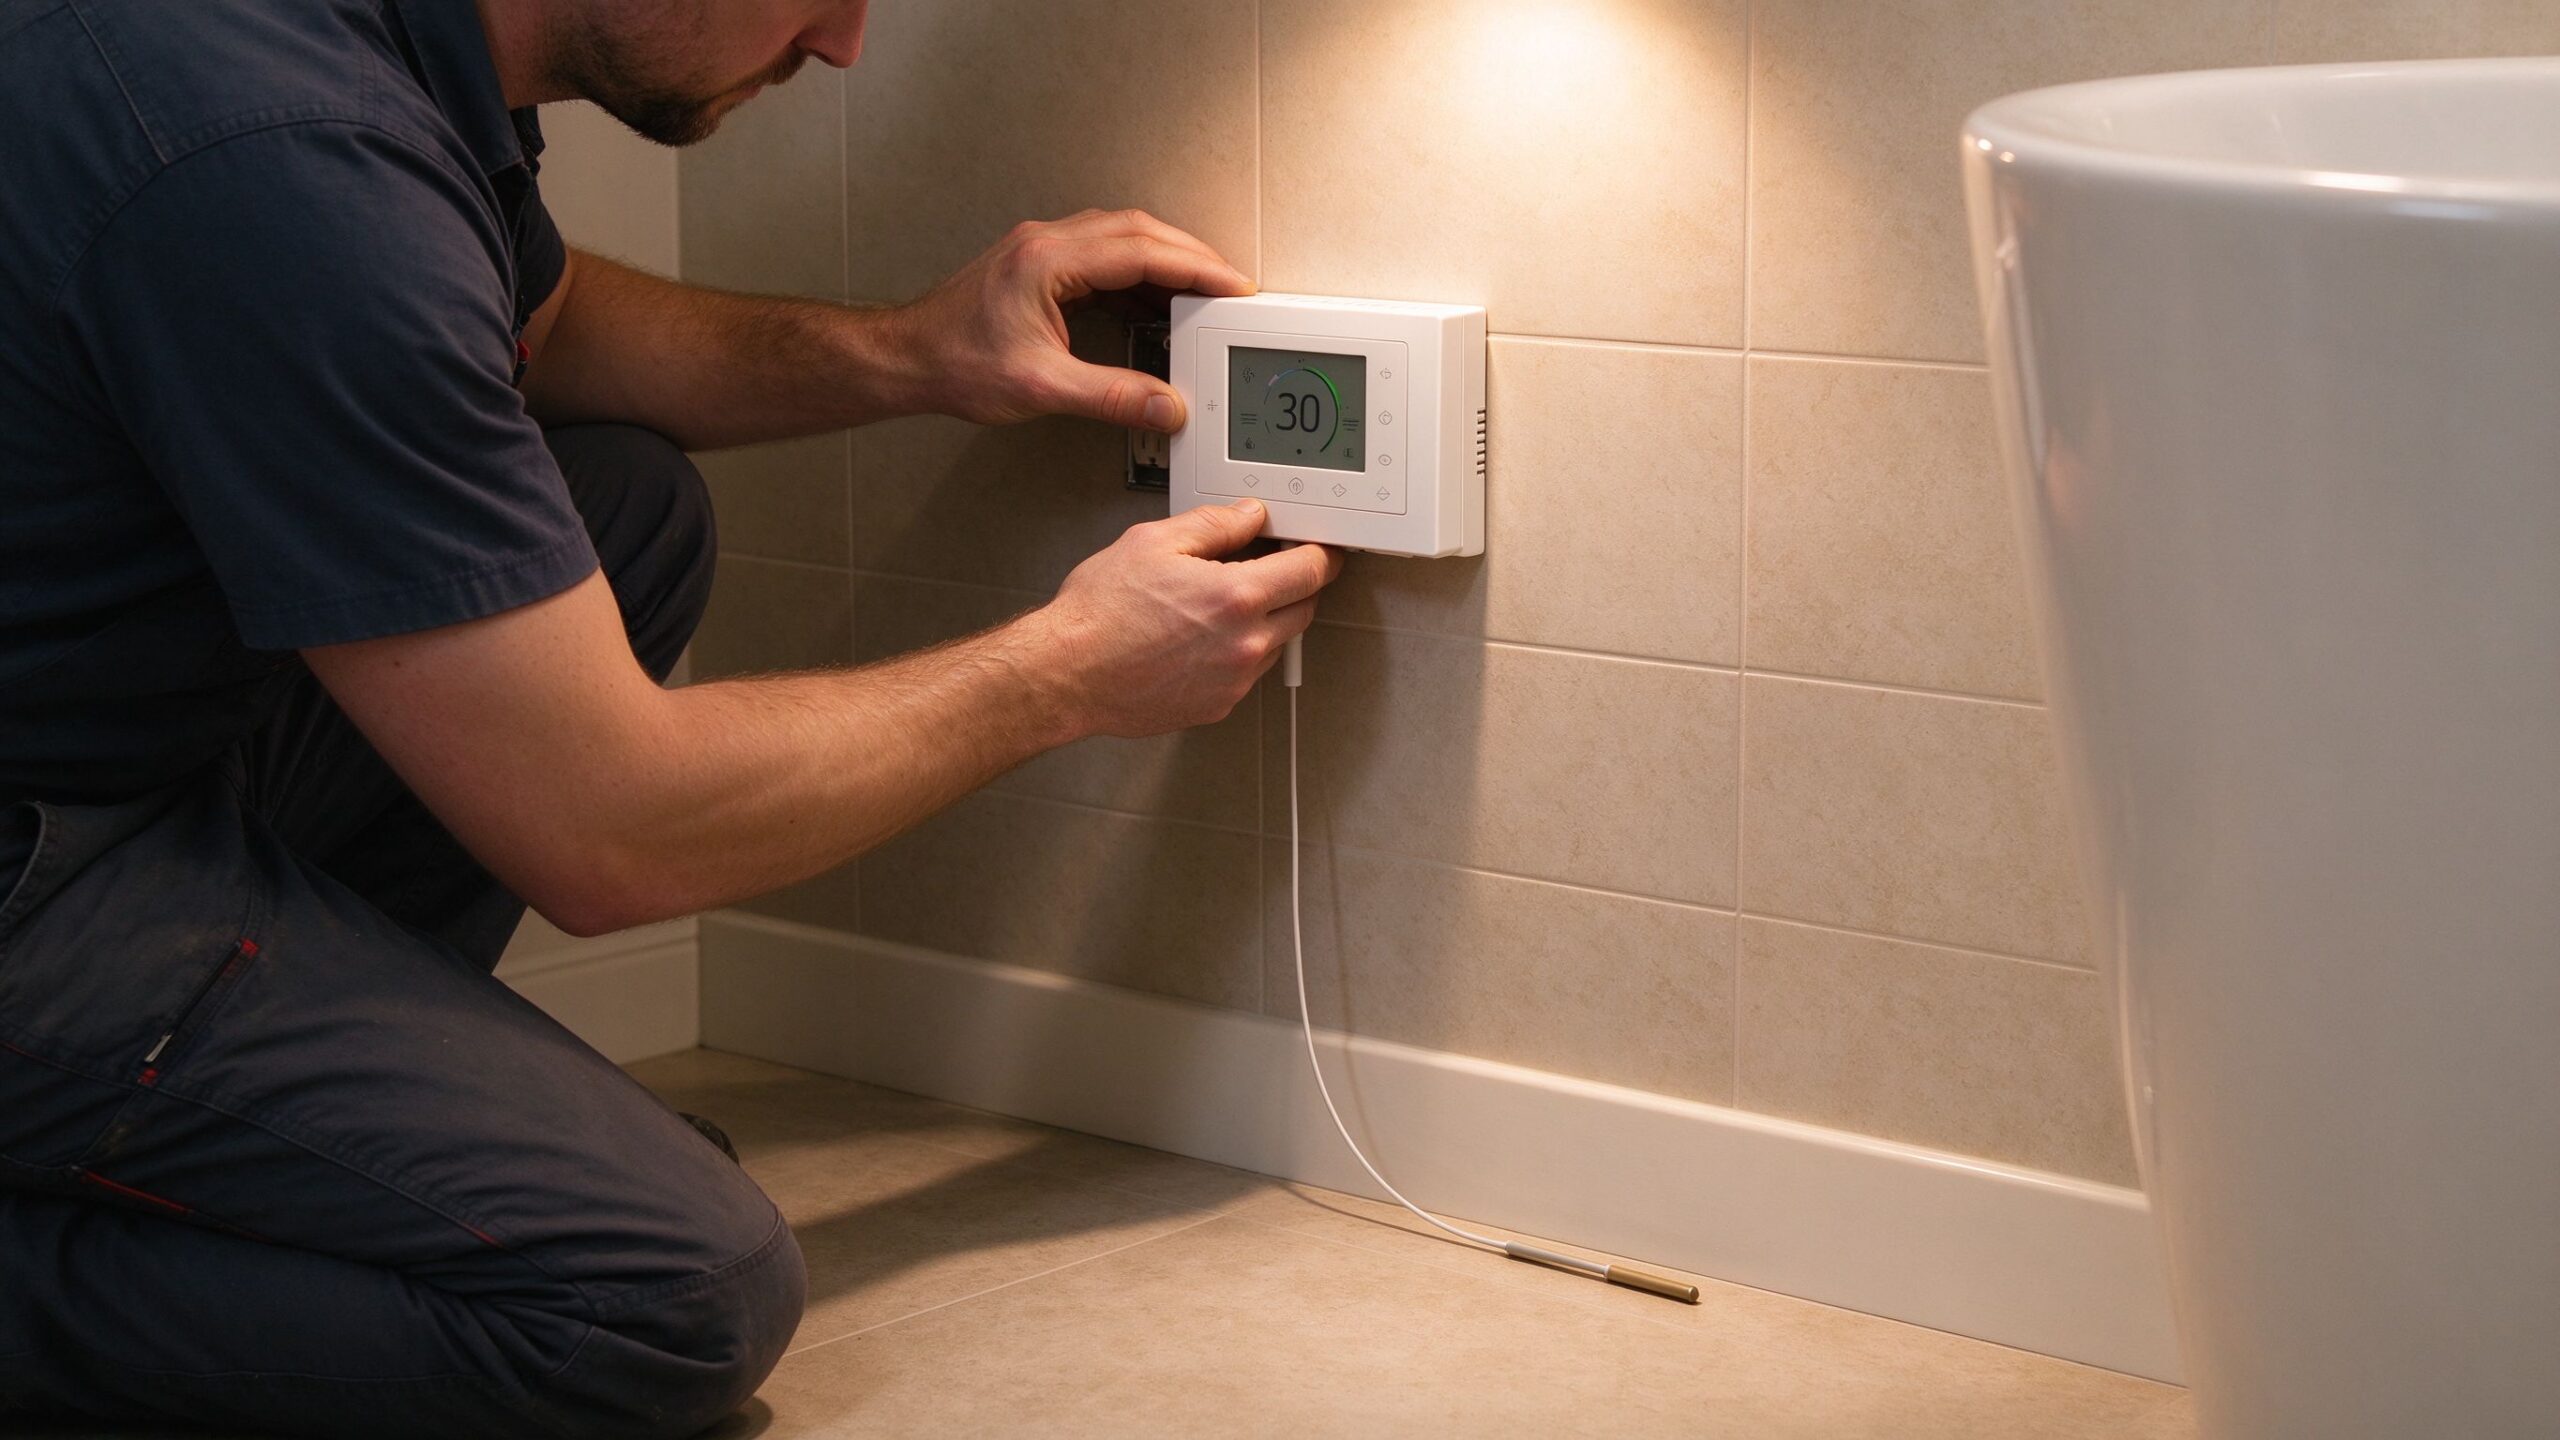
When a heating project comes back with cold floors and high bills, the thermostat is usually the first suspect. In most cases the real fault sits one level deeper: the sensor strategy — whether the controller reads floor temperature, air temperature, or both. For buyers comparing floor sensor thermostat vs air sensor systems, the choice decides not only comfort but also energy waste, and it is one of the least understood decisions in an electric underfloor heating purchase. This guide breaks down how each sensing strategy works, where each one belongs, and how to specify the right controller for your project, with factory-level data from SunAura Thermal.
Why Sensor Position Determines Comfort Before the Thermostat Does
An electric underfloor heating system is only as good as the signal it reacts to. The heating element — film, mat or cable — produces a fixed output per square metre, and the thermostat is the only component that decides how long that output runs. If the controller reads the wrong temperature, it switches off early, leaving tile cold and occupants uncomfortable, or it runs late, turning the floor into a battery that keeps heating after the room is already warm. That is why the sensing strategy is the first specification a buyer should lock down, before quoting wattage, zone layout or cable spacing.
There are two mainstream strategies on the market. The first, and the default for floor heating, is an NTC floor sensor — a small negative temperature coefficient thermistor embedded in the floor or under the tile. The second is an air sensor, which reads room temperature from the thermostat housing itself. Some premium controllers, including the SunAura K-series range, combine both in a dual-sensor mode. Understanding the trade-off between them is the difference between a system that feels “automatic” and one that actually works.
How an NTC Floor Sensor Works
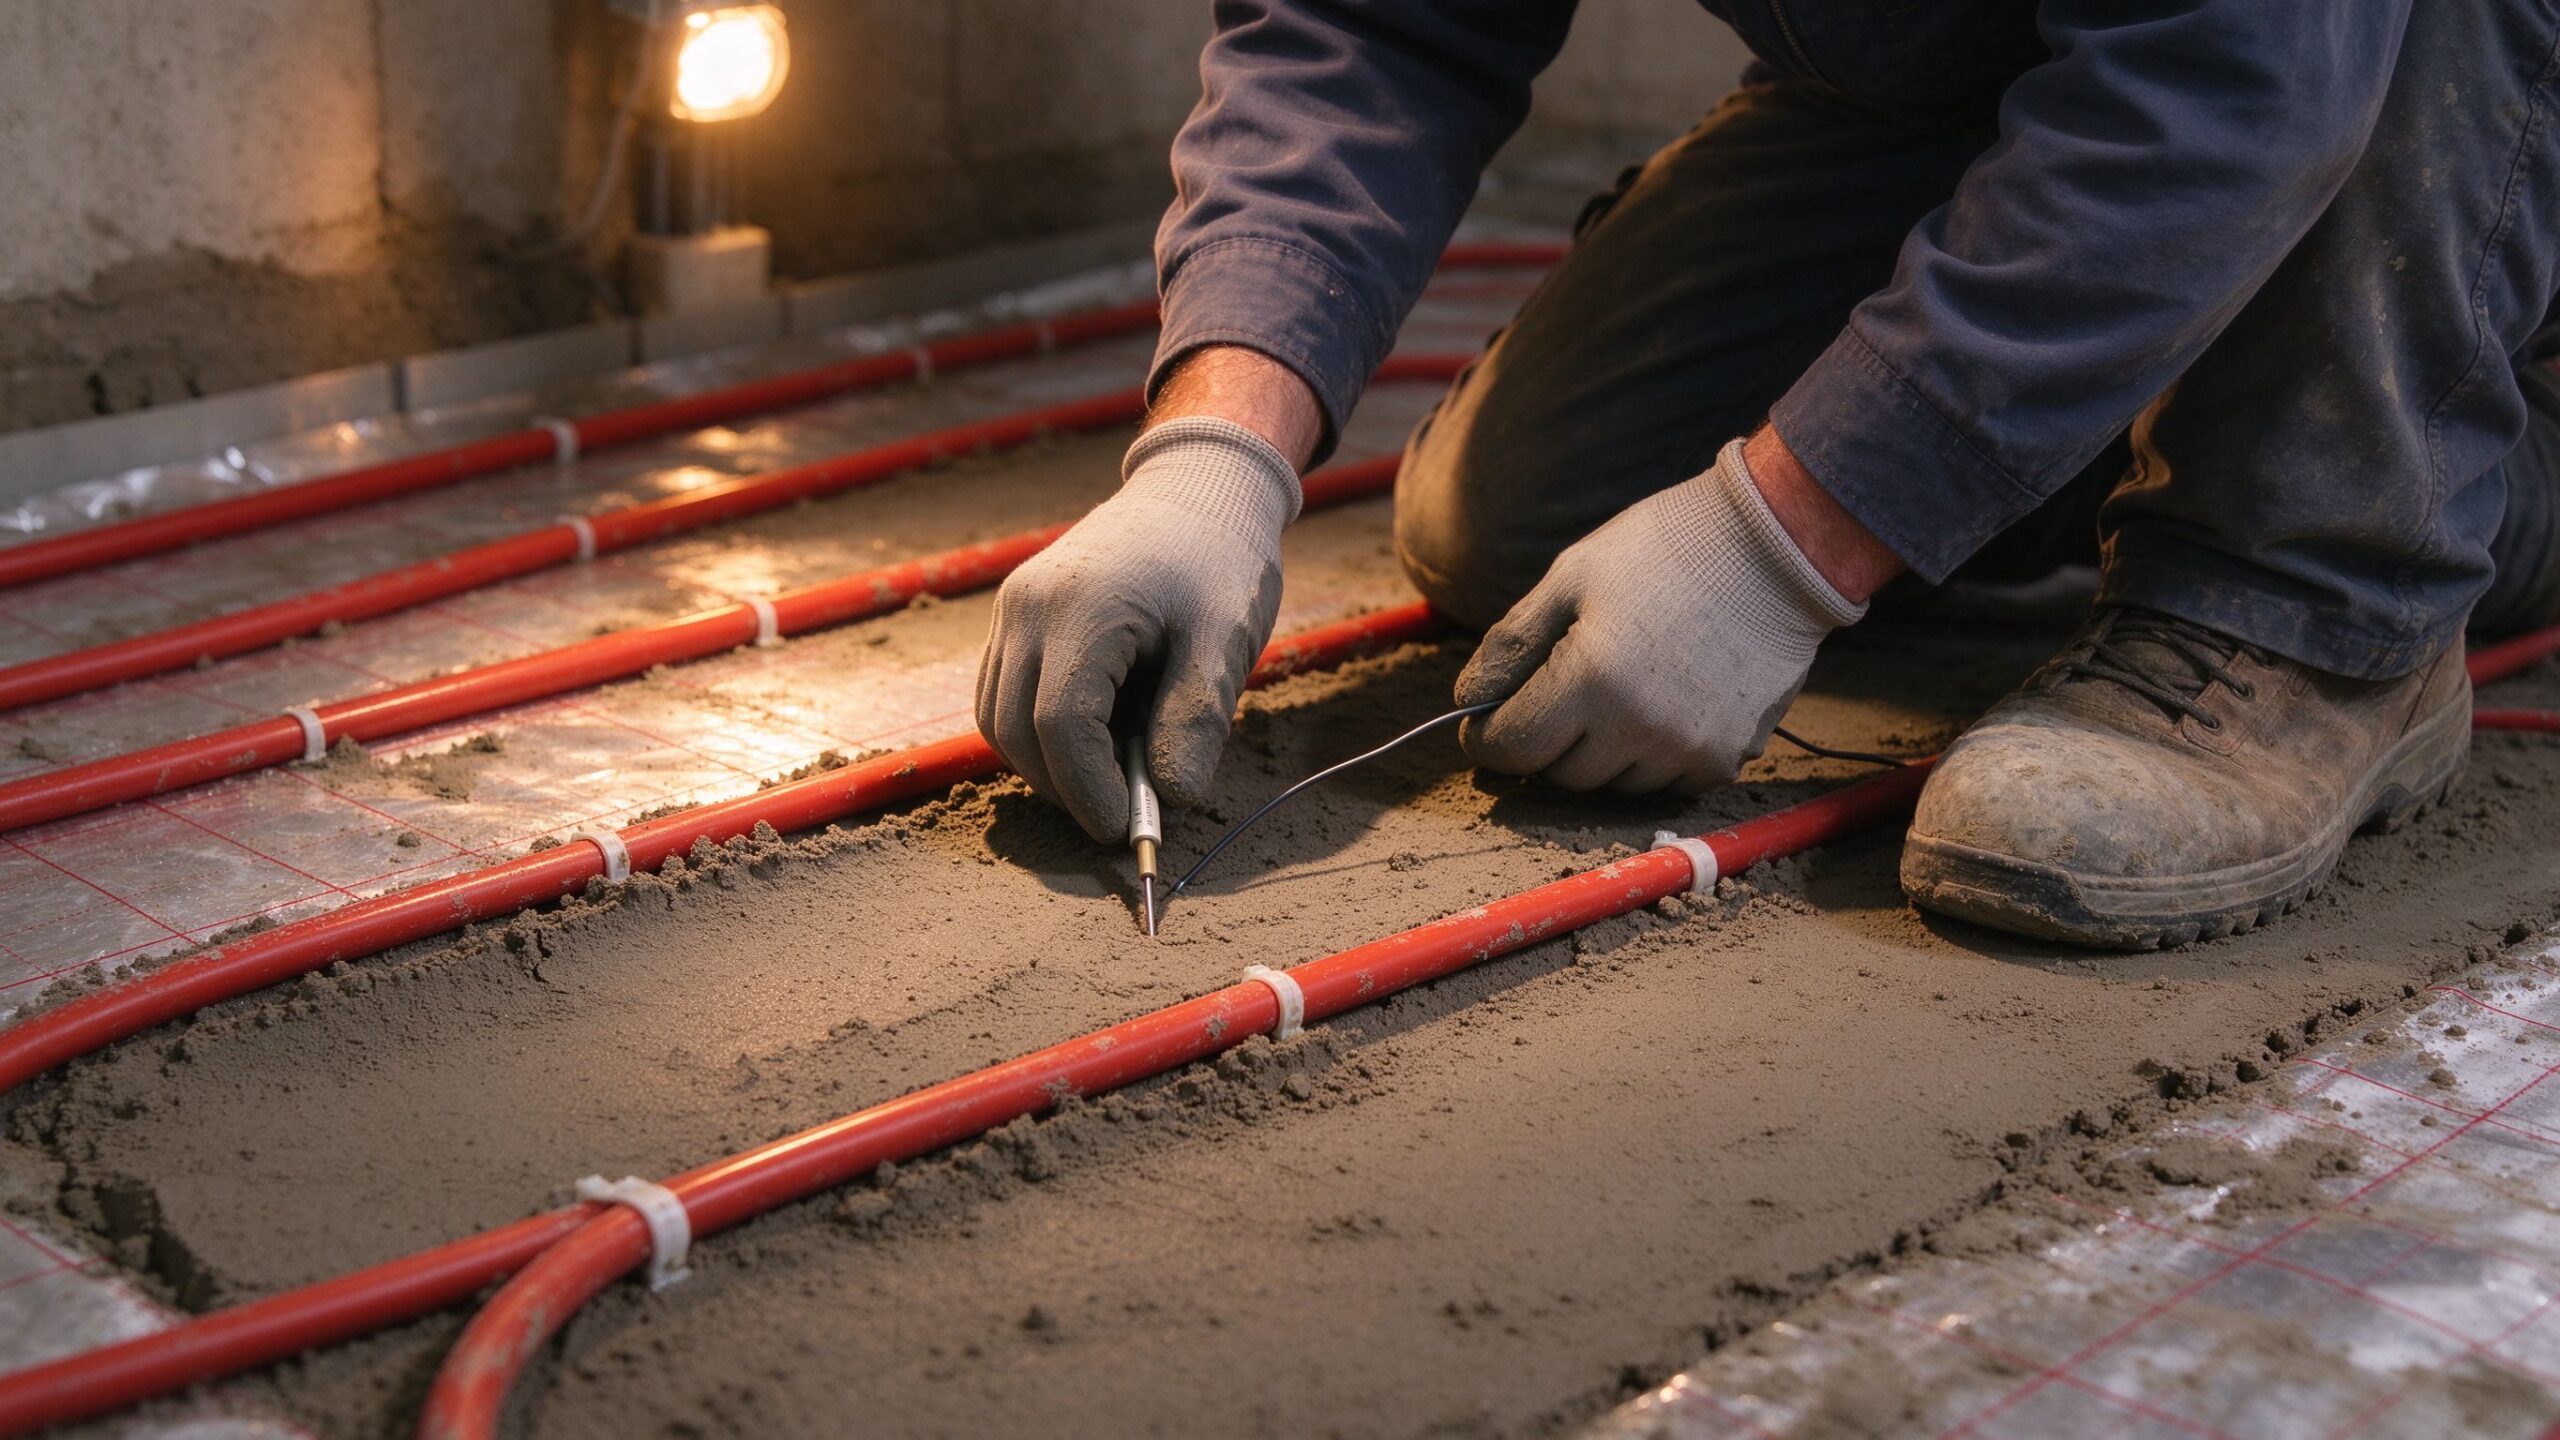
An NTC floor sensor is a thermistor whose electrical resistance drops predictably as temperature rises. The thermostat supplies a small current and converts the resistance reading into a temperature value, typically with an accuracy of about ±0.5°C across the 0–50°C range used in floor heating. The sensor itself is a sealed capsule at the end of a two-core lead, installed either between heating elements during screed work or in a conduit under tiles for retrofit projects.
Because the sensor sits inside the thermal mass, it reacts to the floor surface temperature before the room air has changed at all. This is the correct signal for a system whose job is to keep the floor within a safe and comfortable band. For example, a SunAura twin-conductor cable laid at 150 W/m² in screed heats the slab slowly; the floor sensor lets the thermostat switch off at, say, 28°C floor temperature instead of waiting for air temperature, which would overshoot badly. The same logic applies to heating film under laminate, where the maximum surface temperature matters more than the room temperature.
It is important to distinguish an NTC floor sensor from the floor probe used for calibration in commissioning. The sensor is the permanent input device; calibration adjusts how the controller interprets that input. Both matter, and a poorly positioned sensor cannot be fixed by calibration — it must be relocated. That is why installers place the sensor between two heating runs, never directly over an element, and keep it at least 30 cm from walls and cold edges.
How an Air Sensor Works
An air sensor reads the temperature at the thermostat’s mounting height, normally 1.2–1.5 m above the floor. This is the strategy of a conventional room thermostat, and it is perfectly valid for systems where the heating output changes quickly — radiators, fan coils, forced air. The room air warms, the sensor sees it, and the controller reacts.
For underfloor heating the air-sensor strategy has a fundamental lag problem. The floor element heats the slab first; the slab warms the floor surface; the floor warms the air through convection and radiation; only then does the sensor respond. With a 50 mm screed installation the delay between element switching off and the sensor registering the change can be 20–40 minutes, which makes air-only control unstable. The controller cycles on and off in a slow oscillation, the floor temperature drifts, and occupants perceive the room as alternately warm and cold even when the average temperature is correct.
Where air sensing is useful is as a secondary input. Many installers want a maximum room temperature limit, or a “holiday” mode that ignores floor temperature. In those cases an air sensor combined with a floor sensor gives the controller both signals: floor sensor for the main heating loop, air sensor for comfort limits. This dual-sensor mode is standard on the SunAura K2M and K9 WiFi controllers, and it is the configuration we recommend for living areas with timber or laminate finishes.
Floor Sensor vs Air Sensor: The Side-by-Side Comparison
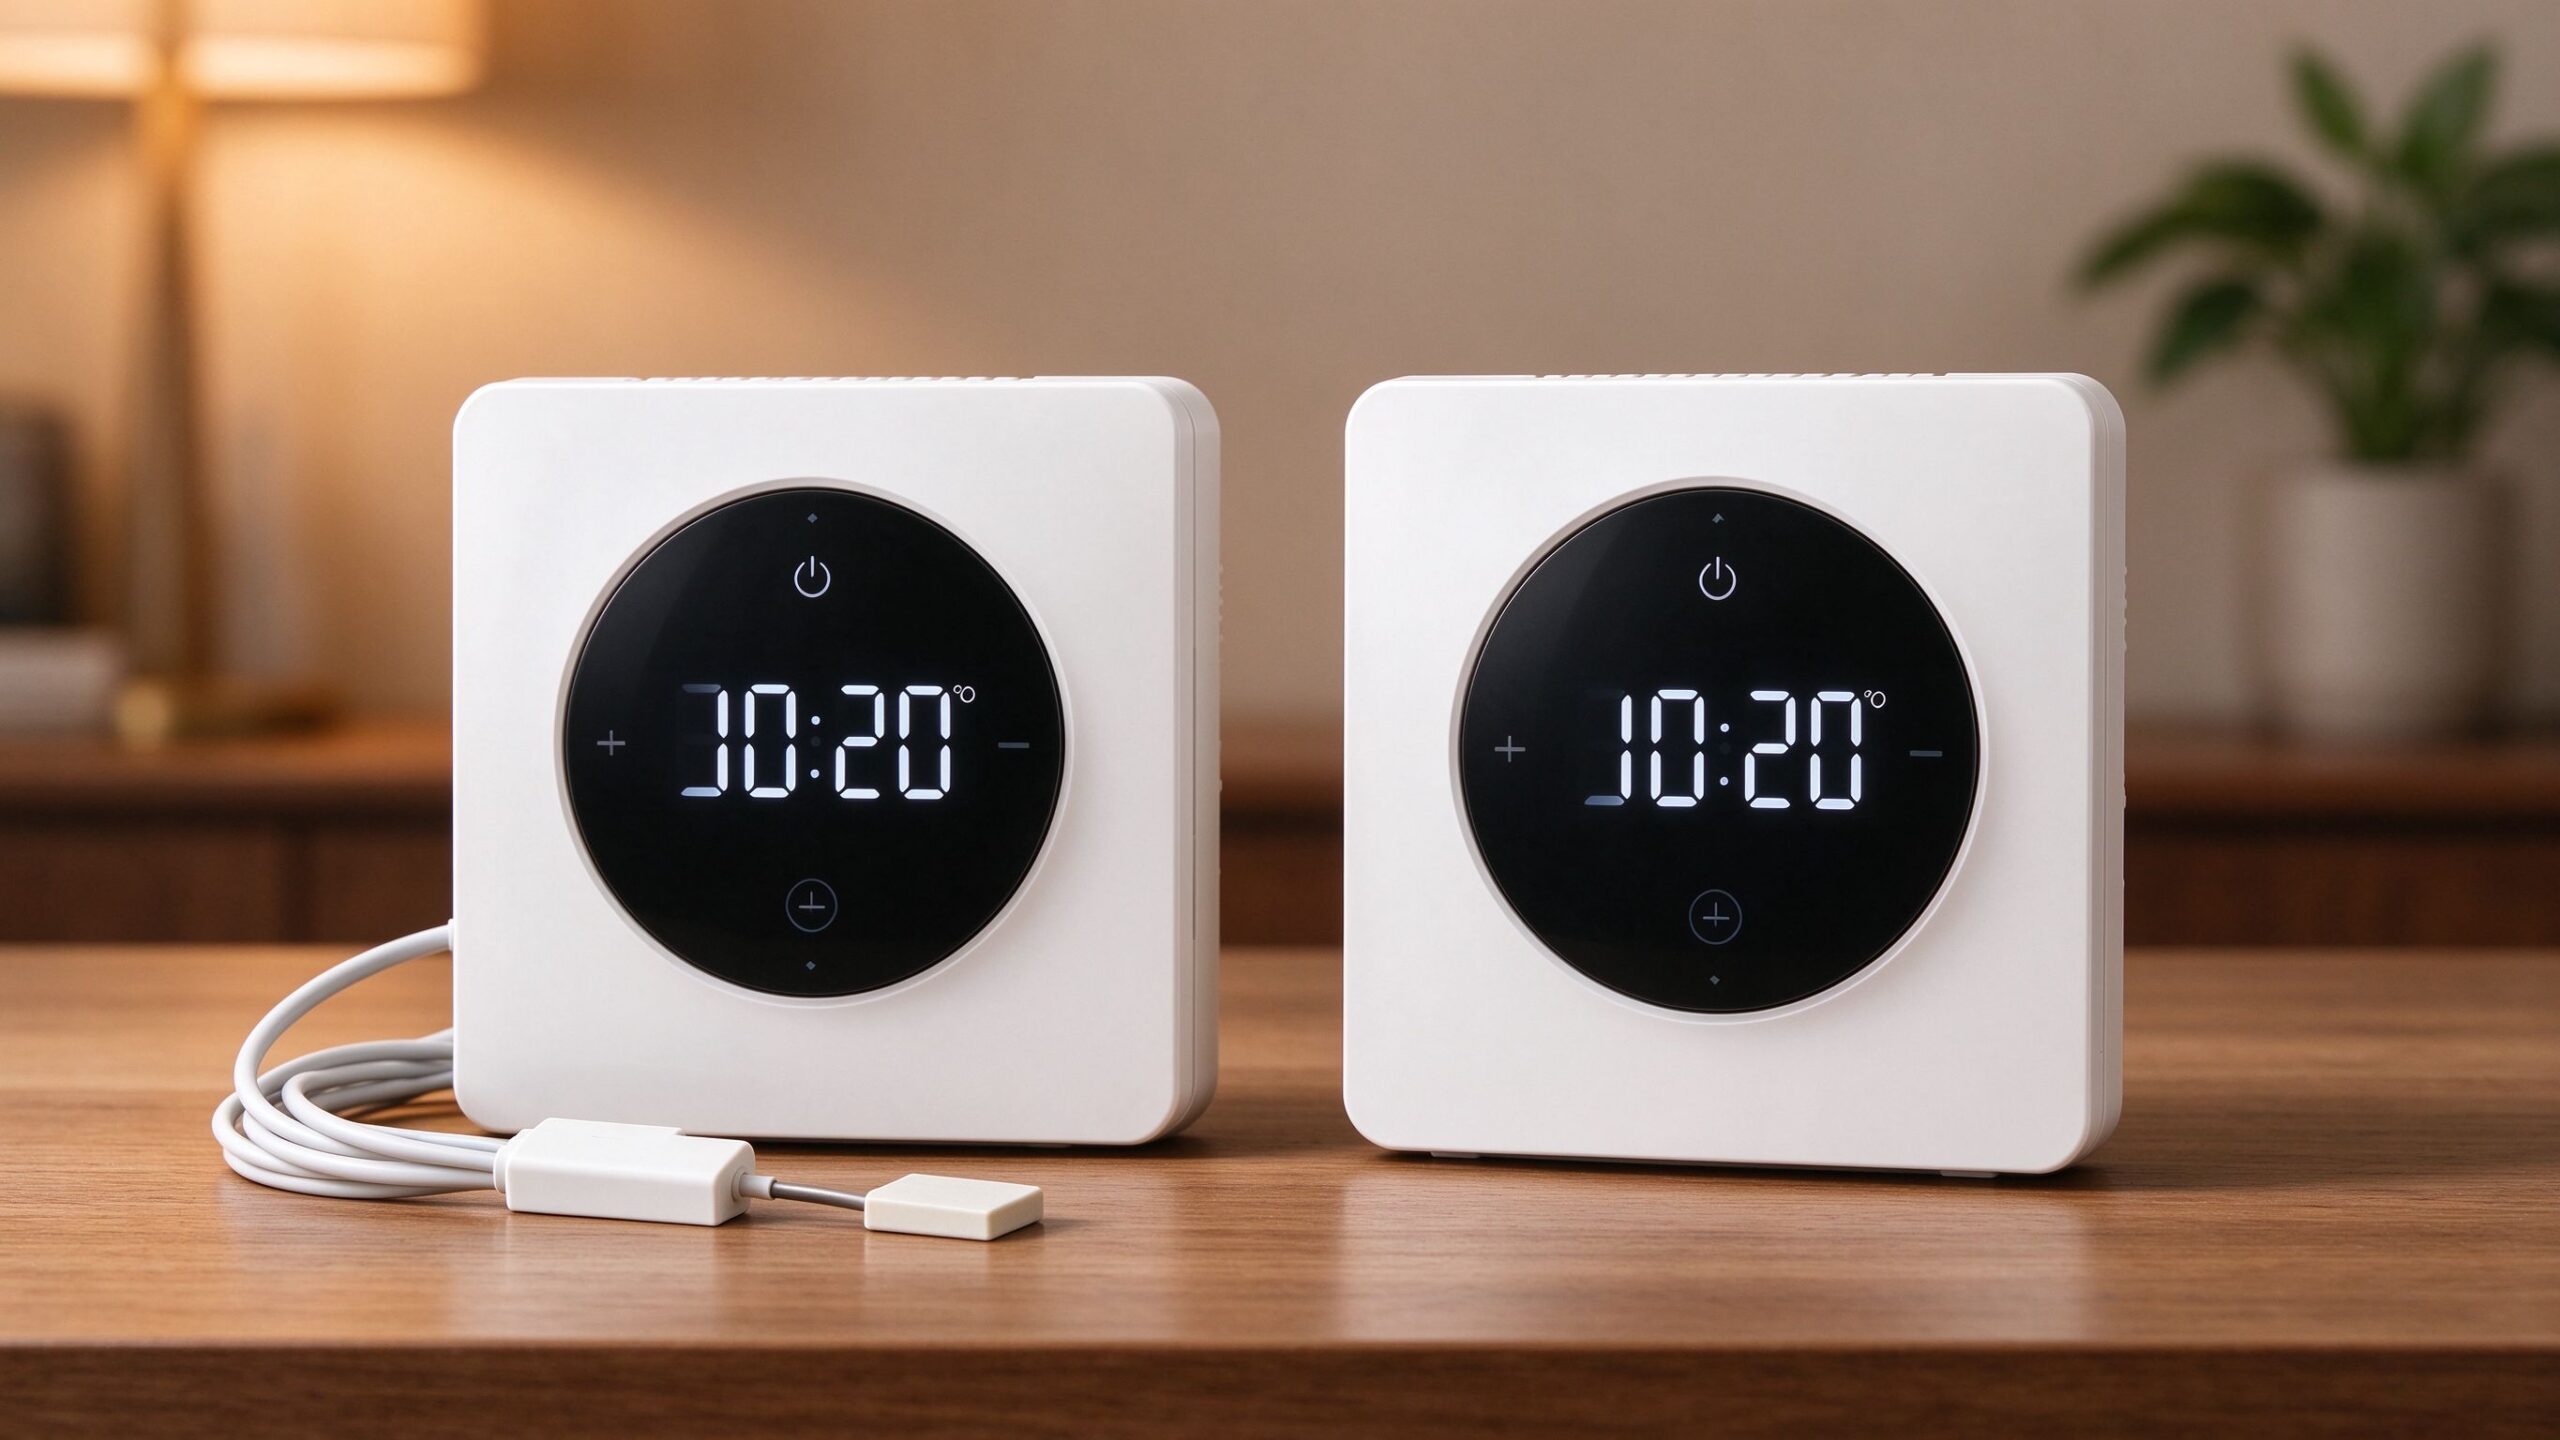
The table below summarises how the two strategies compare across the dimensions a buyer actually evaluates. All figures are based on SunAura Thermal factory test data (per SunAura factory records) unless otherwise stated.
| Dimension | NTC floor sensor | Air sensor |
|---|---|---|
| Reaction target | Floor surface temperature (0–50°C range) | Room air temperature at 1.2–1.5 m |
| Reaction speed | Fast for the element, correct for the slab | Slow for floor systems (20–40 min lag in screed) |
| Best finish types | Tile, stone, screed, wet systems | Any, but weaker with high thermal mass |
| Timber/laminate safety | Directly limits surface temperature, protects floor | Cannot protect the floor; relies on element limits |
| Energy behaviour | Avoids overshoot, lower cycling waste | Tends to overshoot and oscillate with slabs |
| Installation effort | Sensor lead routed to floor, more wiring | No extra wiring |
| Failure mode | Sensor fault = no heating until replaced | Sensor always works, but control is poor for floors |
| Price impact | Adds sensor cost (small) | None |
| Dual-sensor option | Available on SunAura K2M/K9 — floor + air limit | Available on SunAura K2M/K9 |
Which Projects Need Which Sensor — Scenario Recommendations
There is no universally “better” strategy; there is only the right signal for the thermal mass you are controlling. The following scenarios cover the cases we see most often in export orders.
Bathrooms and tile wet rooms: floor sensor, mandatory
Tile has high thermal mass and the floor temperature limit (typically 29–33°C for comfort, lower near sanitary ware) is a safety issue as well as a comfort issue. Specify a floor sensor and, for larger wet rooms, a dual-sensor controller so the air temperature can cap the room. This is the configuration used in our bathroom underfloor heating installations.
Timber, laminate and vinyl: floor sensor with a hard limit
Engineered timber and SPC flooring have maximum surface temperatures published by the floor manufacturer (usually 27–28°C for timber). An air sensor cannot enforce that limit; a floor sensor can. For renovation dry-lay projects under floating floors, a floor sensor in a protective conduit is the correct specification.
Warehouses, halls and high-ceiling spaces: air sensor with floor limit
In tall spaces the air temperature stratifies and the floor sensor alone can let the room drift cold. Use the dual-sensor mode: floor sensor for the heating loop, air sensor as a room cap. This mirrors what we specified for the 8,000 m² distribution centre retrofit.
Small rooms with fast-response mats: either works, floor sensor preferred
Thin heating mats under tile respond faster than screed cables, so the lag penalty of air sensing is smaller. Still, a floor sensor costs little and removes the risk of surface overheating — we recommend it as the default on every zone.
Common Sensor Mistakes Buyers Make
Four mistakes recur across projects, and all of them are avoidable at the specification stage. First, mounting the sensor directly over a heating element — the reading becomes a hotspot and the system switches off early. Second, installing the sensor in the room but outside the heated zone, which reads cold and keeps the heat running. Third, using an air-only thermostat on a screed system and blaming the floor for oscillation. Fourth, skipping the sensor conduit on retrofit projects, which makes sensor replacement impossible without lifting the floor. A 20 mm conduit is cheap insurance; it costs almost nothing at installation and saves a full floor strip later.
Data and Evidence: What the Factory Measurements Show
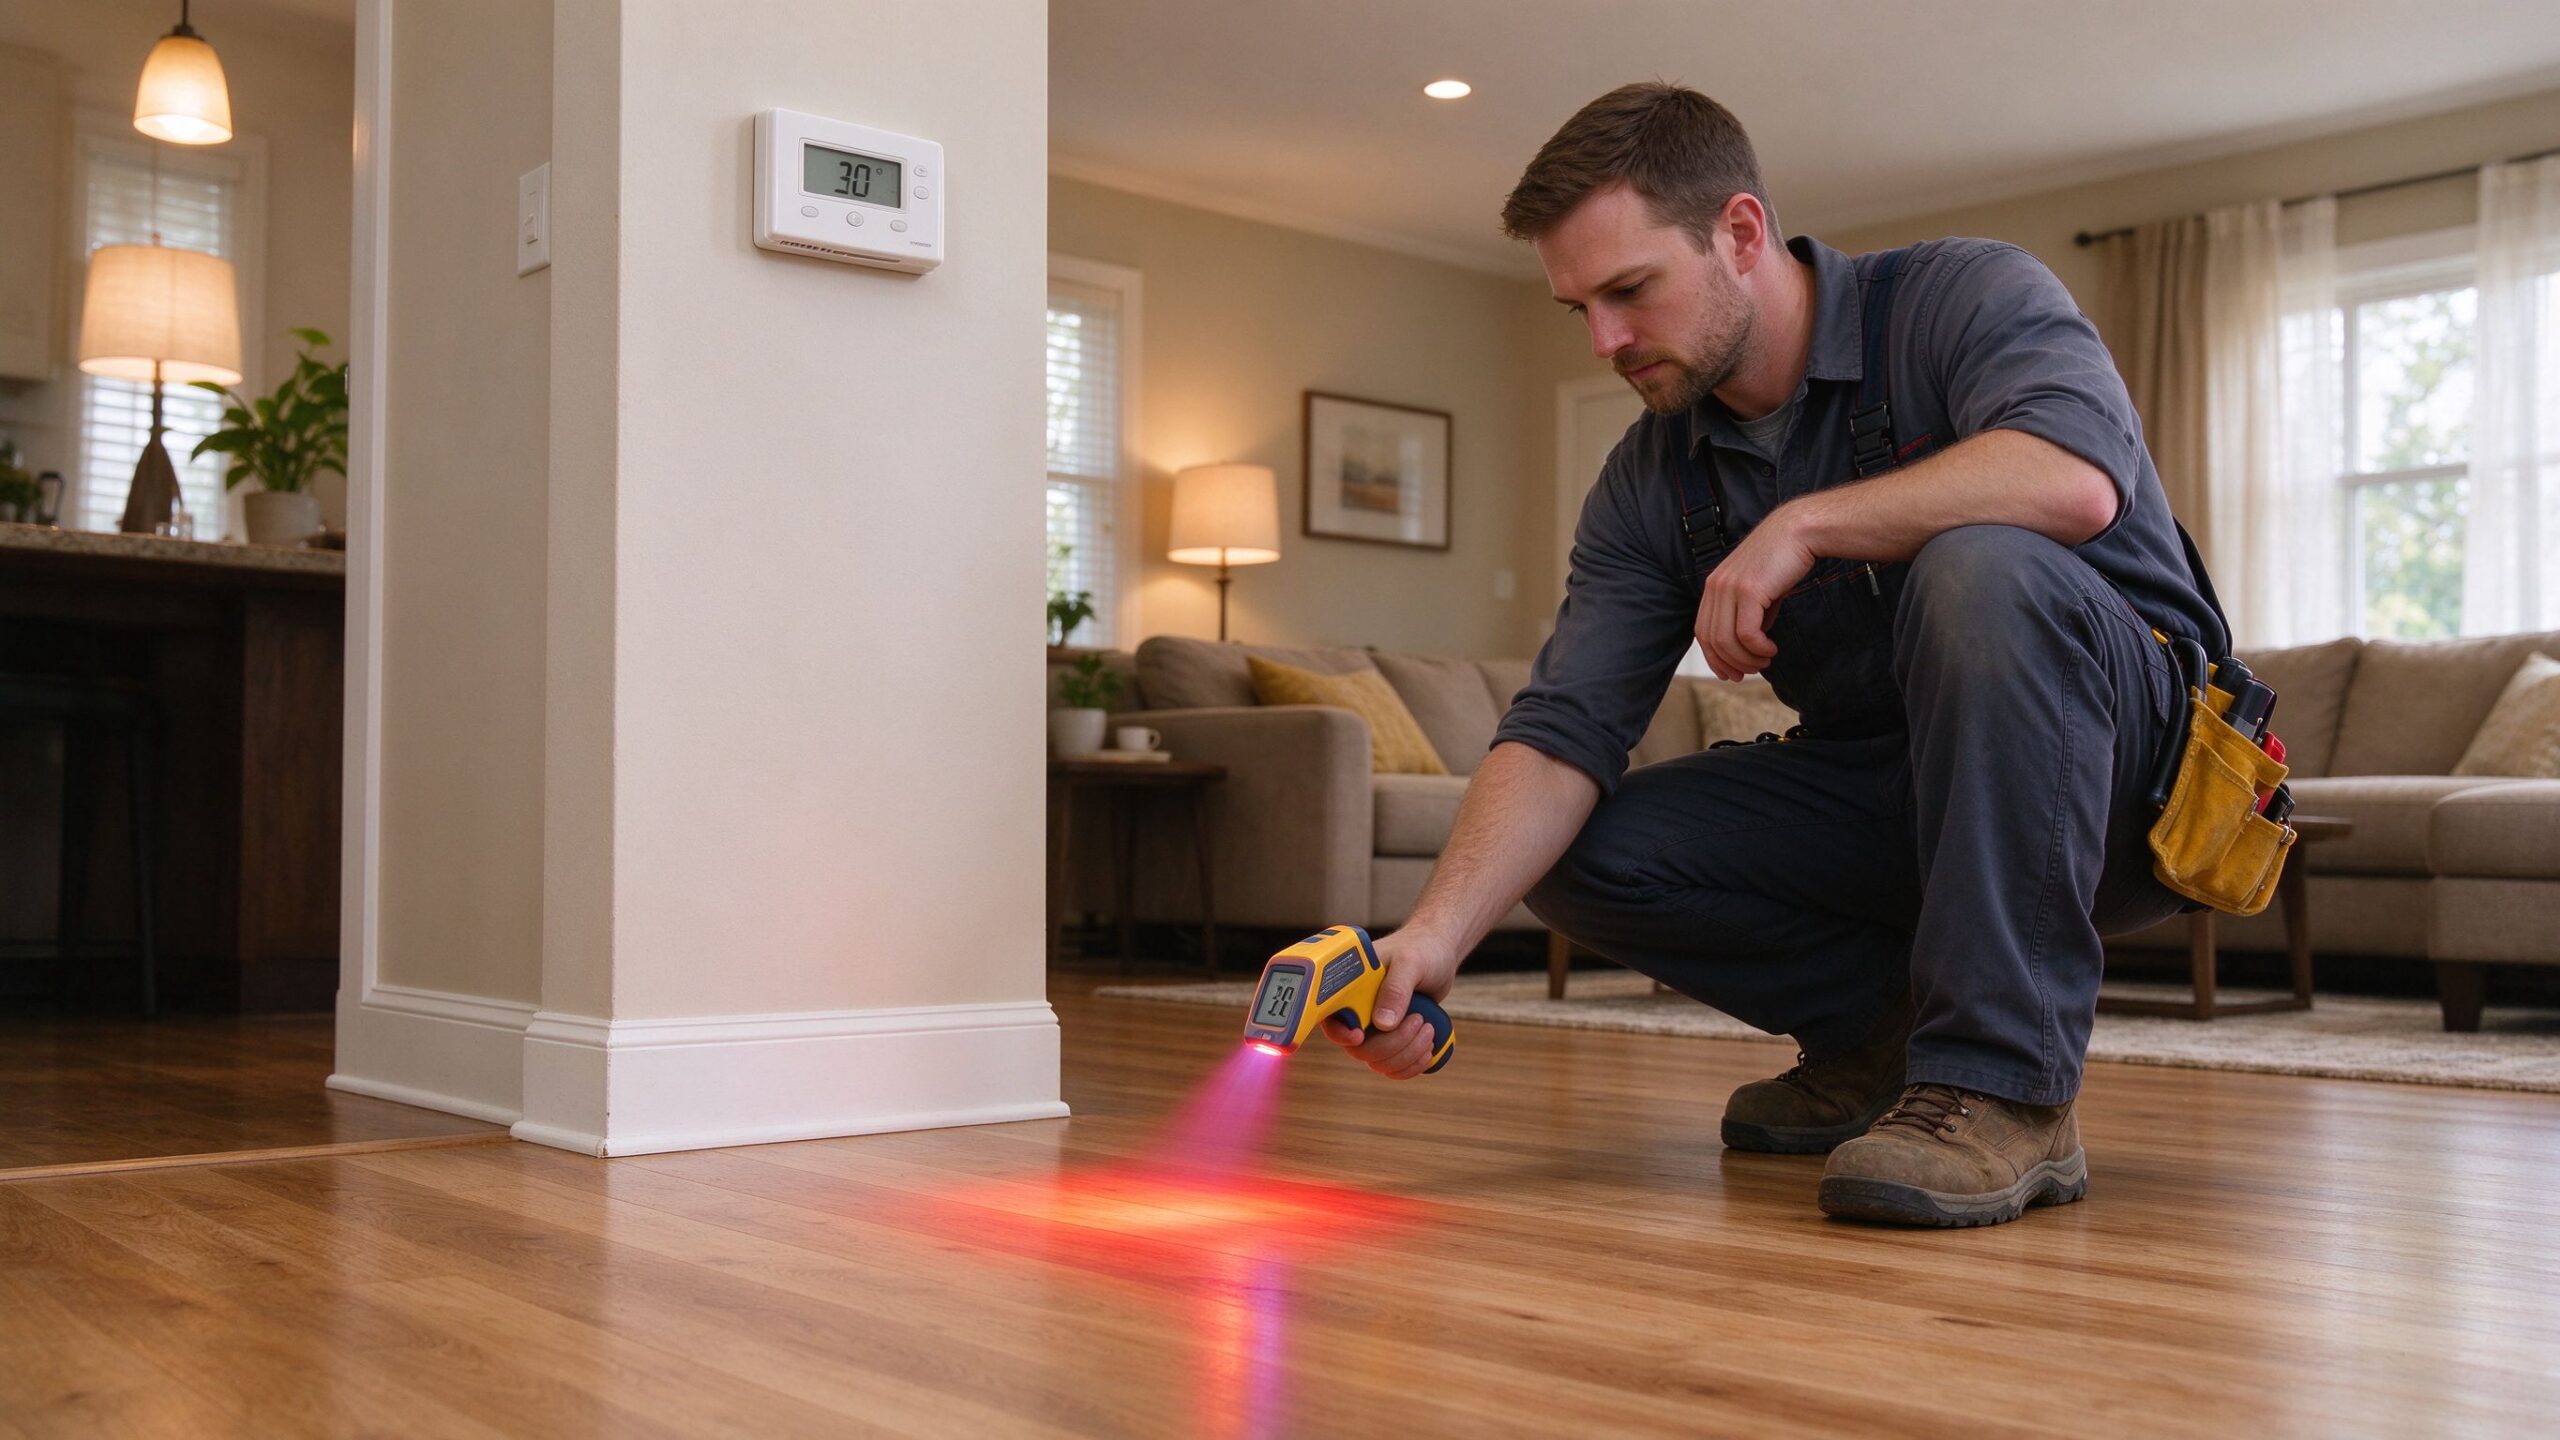
SunAura Thermal has been manufacturing heating elements since 2008, and the sensor question is part of every project file we review (per SunAura factory records). Three observations come up consistently in our test data. First, in screed installations, the floor sensor reduces controller cycling by roughly 30–40% compared with air-only control on the same zone, because the controller stops hunting. Second, surface temperature overshoot above the set floor temperature is typically below 2°C with a floor sensor, against 4–8°C with air-only control on high-mass floors. Third, in dry-lay film installations under floating floors, the element’s own safety cut-out plus a floor sensor keeps surface temperature inside the floor manufacturer’s limit without derating the system.
These are engineering observations, not marketing claims, and they are why we publish the sensor recommendation on every product page rather than leaving the choice to the installer. The factory operates under ISO 9001 quality management, ISO 14001 environmental management and ISO 45001 occupational health and safety, and all thermostats carry CE, RoHS, LVD and EMC compliance. Our Qingdao Huangdao plant has shipped to more than 50 countries.
Buying Checklist: What to Confirm Before You Order
Use the checklist below when comparing quotes from any heating element supplier. It turns the sensor discussion into concrete order requirements, and it is the same list our own distributors send back to us before a production run.
- Sensor input on the controller — confirm the model supports an external NTC floor sensor (check the wiring diagram, not just the datasheet).
- Dual-sensor mode — for rooms with timber, laminate or high ceilings, confirm the controller can run floor sensor + air limit simultaneously.
- Sensor lead length — 3 m covers most zones; longer rooms need an extension or a sensor placed mid-zone.
- Floor build-up in the quote — screed, adhesive or dry-lay changes both the wattage and the sensor placement; a supplier that does not ask about the build-up is quoting blind.
- Certification files — CE, RoHS, LVD and EMC declarations should be included with the shipment, not requested later. SunAura Thermal supplies these documents with every export order (per SunAura factory records).
- Sample before bulk — order one thermostat and sensor with your first element sample, and bench-test the sensor response in the actual floor build-up.
- Packaging and lead time — confirm the sensor and controller are protected against ESD and moisture in transit, and get the lead time in writing.
- After-sales support — ask whether the supplier provides installation drawings and commissioning support for the sensor wiring, and how quickly spare sensors can ship.
These items are not negotiable frills; they are the difference between a thermostat that controls a floor and one that merely switches it on and off.
FAQ
Can I add a floor sensor to an existing thermostat?
Only if the thermostat has a sensor input. SunAura smart thermostats support an external NTC floor sensor; entry-level units may not. Check the wiring diagram before buying.
Is a floor sensor necessary under heating film?
For film under floating floors, a floor sensor is the safest way to respect the floor manufacturer’s surface limit, and we recommend it. For film bonded under tile, it is strongly recommended for the same reason as cable systems.
Does dual-sensor mode cost more?
A small premium for the sensor and a controller with the second input. In our product line the dual-sensor function is included on the K2M and K9 WiFi models, so the cost difference is limited to the sensor lead itself.
How deep should the sensor be installed?
In screed, level with the heating cable between two runs. Under tile, inside the adhesive layer in a conduit, never directly over the element. In dry-lay film, in a cut channel in the insulation layer under the film.
How to Specify Your Thermostat and Sensor Package
When you request a quote, give your supplier the floor build-up, the finish material, the room height and the maximum surface temperature allowed by the floor manufacturer. For a floor heating controller with NTC floor sensor support, review the floor heating thermostat range, and for app-controlled zones the smart thermostat range. For calibration and commissioning checks, see the floor probe calibration guide, and for multi-room layouts the multi-zone vs single-zone selection guide.
SunAura Thermal, a heating element factory in Qingdao since 2008, supplies smart thermostats wholesale and OEM controllers to distributors and heating brands in more than 50 countries. For a quotation with sensor configuration, contact Ethan Sun, Founder & CEO, SunAura Thermal, at [email protected], or use the enquiry form on the product page. Include your floor build-up and finish type, and we will confirm the correct sensor strategy with the factory engineering team.