
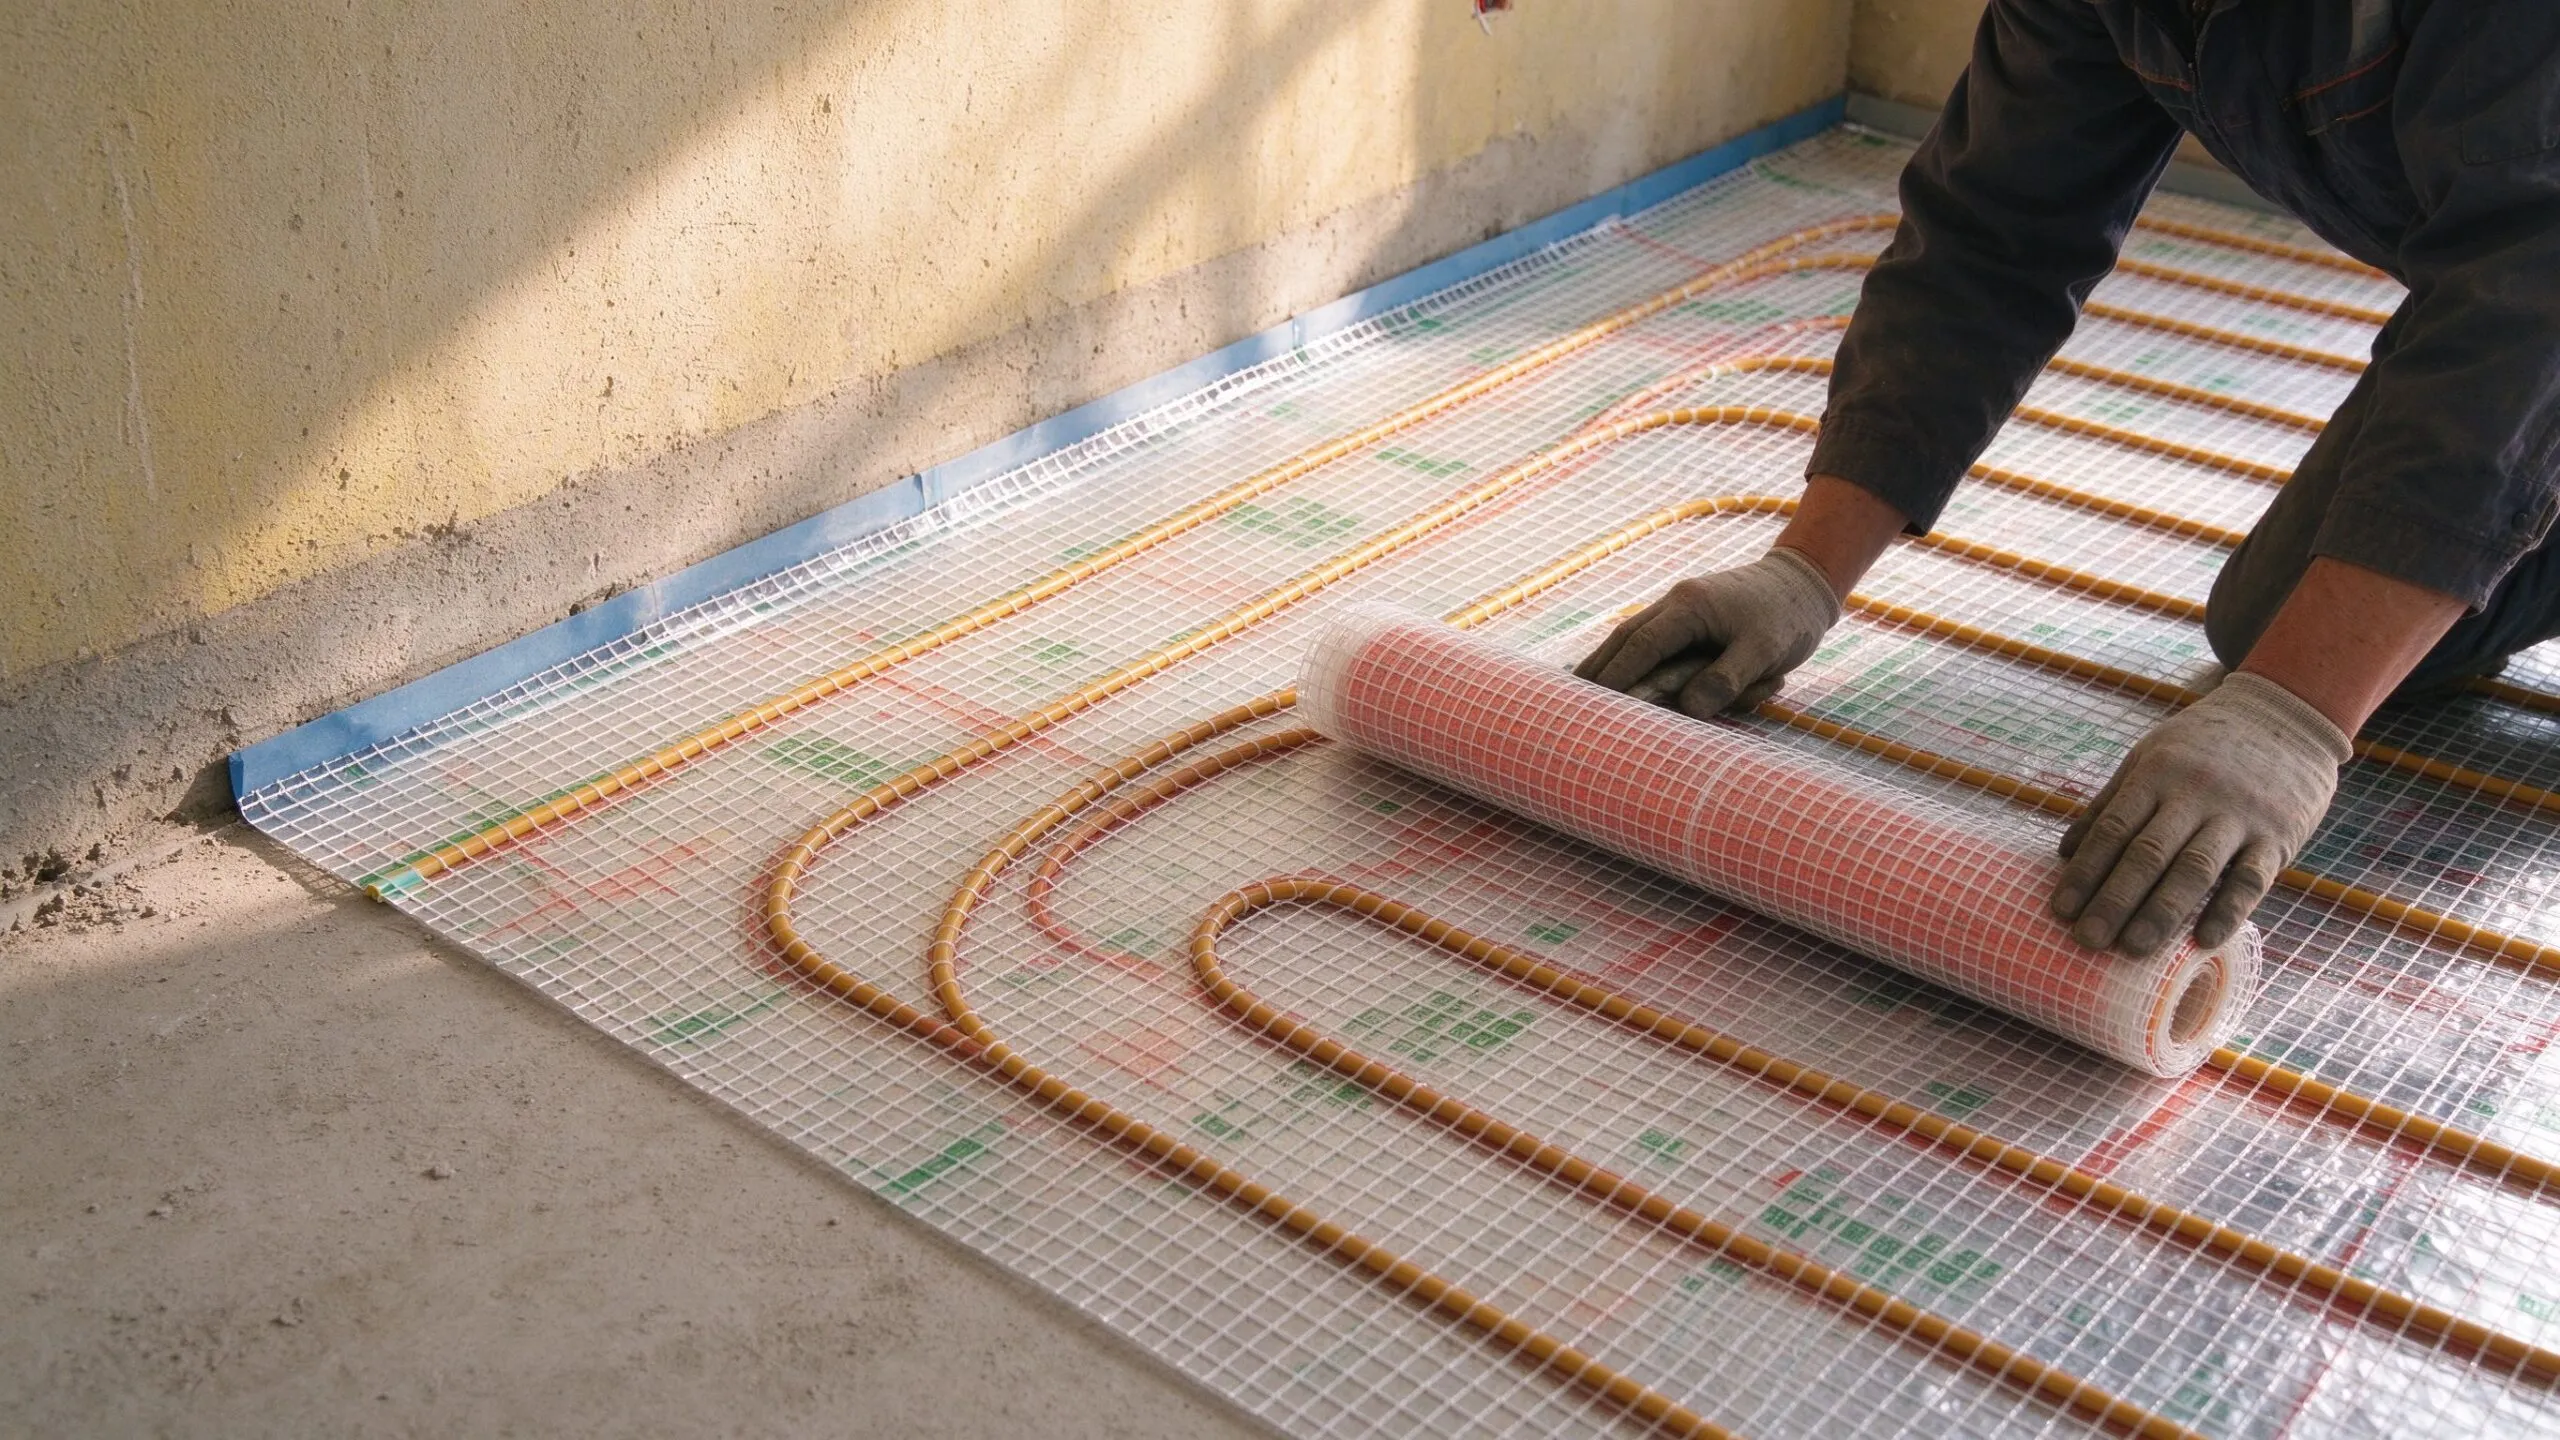
Installing an electric underfloor heating mat under ceramic or porcelain tile is one of the most rewarding home improvement projects you can undertake. Tile floors are excellent thermal conductors, meaning they transfer heat quickly and efficiently, providing superior comfort compared to other floor coverings. This complete tutorial guides you through every step of the process, from substrate preparation to final grouting.
Article by Ethan Sun, Founder & CEO, SunAura Thermal — based on 17 years of heating mat manufacturing and field installation experience.
Why Tile Is Ideal for Underfloor Heating
Ceramic and porcelain tiles have excellent thermal conductivity, with a thermal resistance value (R-value) of approximately 0.005 m2K/W for 10mm thick tile. This means heat transfers from the heating mat through the tile with minimal resistance, resulting in rapid warm-up times and responsive temperature control. Tile also has high thermal mass, meaning it retains heat well, providing a lingering warmth even after the heating system cycles off. This combination of rapid response and heat retention makes tile the ideal floor covering for electric underfloor heating.
Step 1: Substrate Preparation
The substrate must be structurally sound, clean, and dry before installation begins. For concrete substrates, ensure the surface is level with no more than 3mm variation over 2 meters. Repair any cracks or depressions with a suitable repair mortar. For timber substrates, ensure the floor is rigid with minimal deflection, and overlay with cement backer board (minimum 6mm) screwed at 200mm centers. Prime the substrate with a suitable primer to ensure adhesion of the thin-set mortar.
Step 2: Layout Planning
Plan the mat layout carefully before beginning installation. The heated area should cover 80-90% of the free floor space, excluding areas under fixed furniture, bathtubs, showers, and toilet bases. Maintain a minimum 100mm gap from walls and 200mm from toilet waste pipes. Mark the layout on the floor using chalk lines. Identify the thermostat location and plan the routing of the cold lead and floor sensor cable. The cold lead is typically 3 meters long, so position the mat accordingly.
Step 3: Install Floor Temperature Sensor
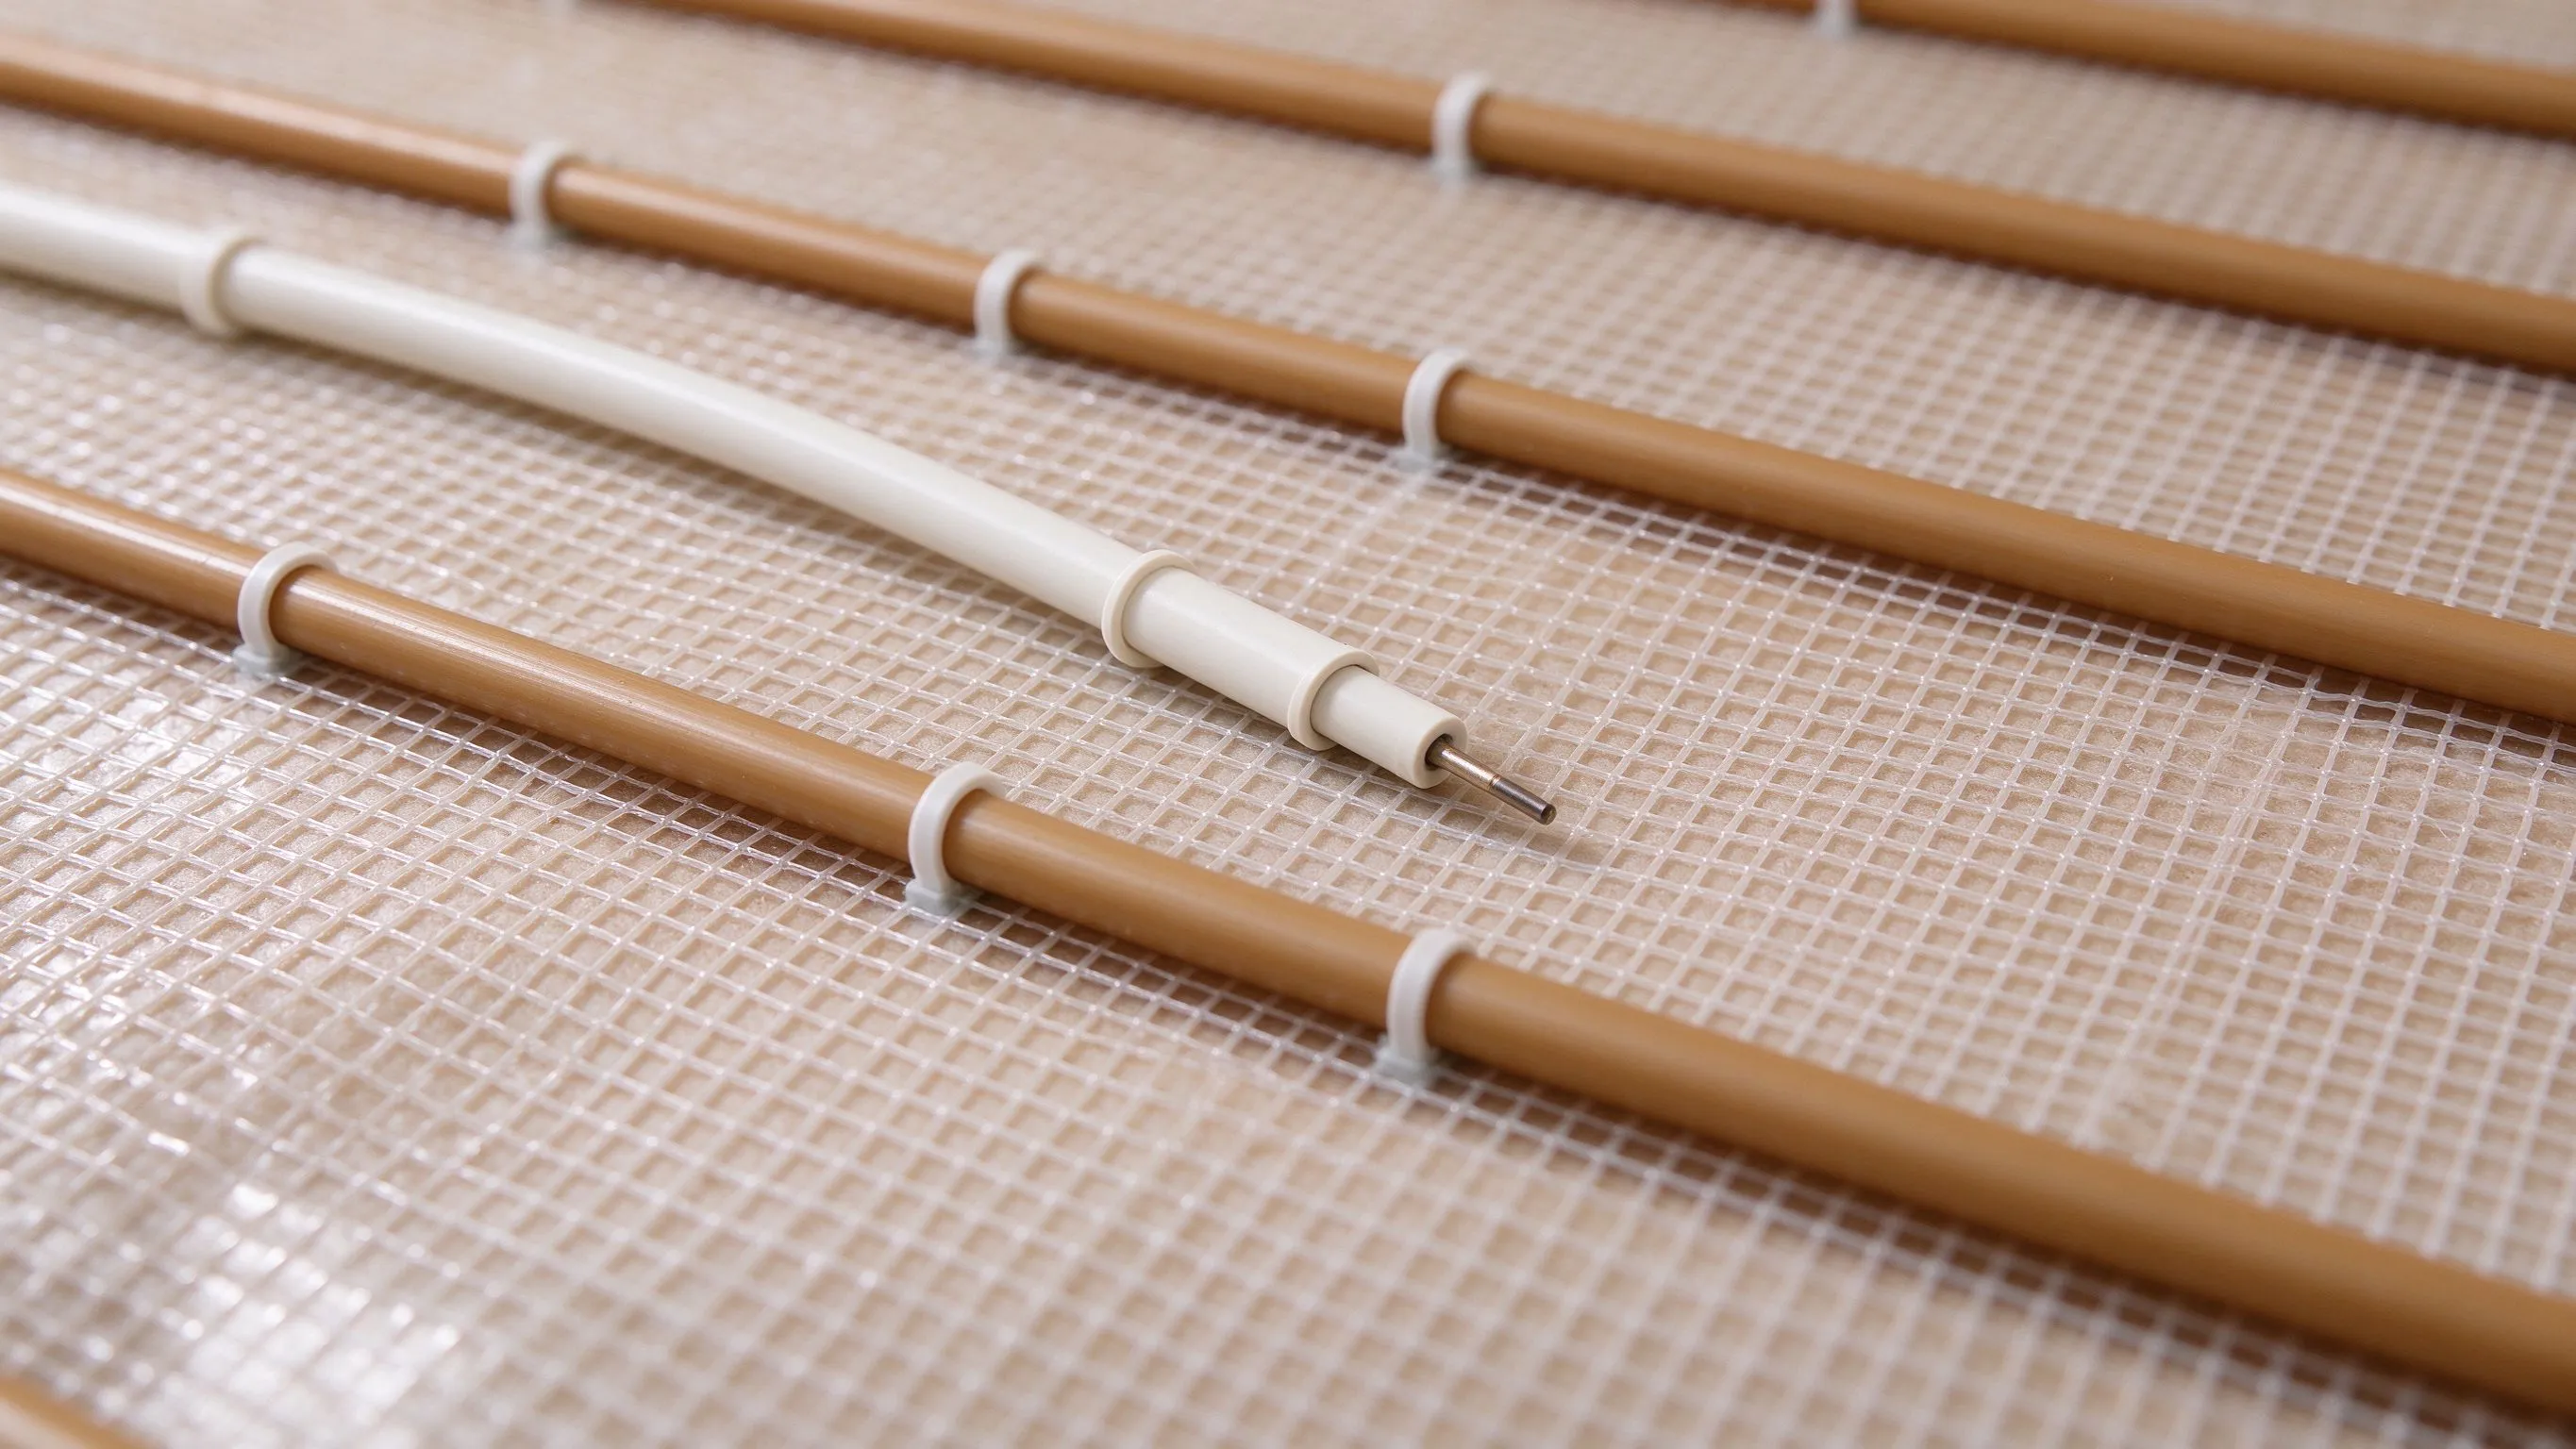
Install the floor sensor in a length of conduit tubing (typically 15mm diameter electrical conduit). The conduit allows the sensor to be replaced in the future without lifting the floor. Position the conduit between two runs of heating cable, approximately 500mm from the wall, in an area representative of the general floor temperature. The end of the conduit should be sealed with tape to prevent mortar from entering. Route the conduit to the thermostat back box location.
Step 4: Lay the Heating Mat
Starting from the thermostat end, roll out the heating mat onto the substrate. The mesh backing can be cut to allow the mat to be shaped around corners and obstacles, but never cut the heating cable itself. To make turns, cut the mesh and turn the mat 90 degrees, ensuring the cable spacing remains consistent. Secure the mat to the substrate using the adhesive-backed tabs on the mesh or with hot-melt adhesive. Ensure the mat lies flat with no wrinkles or raised edges that could create air pockets under the tile.
Step 5: Electrical Testing
Before covering the mat with mortar, perform electrical testing. Measure the resistance of the heating cable using a multimeter and compare it to the value on the product label. Record this measurement for future reference. Also measure the insulation resistance between the conductors and the earth braid, which should be greater than 1 megohm. If any readings are outside the specified range, do not proceed with installation and contact the manufacturer for assistance.
Step 6: Apply Thin-Set Mortar and Tile
Apply a layer of flexible thin-set mortar over the heating mat using a notched trowel. The mortar layer should fully embed the heating cable, typically 3-5mm above the cable. Use a polymer-modified thin-set compatible with underfloor heating. Allow the mortar to cure for 24-48 hours before tiling. When setting the tiles, use the same type of thin-set mortar and ensure full coverage under each tile to eliminate air voids that could cause hot spots. Grout the tiles after the thin-set has cured, using a flexible grout suitable for heated floors.
Step 7: Final Commissioning
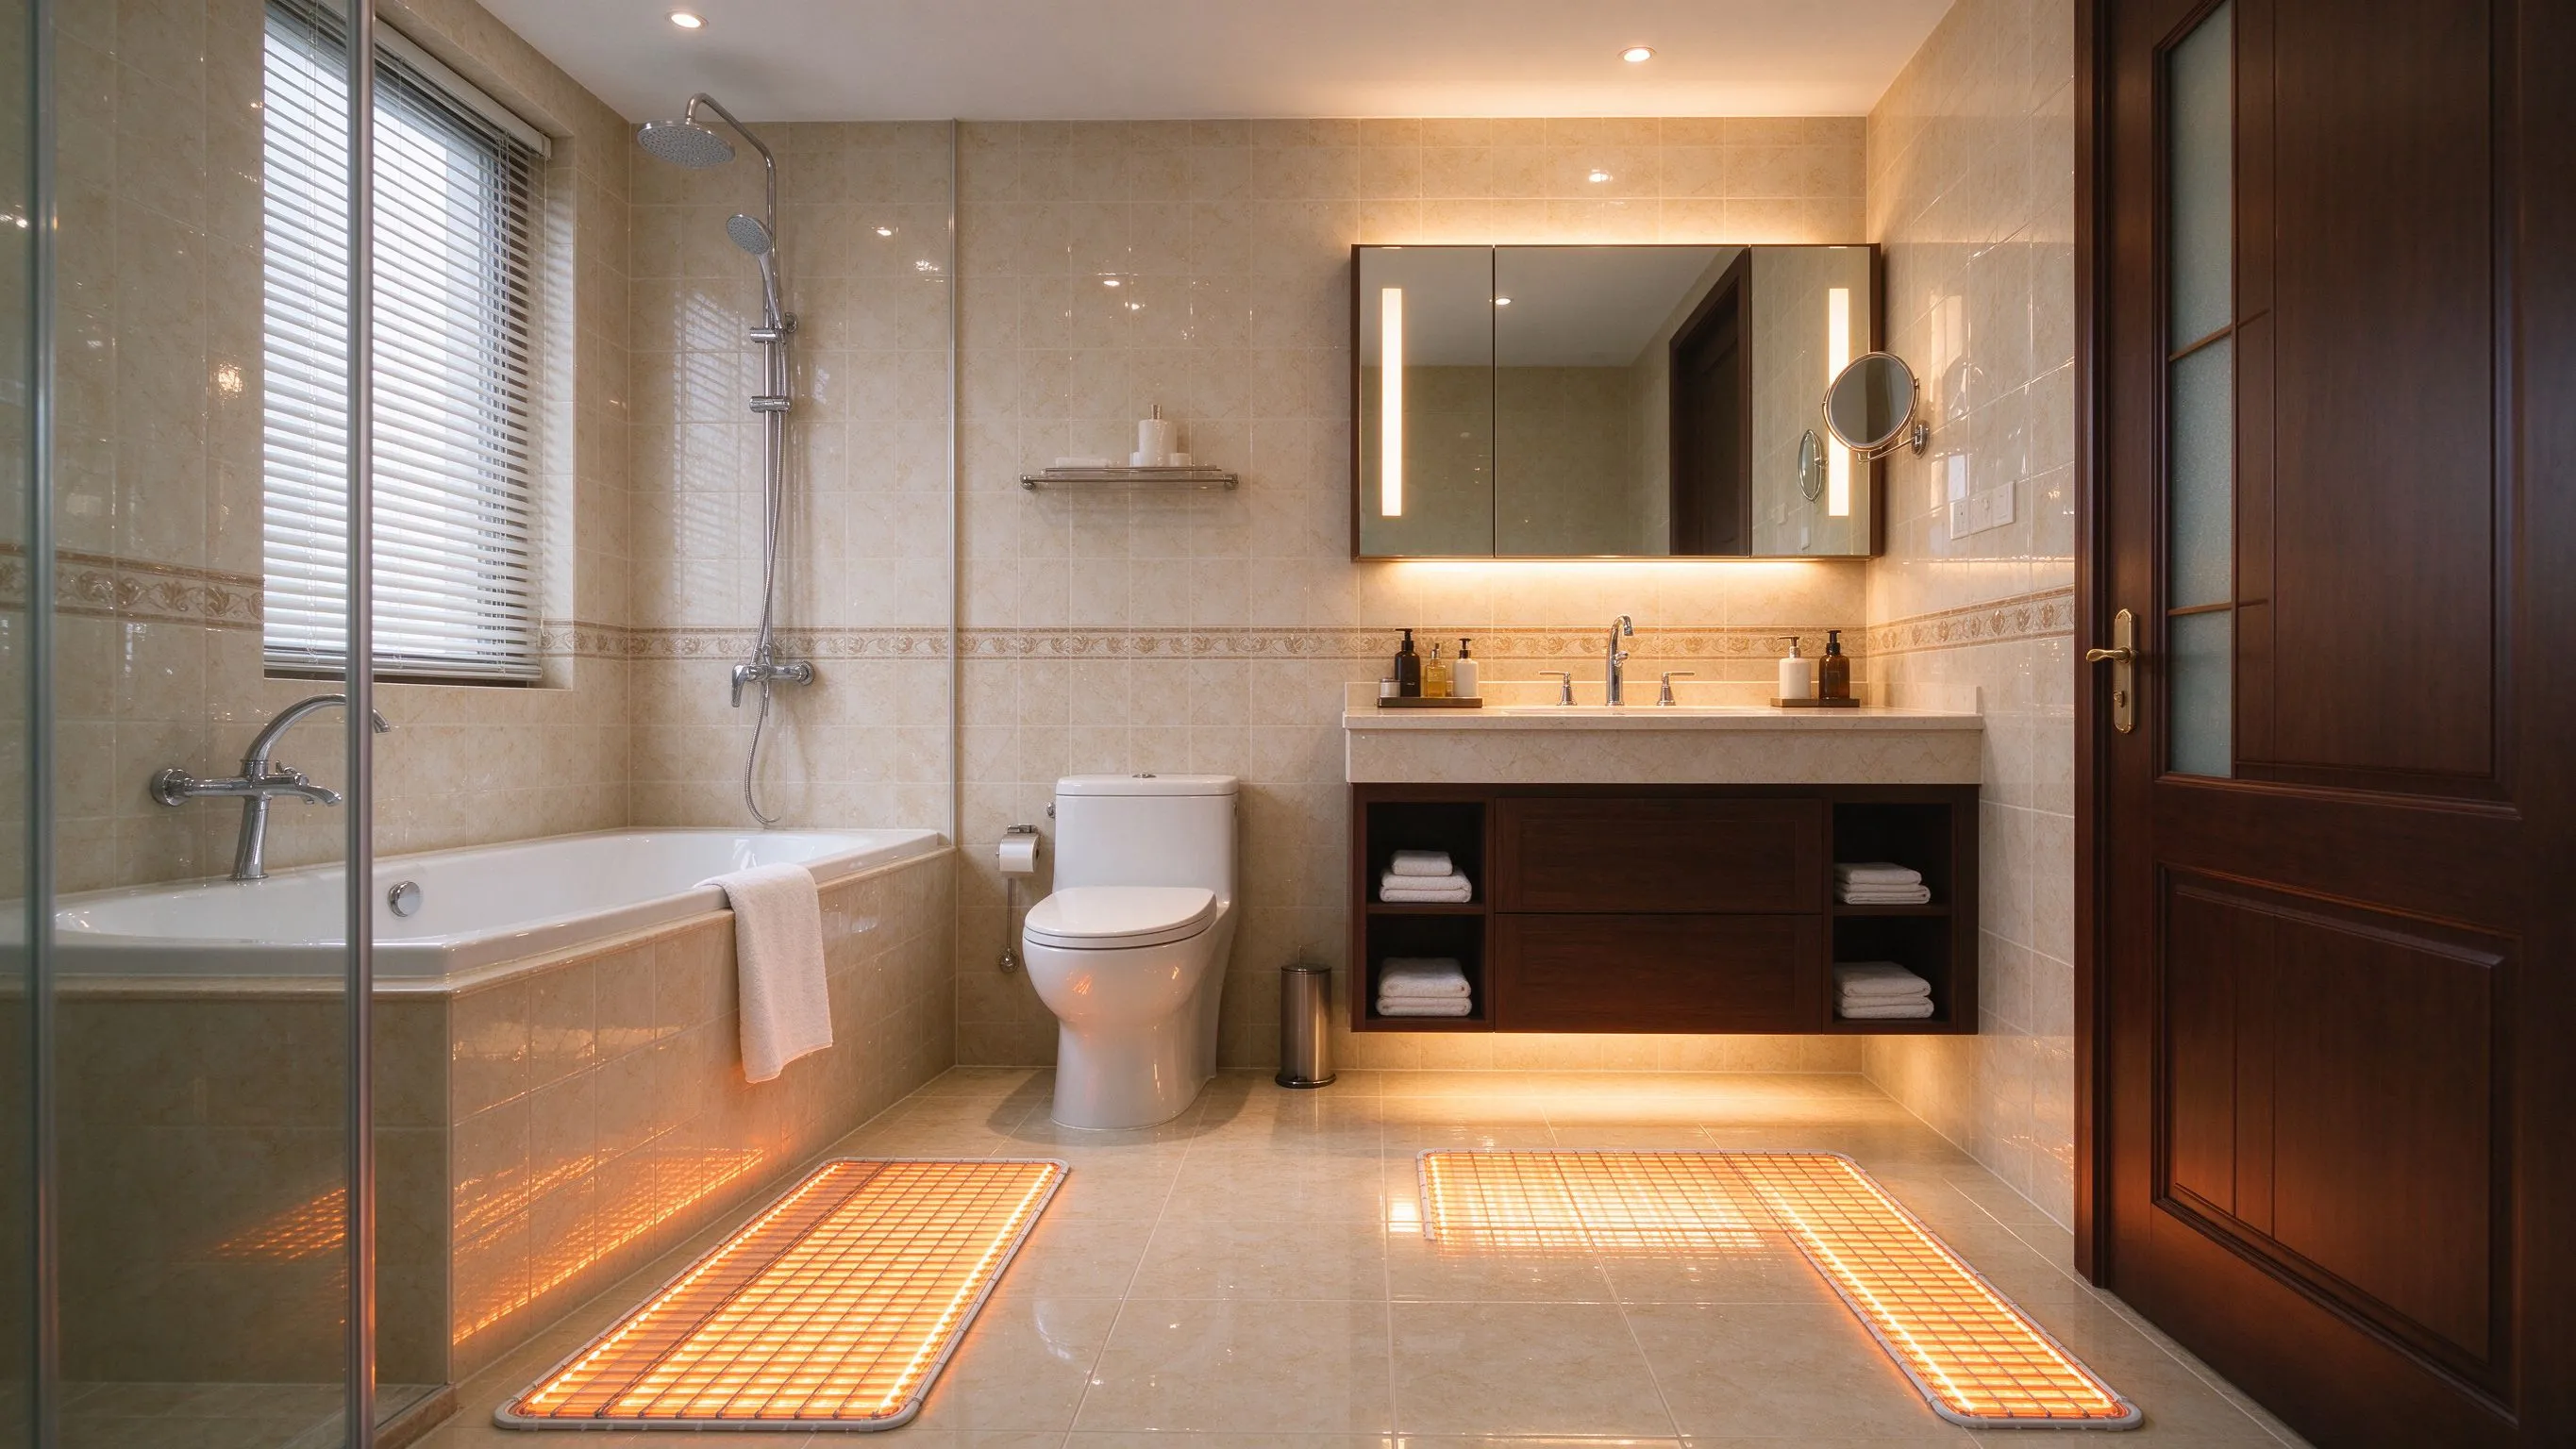
Wait at least 7 days after grouting before turning on the heating system, allowing the mortar and grout to fully cure. Start the system at 18 degrees Celsius and increase by 2 degrees per day until the desired temperature is reached. This gradual warm-up prevents thermal shock that could crack the tiles or grout. Set the thermostat floor temperature limit to 29 degrees Celsius for tile floors. Program the thermostat schedule according to your daily routine for optimal comfort and energy efficiency.
Sizing the Mat: Coverage, Wattage and Room Type
Choosing the right electric heating mat installation under tile starts with coverage, not wattage. The mat should cover 80–90% of the free floor area — the space that is not occupied by fixed furniture, sanitaryware or built-in units. A typical bathroom of 8 m² free floor area therefore needs a 6–7 m² mat; a kitchen-diner of 18 m² free area needs a 14–16 m² coverage, often split across two mats on separate circuits. Under-coverage leaves cold patches around the edges; over-coverage risks routing cable under the toilet base or too close to the wall, where it cannot be serviced.
Wattage then follows room type. Bathrooms and kitchens in well-insulated modern homes run comfortably on 150 W/m²; conservatories, porches and single-glazed bay windows need 200 W/m²; primary living spaces in older, draughty houses may need 220 W/m² plus supplementary heat. Our bathroom floor heating mat range is calibrated for the 150 W/m² sweet spot, while our tile floor heating product page lists the higher-wattage variants for cold zones.
Thin-Bed vs Thick-Bed Installation: Which Build-Up?

Two build-up methods dominate tile over mat installations. The thin-bed method lays the mat directly on a prepared substrate, then embeds the cable in flexible tile adhesive — typically 3–5 mm above the cable. This is the fastest, lowest-lift method, adding only 10–15 mm to the floor, and it is the standard for renovations where door height is tight. The thick-bed method embeds the cable in a 15–30 mm self-levelling compound or sand-and-cement screed, which provides thermal mass and even heat distribution but adds height and curing time. Choose thin-bed for bathrooms, kitchens and renovation; choose thick-bed for primary living spaces where thermal mass reduces cycling and improves comfort.
Whichever method you choose, use a polymer-modified flexible thin-set adhesive rated for heated floors. Standard cementitious adhesive cracks under repeated thermal cycling; flexible adhesive accommodates expansion and contraction. For large-format tiles (600 mm and above), back-butter every tile to eliminate air voids — a single void under a tile creates a hotspot that can crack the tile within a heating season.
Moisture, Insulation and Subfloor Considerations
Bathrooms are wet zones, and the substrate must be tanked with a waterproof membrane before the mat is laid. The membrane serves two purposes: it prevents water from reaching the subfloor, and it provides a consistent bonding surface for the adhesive. On concrete subfloors, a 6 mm XPS insulation board beneath the mat cuts downward heat loss by 10–15% — a worthwhile upgrade in ground-floor bathrooms where the concrete slab is cold. On suspended timber floors, 6–12 mm cement backer board screwed at 200 mm centres eliminates deflection that would crack tiles over a heating cable.
For LVT or SPC renovations where tile over-thickness is not acceptable, the same mat can be laid under thin-profile flooring using a dry-lay build-up; see our guide on electric heating mat under vinyl flooring for that alternative. In wet rooms, the floor sensor conduit must terminate inside the waterproof membrane so that moisture cannot track back to the thermostat back box.
Running Costs, Zoning and Smart Control
A 10 m² bathroom at 150 W/m² draws 1,500 W when active. Real runtime in a European winter is roughly 2–4 hours per day — tile thermal mass holds warmth between cycles — so daily consumption is 3–6 kWh. At €0.25/kWh that is €0.75–€1.50 per day during the coldest months, far less than most homeowners expect. The two variables that move that number most are floor insulation below the mat and the thermostat schedule. A 6 mm XPS board cuts downward loss by 10–15%; a WiFi thermostat with setback programming cuts runtime by another 15–25% versus a manual controller left at a constant temperature.
For multi-bathroom homes, treat each wet room as its own zone. A single thermostat controlling two bathrooms on the same circuit cannot optimise either room: one bathroom used at 7 a.m. and the other at 10 p.m. needs independent schedules. SunAura’s range of smart thermostats supports this multi-zone layout through a single app, so each bathroom runs on its own schedule while the household sees combined energy usage. This zoning discipline is what turns tiled underfloor heating from a luxury into an efficient primary heat source in bathrooms and kitchens.
For installers tendering multiple bathrooms on a project, standardise on one mat brand and one thermostat family. Mixed-brand systems rarely fail electrically, but they make commissioning, warranty claims and future servicing unnecessarily complicated.
Factory Evidence: Mat Manufacturing and Testing
SunAura Thermal has manufactured heating mats at our Qingdao Huangdao facility since 2008, now in our 17th production year. Every mat is 100% continuity-tested, hipot-insulation tested at 1500 V DC, and thermal-imaged before shipment, per SunAura factory records. The mats carry CE, RoHS, LVD and EMC declarations under ISO 9001, ISO 14001 and ISO 45001 management systems, and are exported to more than 50 countries. For buyers comparing an aluminum film heating mat versus a traditional cable mat, both are built on the same production line and share the same QC protocol.
The efficiency case for tiled electric underfloor heating is well documented. The Energy Star programme recognises smart controls and zoned heating as core efficiency measures, and the IEA buildings energy page shows how direct electric heat, paired with low-carbon electricity, reduces buildings’ final energy demand compared with hydronic systems that still waste heat in distribution. Tile’s high thermal conductivity makes it the most responsive finish for direct electric heat.
Frequently Asked Questions
How long after tiling can I turn the heating on?Wait at least 7 days after grouting to allow thin-set and grout to fully cure. Turning on earlier causes rapid drying, which leads to cracked grout and adhesive failure. Start at 18 °C and increase by 2 °C per day until the 29 °C floor limit is reached.
Can I lay heating mat over existing tile?Yes, but the build-up adds 15–25 mm. Grind or prime the old tile surface for adhesion, then use a flexible adhesive. Door clearances will need checking, and the toilet may need to be raised. For this scenario, an ultra-thin 2.5 mm cable mat is preferred over a standard 4 mm cable.
What floor temperature is safe for tile?29 °C surface temperature is the industry standard maximum for tile and stone. This is warm to the touch but safe under bare feet, and it stays well below the 35 °C threshold where adhesive degradation becomes a concern. Always use the floor-sensor thermostat — air-sensor-only control on a tiled floor overheats.
Can heating mat be laid under a freestanding bathtub?No. Film or mat must stop 200 mm from the bath base. The bath traps heat against its exterior, creates dead zones, and cannot be serviced. Mat goes in the free floor area around the bath, not under it.
How do I know the mat works after tiling?By comparing the resistance reading taken before tiling with the reading after tiling. A drift of more than 5% indicates a damaged cable — found now, it is fixable; found in two years, it requires lifting tiles. Our commissioning guide on underfloor heating commissioning, testing and balancing documents the full testing sequence.
Conclusion
Installing electric underfloor heating under tile is a project that delivers lasting comfort and value. When installed correctly with quality materials from a reputable manufacturer like SunAura Thermal, the system will provide decades of reliable, efficient, and comfortable heating. The key to success is careful planning, proper substrate preparation, thorough electrical testing, and allowing adequate curing time before commissioning the system.
Related Products & OEM Inquiries
Looking for a heating mat installed under tile or a factory-direct OEM/ODM partner? Explore our electric underfloor heating mats and complete electric underfloor heating systems, then request a quote for your project — we supply distributors, installers and brands in 50+ countries.