
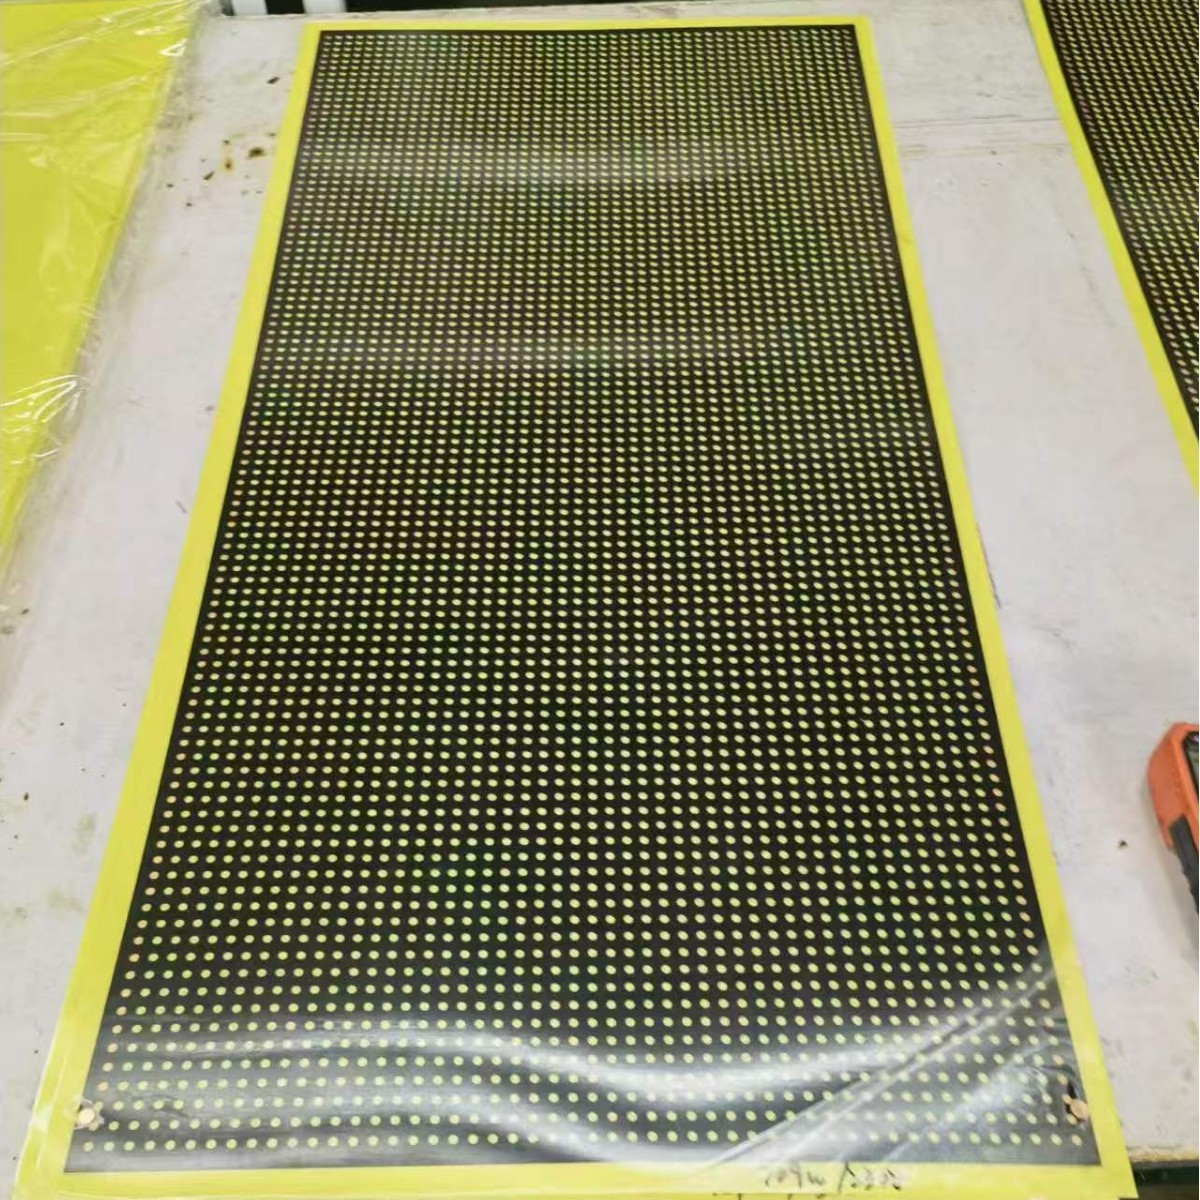
Wall-mounted heating panels are one of the cleanest ways to heat a room: they sit flat on a wall, run silently, and radiate warmth without a fan or moving air. Most of the questions buyers ask come down to a single practical problem — what wattage do I need, and how many panels will actually heat the room? Get that calculation right and the system is comfortable and efficient; get it wrong and the panels either run constantly without keeping up or cost more than they should.
This buying guide focuses specifically on sizing. It walks through how to measure a room, how insulation and heat loss change the wattage, how to convert that into a number of panels, and gives worked examples for the main rooms in a home. For the broader product choice, our graphene wall heating film buying guide covers the different film and panel types; here we concentrate on matching output to room size.
How Wall Heating Panels Work
A modern panel uses a printed heating element — often graphene-based — laminated behind a flat surface. When powered, it warms the panel surface and emits a large share of its heat as far-infrared radiation, which is absorbed by the walls, floor, furniture and people in the room rather than simply heating the air. The physics and the split between radiation and convection are explained in the guide on how wall heating film works. The practical consequence for sizing is that the panel needs enough total wattage to balance the heat the room loses, just like any other heater.
The Sizing Principle: Watts, Area and Volume
Heater output is measured in watts (W), and the requirement for a room is expressed either per square metre of floor area (W/m²) or per cubic metre of room volume (W/m³). Both methods aim at the same thing: replacing the heat that escapes through walls, windows, the ceiling and draughts. Volume-based rules account for ceiling height, while area-based rules are quicker and assume a normal ceiling height. As a rough planning rule, a well-insulated modern room needs less power per unit than an older, draughty one — the same logic used across underfloor heating systems.
Because exact figures depend on construction, the numbers below should be treated as a general guide rather than a precise engineering calculation. For a draughty period property or a room with high ceilings, add headroom; for a new, well-insulated room, you can stay at the lower end.
Step 1: Measure the Room
Start with the floor area: multiply the room’s length by its width in metres to get square metres (m²). If the room is an irregular shape, break it into rectangles and add them. Then note the ceiling height, because the volume of air to heat is area × height in cubic metres (m³). Record also the number and size of external walls and windows, since these are the main sources of heat loss.
Step 2: Adjust for Insulation and Heat Loss
The same-sized room can need very different wattage depending on how well it is built. The factors that matter most:
- Wall and loft insulation — well-insulated rooms retain heat and need less output.
- Glazing — large single-glazed windows lose more heat than small double-glazed ones.
- Draughts — open-plan rooms, external doors and poor seals increase the requirement.
- Position — corner rooms and rooms above unheated spaces lose heat through more surfaces.
- Ceiling height — high or vaulted ceilings add volume and therefore wattage.
A simple way to handle this is to start from a base wattage for a standard insulated room and step up a category for each significant heat-loss factor. The relationship between insulation and heat behaviour is covered in the insulation R-value guide.
Step 3: Choose the Wattage for the Room
Using the area method, a typical modern, insulated room is commonly sized around 100 W per square metre as a starting point; older or poorly insulated rooms are often sized higher, around 120–150 W/m². Using the volume method, the equivalent figures are roughly 25–40 W per cubic metre, with the higher end for draughty rooms and high ceilings. These are planning ranges, not fixed rules — a qualified installer can refine them against the actual heat-loss calculation.
Multiply the floor area by the chosen W/m² figure to reach the total wattage the room needs. For example, a 15 m² insulated room at 100 W/m² requires around 1,500 W of installed panel output, while the same room in a draughty older house at 130 W/m² needs closer to 1,950 W.
Step 4: Decide How Many Panels
Panels are made in standard wattage sizes — common nominal outputs include 200, 300, 400, 600 and higher, with physical size increasing as wattage rises. Once you know the total wattage the room needs, choose a combination of panels whose combined output meets or slightly exceeds it. It is usually better to spread two or more smaller panels around the room than to rely on one large unit, because distributed panels give more even warmth and reduce cold spots. The available panel and film options are listed under graphene heating panels and graphene wall heating film.
Worked Examples by Room
The following examples use the area method and the typical ranges above; they show the method rather than fixed specifications.
Living room (20 m², insulated, standard ceiling)
At around 100 W/m² the room needs about 2,000 W. This is often met with two 600 W panels plus one 400 W panel, or a pair of higher-output panels distributed across the external walls.
Bedroom (12 m², insulated)
A 12 m² room needs roughly 1,200 W. A single 600 W panel plus a 400 W panel, or two 600 W panels for a slightly older room, provide even background warmth. The case for low overnight operation is discussed in the bedroom wall heating guide.
Kitchen (10 m², hard floor)
Around 1,000–1,200 W suits a typical kitchen, with panels positioned away from direct cooking areas and where wall space allows.
Bathroom (8 m², tiled)
Bathrooms are small but often poorly insulated and need fast warmth. A panel suited to damp locations with appropriate splash protection and the correct electrical rating is important; the heating element and any wiring must be specified for the bathroom environment.
Home office (10 m², occupied for long periods)
Roughly 1,000–1,200 W, with a panel positioned to warm the occupant’s personal space. The office setting is covered in the wall heating applications overview.
Plug-in vs Hardwired Panels
The choice affects installation more than sizing. Plug-in panels connect to an ordinary socket and are ideal for rented homes or rooms where wiring changes are not possible, since they need no renovation and can be taken when you leave. Hardwired panels are wired into a dedicated circuit by an electrician, giving a neater finish and suiting permanent installations and higher total loads. The trade-off is closely related to the choice between installation substrates and the circuit considerations in the electrical load guide.
Thermostats, Sensors and Zoning
A thermostat prevents the panels from running flat out and lets you set schedules and room-by-room zones. A room thermostat, ideally positioned away from the panels and direct sunlight, switches the heating on and off to hold a target temperature; smart models add app control, timers and the ability to run different rooms independently. Pairing the panels with a suitable smart thermostat is usually where the biggest efficiency gains come from, because correctly sized panels under good control only run when needed.
Positioning the Panels
Even correctly sized panels underperform if mounted badly. They need a clear line of radiation into the room, should not be blocked by furniture or curtains, and are often placed on the coldest wall to offset heat loss. Clearance rules, mounting heights and suitable surfaces are set out in the mounting position guide. A panel mounted behind a sofa or a full-length curtain wastes much of its radiant output.
Running Costs
The cost of running panel heating depends on the installed wattage, the hours the system is on and the local electricity price — not on the wattage alone. A correctly sized, thermostatically controlled system in an insulated room that is heated only when occupied is inexpensive to run, because the panels cycle rather than run continuously. Over-sizing does not make a room warmer in a useful way; it simply costs more to buy and tends to short-cycle. Scheduling warmth around occupancy and using cheaper off-peak tariffs where available further reduce the bill.
Room Sizing Cheat Sheet
| Room | Typical area | Insulated room (≈100 W/m²) | Older/draughty (≈130 W/m²) |
|---|---|---|---|
| Bathroom | 8 m² | ~800 W | ~1,000 W |
| Kitchen | 10 m² | ~1,000 W | ~1,300 W |
| Bedroom | 12 m² | ~1,200 W | ~1,550 W |
| Office | 10 m² | ~1,000 W | ~1,300 W |
| Living room | 20 m² | ~2,000 W | ~2,600 W |
Sizing Open-Plan and Unusual Spaces
Standard rectangular rooms are easy, but several layouts need extra thought. Open-plan areas combine what would otherwise be separate rooms with different heat-loss profiles and often high ceilings. Rather than sizing the whole area as one block and fitting a cluster of panels in a single spot, treat the space as a set of activity zones — cooking, dining, seating — and distribute panels so each zone receives enough radiant warmth. The total wattage still follows the area and insulation calculation, but spreading it across the space matters more than in a conventional room.
Converted spaces such as loft rooms and basements have their own constraints. A loft room with a sloping ceiling has less wall area suitable for panels and may need smaller units or a combination of wall and ceiling mounting, while a basement benefits from the damp-resistant rating of its panels and slightly higher wattage to offset cool surrounding ground. Conservatories and sunrooms are largely glass and lose heat quickly, so they usually sit at the higher end of the wattage range. In every case, choosing panels rated for the actual environment and mounting them on surfaces that can take the fixings is as important as the wattage itself.
Common Sizing Mistakes
- Under-sizing a draughty room — the panels run continuously yet never reach a comfortable temperature.
- Ignoring ceiling height — volume-based sizing matters in rooms with high or vaulted ceilings.
- One large panel instead of distributed units — uneven warmth and cold spots across the room.
- Blocking the panels — furniture or curtains absorb the radiant heat before it reaches the room.
- No thermostat — running the panels manually wastes energy and makes temperatures hard to control.
- Over-sizing “to be safe” — extra cost and short-cycling rather than better comfort.
Frequently Asked Questions
How many watts do I need per square metre? As a general guide, around 100 W/m² for a modern insulated room and 120–150 W/m² for an older or draughty room, refined for the actual room.
Is it better to use one big panel or several smaller ones? Several distributed panels usually give more even warmth and fewer cold spots, provided their combined wattage meets the room’s requirement.
Can I size panels for a high-ceiling room using area alone? It is safer to use the volume method (W/m³) when ceilings are high, since area-based rules assume a normal height.
Do plug-in panels need different sizing? No — the wattage the room needs is the same; the plug-in vs hardwired choice only affects how the panels are powered.
Will a correctly sized panel heat the whole room by itself? If the wattage matches the room’s heat loss and the panel is well positioned, yes; larger rooms generally need more than one panel.
Related Products & OEM Inquiries
SunAura Thermal manufactures graphene heating panels, wall heating film and matching smart thermostats at our own factory. With 17 years of production across automated lines and CE, RoHS and ISO documentation, we supply distributors and brands with standard and custom wattage panels, private-label options and tailored sizing support. Share your room dimensions, insulation level and preferred plug-in or hardwired fit and we can help specify the right combination.